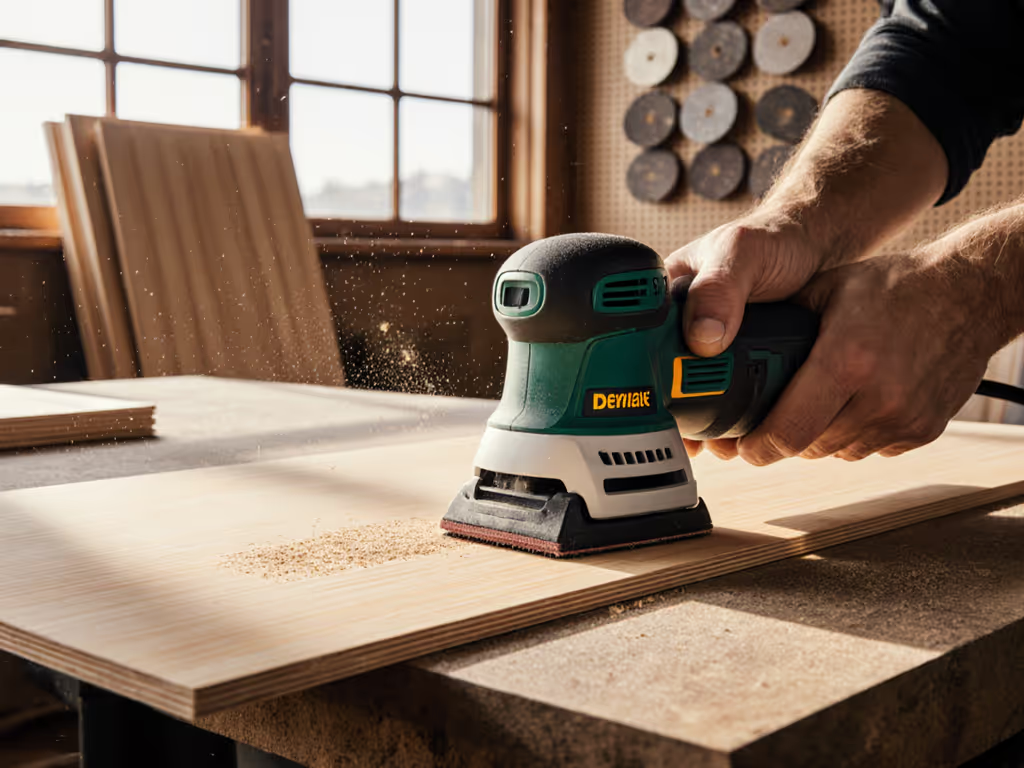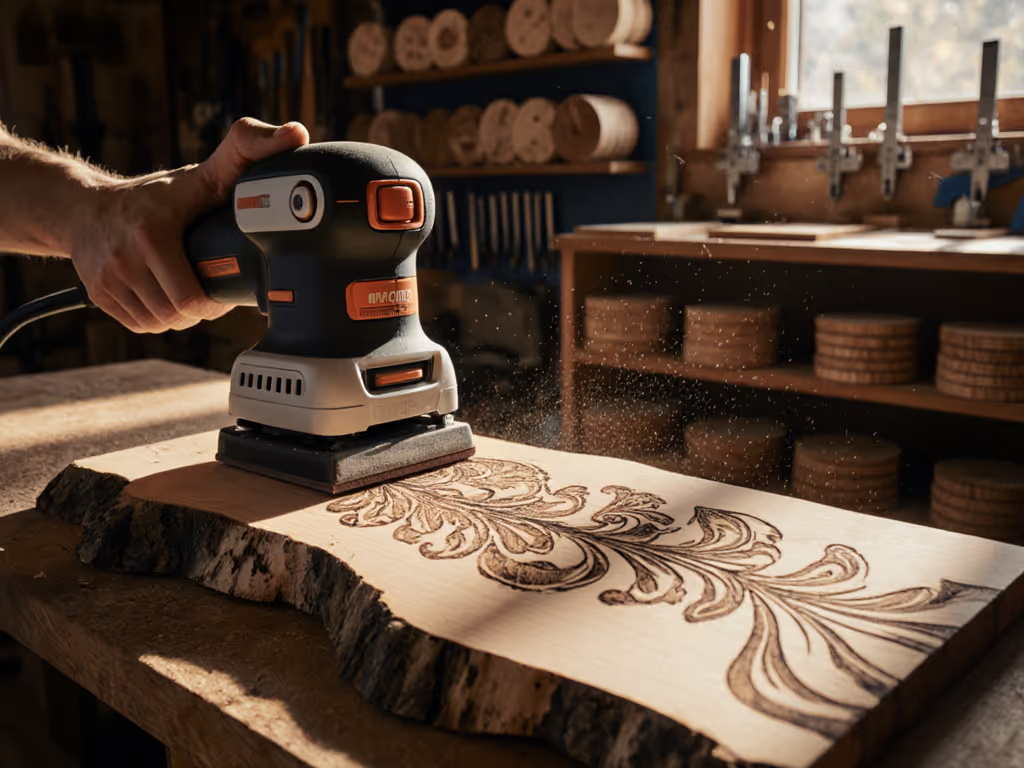
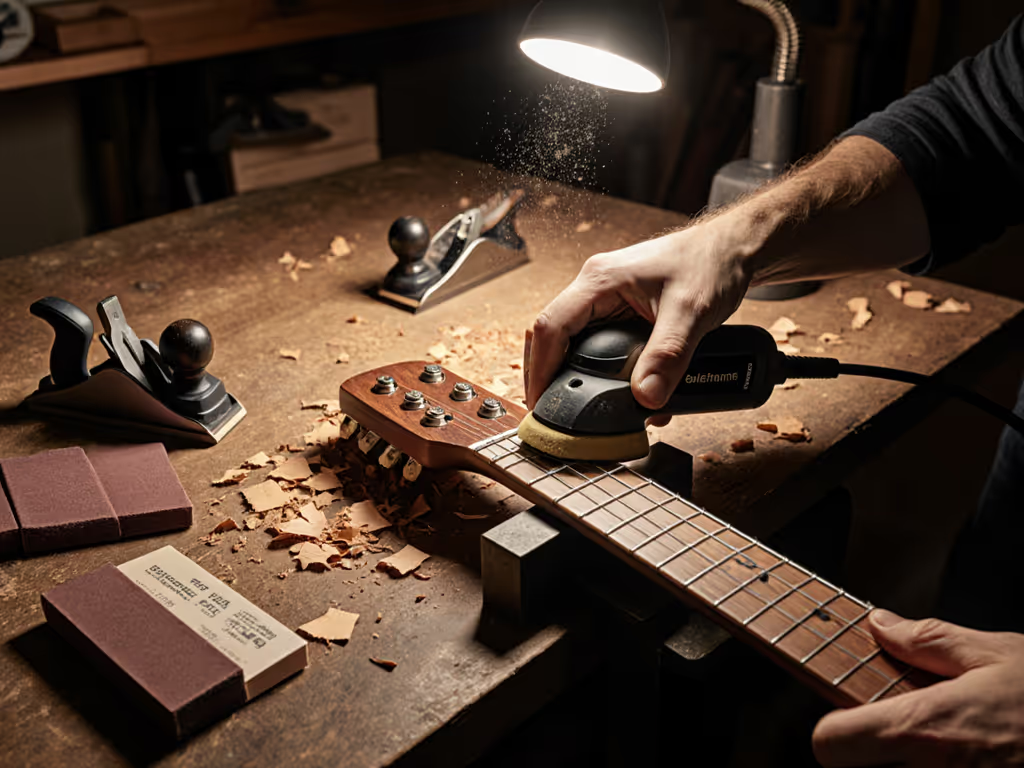
Beginner-Friendly Black and Decker Mouse Detail Sander Kits
By Luis Tanaka • 21st Sep
What to do
For beginner household sanding, use the BLACK+DECKER BDEMS600 as a controlled close-access tool: fit the right pad and abrasive, capture dust, then sand with light pressure and long sweeping passes. Its strongest use case is furniture, cabinets, corners, and intricate areas—not commercial production work.
- Start with: Choose the teardrop base for large flat surfaces, tight spots, or corners, or install the finger attachment for fine detail. With the tool unplugged, align the sanding-sheet holes with the pad holes.
- Then: Install the dust canister, wear appropriate protection, and inspect frequently while using light pressure. Empty the canister every 10 minutes during wood sanding.
- Important prerequisite: Treat this as a household-use detail sander, not a confirmed consumables kit. Do not sand lead-based paint, and do not rely on one published speed figure because the manufacturer’s figures conflict.
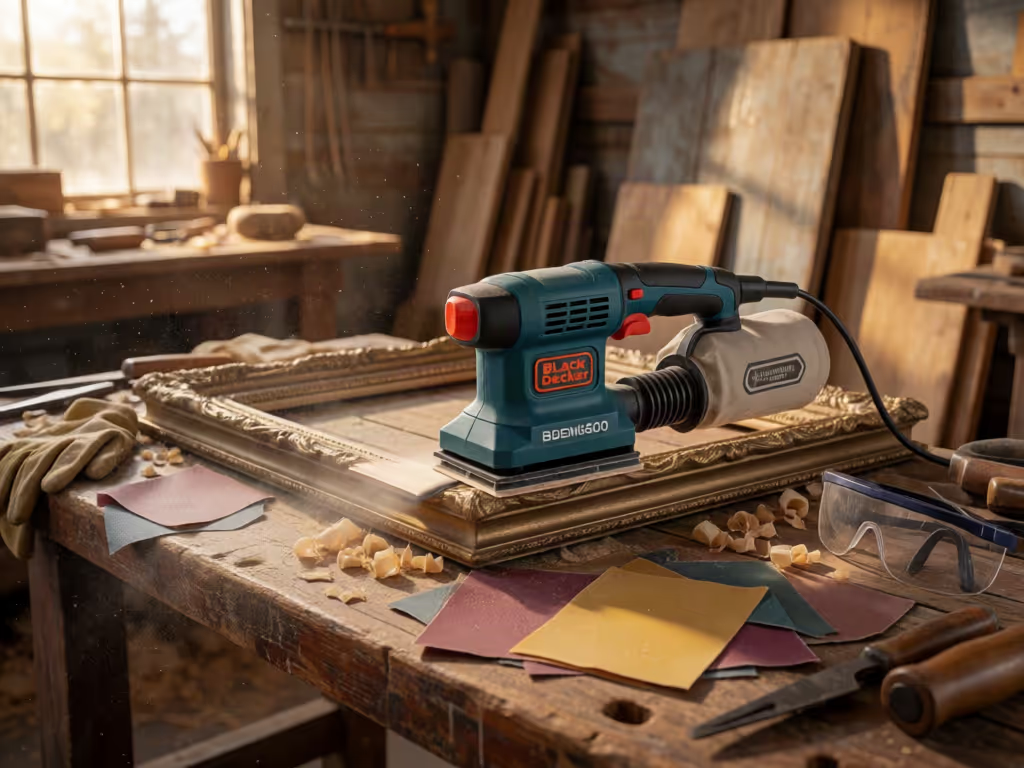
The BLACK+DECKER BDEMS600 MOUSE detail sander is a compact, corded tool for controlled household work: furniture refinishing, cabinet finishing, paint removal, surface preparation, and intricate projects. For a broader comparison of compact options, see our best detail sanders guide. For beginners, its value is not a vague promise of speed; it is a clear workflow (choose the correct pad shape, align the abrasive holes, capture dust at the source, and use light pressure in deliberate passes).
The important fit note for finish carpenters and small shops is equally clear: the BDEMS600 manual limits intended use to household consumer use. Treat it as a close-access tool for occasional detail tasks, not as equipment rated for commercial production duty. A calm jobsite comes from matching the tool, abrasive, and capture method to the surface.
Step 1: Know What You Are Buying - A Detail Sander, Not a Complete Kit System
The product under review is the BLACK+DECKER BDEMS600 1.2 Amp Electric Detail Sander, a corded MOUSE model. BLACK+DECKER lists a 1.2-amp motor, a dust collection canister, a three-position comfort grip, a compact body, a detail sanding pad, and a finger attachment.
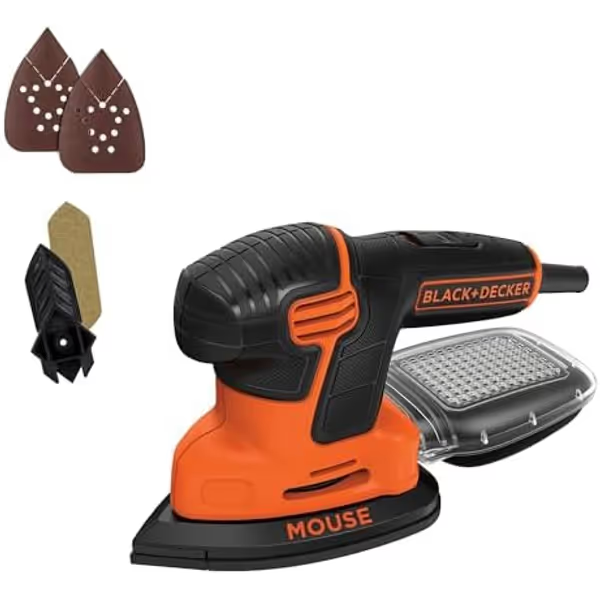
BLACK+DECKER Detail Sander
Precise detail sanding in tight spaces with consistent power and comfort.
OPM16,000
OPM16,000
Pros
Reaches cramped corners and intricate details effectively.
Corded design ensures continuous power, no battery downtime.
Ergonomic grip and compact size reduce fatigue on long jobs.
Cons
Dust collection canister may leak over time.
Material removal rate is suited for detail, not heavy prep.
Customers praise its lightweight design and power for tight spaces and extended use, though some note dust collector leaks.
Customers praise its lightweight design and power for tight spaces and extended use, though some note dust collector leaks.
Do not buy it assuming you are getting a fully specified consumables kit. The manufacturer's listed package contents identify the sander, but do not establish a complete in-box inventory of sanding sheets, grits, or every accessory. Build your purchase plan around verified fit rather than a guessed bundle.
The documented hardware at a glance
| Item | What is documented | Practical beginner implication |
|---|---|---|
| Power source | Corded | Continuous operation without battery changes, provided your cord routing is safe. |
| Motor rating | 1.2 A | A basic power specification, not a measure of finish quality or duty cycle. |
| Body | 2.4 lb; 10.1 × 4.6 × 5.4 in | Compact enough to position around tight work, based on the listed dimensions. |
| Main base | Teardrop-shaped | The manual describes use on larger flat areas as well as tight spots and corners. |
| Detail accessory | Finger attachment | Intended for fine-detail sanding after swapping the pad tip and fitting the attachment. |
| Dust feature | Collection canister | Required for wood sanding; empty it every 10 minutes per the manual. |
| Grip | Three-position comfort grip | BLACK+DECKER says it supports control and reduces fatigue; that has not been independently tested here. |
There is one specification to handle carefully. BLACK+DECKER's product page contains conflicting speed figures: its lead summary says 16,000 OPM, while detailed copy says 14,000 OPM, and its specifications list 14,000 maximum RPM. That conflict does not change the setup method, but it does mean speed should not be your deciding metric. Judge this power detail sander by access, control, sheet fit, and the quality of the surface you leave behind.
Step 2: Decide Whether the BDEMS600 MOUSE Shape Matches the Work
A beginner-friendly palm sander is useful only if its pad reaches the problem area without forcing you to tip the tool or sand an edge too aggressively. Start with the surface map below.
Use the teardrop base for broad-to-tight transitions
The manual says the teardrop base can be used on large flat surfaces and in tight spots or corners. This makes it a sensible format for refining a small furniture panel, cabinet face details, or a painted surface with accessible edges.
The operating rule is simple: keep the pad flat as long as possible. A pointed detail shape lets you reach a corner, but it does not make edge sanding risk-free. If only the nose of the pad is contacting the work, material removal concentrates in a small area. Stop frequently, inspect under raking light, and avoid chasing one stubborn spot until the surrounding finish becomes uneven.
Use the finger attachment only when access requires it
The finger attachment is for fine-detail sanding. To install it, the manual directs you to:
- Turn the sander off and disconnect it from power.
- Remove the screw.
- Remove the diamond-shaped pad tip.
- Fit the finger attachment and tighten its screw.
- Align the appropriate sanding sheet with the attachment.
This is not an accessory to leave on by default. It is the close-access stage of a sequence. Use the larger base where it fits, then move to the finger attachment only for the remaining recesses, narrow profiles, or corners.
Systems beat heroics; recipes make clean work repeatable.
That sequence matters. On one occupied office weekend, preplanned surface maps and pre-cut abrasives kept the crew from improvising in carpeted rooms. The principle applies at home, too: define the large surfaces, edges, and fine details before the sander starts.
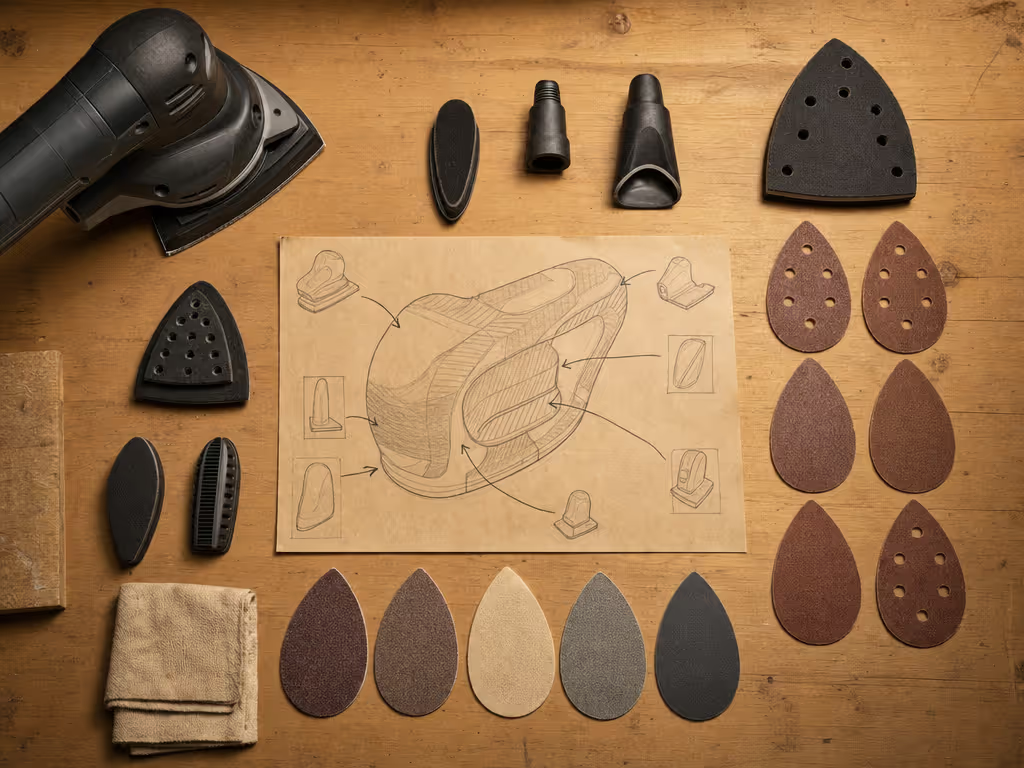
Step 3: Build a Beginner Bill of Materials Before You Plug In
Use the BDEMS600 dust canister as directed, and manage the job so dust cannot migrate through the work area.
Minimum bill of materials
- BLACK+DECKER BDEMS600 detail sander
- Correctly shaped sanding sheets that fit the selected pad
- Dust canister, installed before wood sanding
- Eye protection
- Hearing protection and suitable dust/face and respiratory protection for the conditions
- A vacuum or cleanup method for the surrounding work area after sanding
- Good task lighting, ideally including low-angle light for final inspection
- A clean container or bag for abrasives, separated by grit and condition
For paint, the manual says sanding lead-based paint is not recommended because contaminated dust is difficult to control. Do not use this sander as a shortcut around paint identification or dust containment. If a coating's history is uncertain, pause and determine the appropriate safe process before sanding.
Abrasive-fit checkpoint
Before each work session, place the sanding sheet on the pad so that its holes align with the sanding-pad holes. This is a manual requirement, not a cosmetic preference. Misalignment compromises the intended dust path and creates an unreliable setup.
Use the grit progression specified by the coating, repair, or surface-material instructions you are following. Mark the grit on the back of each sheet and do not jump between grits casually. Consistency is how a beginner avoids visible scratch surprises.
Step 4: Set Up Dust Capture and Work Controls
BLACK+DECKER says its canister helps keep debris to a minimum for better work-surface visibility and easier cleanup. That is a manufacturer claim, not a measured dust-capture result. The manual provides the operational requirement: do not operate the sander without the dust canister in place for wood sanding, because sanding-dust exhaust can create a breathing hazard.
Ten-minute dust-control loop
Use this repeatable loop:
- Confirm the canister is seated before starting.
- Sand a short, controlled section.
- Stop and inspect the work surface rather than sanding blindly through dust.
- Empty the canister after every 10 minutes of sanding, as directed in the manual.
- Clean settled dust from the work zone before final finish work begins.
This is not a quantified dust-containment result. For a deeper look at dust collection and healthier shop air, review our HEPA sanding guide. If your standard is "no dust, no smell" in an occupied interior, a canister-only tool is not a complete capture plan. Keep the project scope honest: use this model where its compact shape helps, and use a purpose-matched extraction system when the work demands documented indoor dust control.
Step 5: Sand With a Controlled Pass Pattern
The best operating guidance in the manual is also the easiest training standard: long sweeping strokes and light pressure. Excess pressure slows the tool and produces inferior results. The manufacturer also warns that the sander can remove material rapidly, so inspect work often.
The four-pass method
- Test area: Start on an inconspicuous section or offcut using the selected abrasive. Confirm the scratch pattern and coating response before moving to the visible face.
- First pass: Place the pad flat on the work and move in long, overlapping sweeps. Let the tool move; do not force it.
- Edge pass: Reduce pressure further near veneers, sharp profiles, thin film builds, and corners. Keep the pad supported rather than pivoting on the tip.
- Inspection pass: Turn the tool off, let it stop, clear dust, and inspect from more than one angle. Only then decide whether another pass or a finer abrasive stage is needed.
This procedure will not prove a swirl-free result (no independent test in the available information establishes that outcome for this model), but it removes the most common avoidable causes of uneven sanding: excess pressure, poor visibility, and unchecked over-sanding.
Cord management is part of finish quality
Because the BDEMS600 is corded, route the cord away from the sanding path and from the operator's feet. Do not pull or carry the tool by its cord. Before changing a sheet, changing the finger attachment, or making adjustments, turn the tool off and disconnect it from the power source.
A controlled cord path, a cleared work zone, and periodic canister emptying sound basic. These habits are part of a broader power sander safety routine, including appropriate protective gear and safe operating practices. They are basic, and they prevent the rushed, dusty conditions that make finish inspection unreliable.
Step 6: Compare "Detail Sander" and "Orbital Sander" Labels Correctly
The question "Which is better: a detail sander or orbital sander?" is not answerable by a universal winner from the available product information. In fact, the BDEMS600 shows why the labels can overlap: BLACK+DECKER markets it as a detail sander, while the manual calls it a random orbital sander.
For this specific tool, make the decision by pad access:
- Choose the BDEMS600 when a compact teardrop base, corner access, or the fine-detail finger attachment addresses the actual surface geometry.
- Do not choose it solely because a label implies it will be the fastest option for every broad panel.
- Do not treat its dust canister as a replacement for a specified professional dust-extraction setup when indoor finish contamination or crew exposure is the controlling problem.
There are no independent comparison tests here for vibration, removal rate, dust capture, reliability, or cost per m². That means no credible rank, "best" claim, or commercial ROI calculation belongs in the verdict.
Step 7: Use This Pre-Start and Shutdown Checklist
Pre-start
- Confirm the work is appropriate for household consumer use.
- Confirm you are not sanding lead-based paint.
- Put on eye protection; add hearing and suitable respiratory protection for the dust conditions.
- Select the main base or finger attachment with the tool unplugged.
- Align the sanding-sheet holes with the pad holes.
- Fit the dust canister.
- Set up lighting and clear the cord route.
- Make a short test pass before working on the show face.
Shutdown
- Switch off and wait for the tool to stop.
- Disconnect power before removing a sheet or attachment.
- Empty the canister if the 10-minute interval has been reached.
- Clear sanding debris before inspecting or applying a finish.
- Label and store usable abrasives by grit; discard sheets that no longer cut cleanly. After the project, a few additional sander maintenance steps can help reduce dust buildup and vibration over time.
FAQ
Is the BLACK+DECKER BDEMS600 MOUSE sander any good?
It has documented close-access features: a compact format, teardrop base, detail pad, and finger attachment for fine-detail sanding. BLACK+DECKER positions it for household sanding and finishing tasks, including cabinets, furniture, paint removal, and surface preparation. There is no independent performance or durability test here to support a broader quality claim.
When should I use a detail sander?
Use one when tight corners, awkward angles, intricate areas, or small surfaces make a larger pad difficult to control. For the BDEMS600 specifically, use the teardrop base on large flat surfaces or in tight spots and corners, then fit the finger attachment for fine-detail areas that remain.
Is a mouse sander worth it?
It can be worthwhile when the shape of the work, not simply the amount of sanding, creates the bottleneck. If you regularly need controlled access around furniture details, cabinet details, or corners, the BDEMS600's documented geometry is relevant. It is not supported as a value choice for high-volume production or as a replacement for dedicated extraction.
What is the best tool for intricate sanding?
There is no basis here to name a universal best tool. The manual documents the BDEMS600 finger attachment for fine-detail sanding, and BLACK+DECKER describes the tool as compact with close-access features.
Summary and Final Verdict
The BLACK+DECKER BDEMS600 is a sensible tool for sanding when the job is household-scale and the limiting factor is access: tight corners, detailed furniture, cabinet work, or awkward angles. Its strongest documented combination is the teardrop base for large flat surfaces, tight spots, or corners, followed by the finger attachment for fine detail, with a corded 1.2-amp format and a dust canister that the manual requires for wood sanding.
Its limits matter just as much. Do not buy it as a confirmed consumables kit, do not rely on a single published OPM figure, and remember that its manual limits intended use to household consumer use. Fit the sanding sheet correctly, empty the canister every 10 minutes, use light pressure and long sweeping strokes, and inspect before you over-sand.
Final verdict: Buy the BDEMS600 if you need a beginner-friendly, corded detail format for controlled household sanding in corners and intricate areas. Pass if your priority is verified professional duty cycle, quantified dust extraction, or a pre-specified abrasive-and-extractor package. The repeatable result comes from the whole recipe (not one hero sander).
Related Articles