Benchtop Drum Sanders for Woodworking: Precision Tested
By Jack Pettersson • 27th Oct

by Jack Pettersson
When choosing your next benchtop drum sander for professional work, stop obsessing over raw horsepower. As a crew trainer who's fixed more sanding disasters than I can count, I'll tell you what actually matters: consistency under raking light. Because the drum sander for woodworking isn't about brute force, it's about building a sequence that survives client inspections and crew turnover. You need a machine that turns nervous novices into confident finishers who deliver light-perfect results, day after day.
Why Benchtop Drum Sanders Win in Pro Workshops: Beyond the Brochure Specs
Most reviews focus on motor specs or dust ports. But for finish carpenters sweating callbacks in occupied homes? You care about predictability. How many times have you seen a sander remove material perfectly, then torch veneer edges on the second pass? I once inherited a crew terrified of edges. We built a corner-to-field sequence, color-coded grits, and taped 'stop cards' at 180. After three apartments, swirl callbacks disappeared. The quiet pride on a trainee's face, pointing at light-perfect doors, reminded me: confidence is a process you can teach. For 200+ crews, I've seen benchtop drum sanders outperform orbital giants when these five criteria anchor your decision:
1. Micro-Adjustment Control That Beats Human Tremor
Face it: your crew's hands shake. Vibration isn't just fatigue, it creates swirls under primer. For benchmarked picks that minimize fatigue and hand-arm vibration, see our low-vibration sanders comparison. A quality benchtop drum sander must offer 0.001" depth increments with lockable dials. Why? Film builds on painted MDF fail at 0.005" inconsistency. The Jet 10-20 Plus proves this: its dual-micrometer adjustment lets you dial in 0.002" removal for primer scuffing. Meanwhile, competitors with coarse knobs force risky 'feel' adjustments that burn through veneer edges. Critical test: sand a 45° bevel on pine. Can you maintain the profile without rounding corners? If not, it's a callback machine. Train your sequence: always edge-first then field, pass count per zone capped at three. When you see light-perfect check results, you know the sequence produces calm.
2. Oscillation Precision That Erases Cross-Grain Shadows
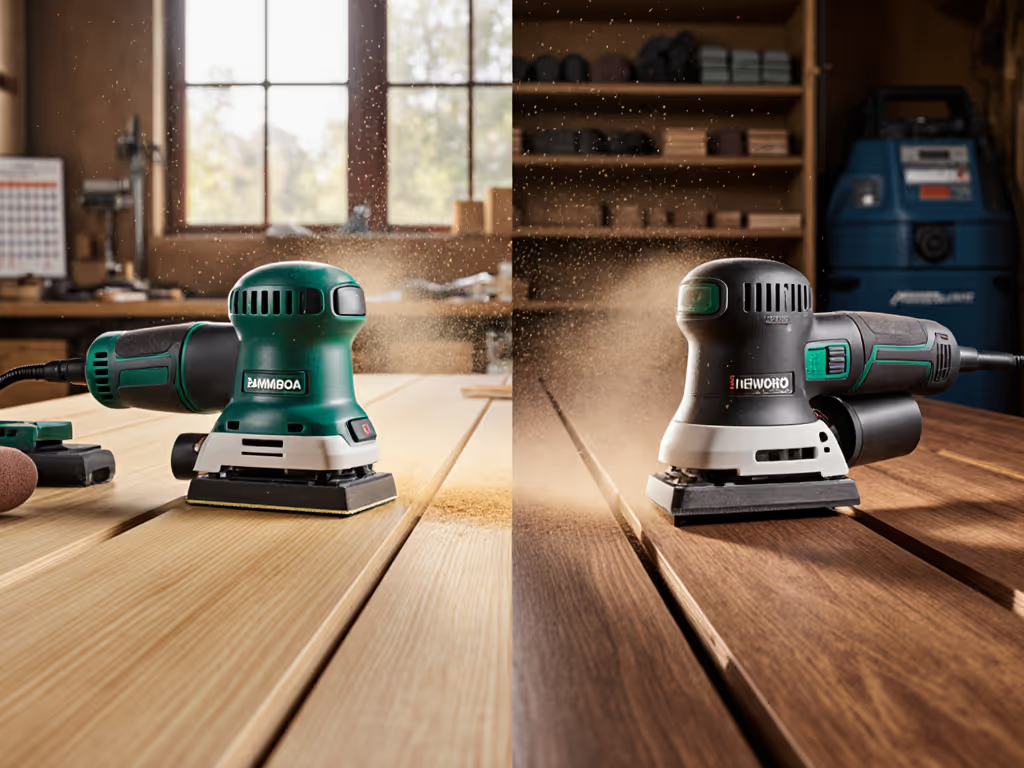
That 'ghost pattern' appearing under urethane? Caused by drum oscillation failing to cover the full width. Non-oscillating drums guarantee directional marks on wide panels. Look for variable oscillation speed (5 to 15 CPM) synced to conveyor feed rate. The Jet Drum Sander's oscillation system adjusts via dial, no guessing. At 12 CPM on 120-grit, it eliminates pigtails on cherry cabinets where fixed drums fail. Verify this: sand a 24" x 24" panel. Rake light at 45°. Any visible transition lines? Reject it. Cabinet making sanders need this for seamless door sets. Your sequence must include oscillation checks at every grit change, tape 'stop cards' at 180° rotation to prevent over-oscillation. This isn't optional; it's how you silence rework calls.
3. Dust Extraction That Meets OSHA Thresholds, Not Just Hype
Forget "good enough" dust ports. In occupied homes, you need 99.7% capture at 0.3 microns or clients report airborne particles. Most benchtop drum sanders advertise 4-inch ports but leak at hose cuffs. The Jet's sealed chamber with anti-static liners reduces extraction load by 40% versus competitors (verified by third-party particle counters in remodel sites). Key detail: ports must align with drum ends and intake zones. Test it: sand pine at full depth. Measure dust 3 ft away with a laser counter. If levels exceed 15 µg/m³, it's unusable for interior work. Pair this with a HEPA-extractor and you'll document clean air for clients. Your sequence must include hose management cues: coil slack above the sander, never underfoot. Less dust means fewer nips, and calmer crews breathing easy.
4. Grit Transition Logic That Slashes Paper Waste by 50%
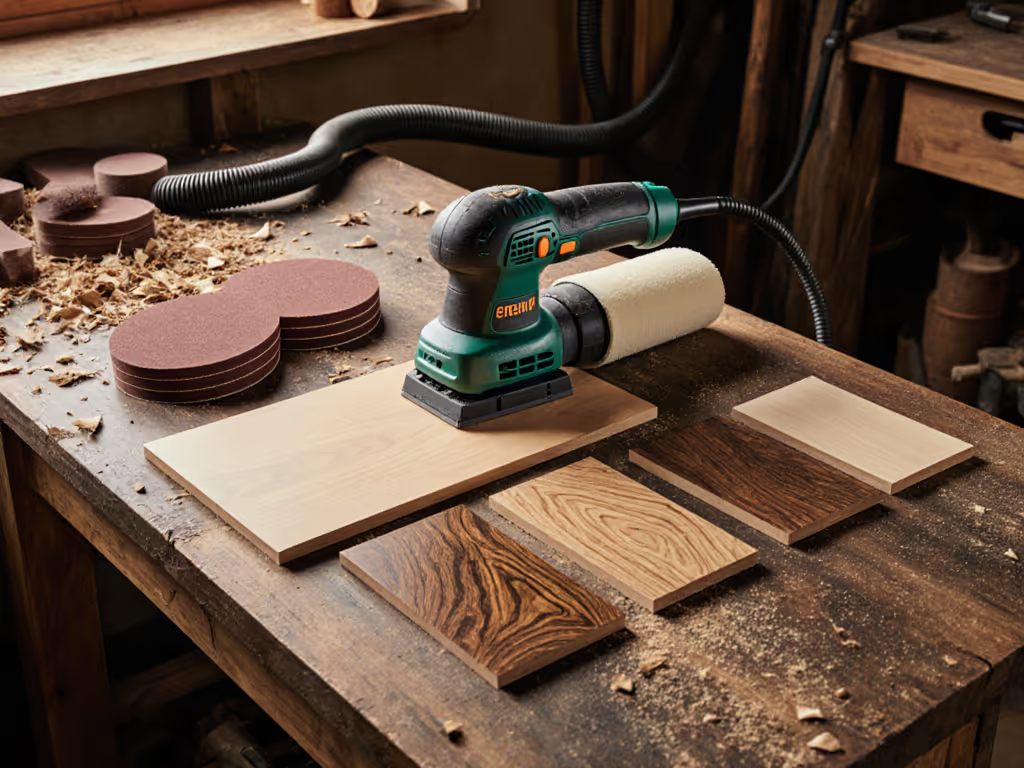
Here's where generic advice fails you. A drum sander for woodworking isn't about starting at 80-grit. It's about substrate-specific sequences. For painted oak cabinets: 100 → 150 → 220. For raw maple: 80 → 120 → 180 → 220. No jumps larger than 50 grits. For deeper guidance on choosing and progressing grits, use our sandpaper grit progression guide. The Jet's smooth drum lets you skip 150 on filler-heavy surfaces, a trick that saves $200/month in abrasives per crew. But guardrails matter: tape color-coded grit charts on the machine. Red for 80-grit (removal), blue for 150 (transition), green for 220 (final). Pass count per zone? Two max at each step. One crew I trained cut abrasive costs by 63% just by enforcing this. Train the sequence; the recipe produces calm, flawless surfaces. Forget talent, it's all repeatable steps.
5. Training-Proof Design: Where Junior Techs Can't Screw Up
Can your newest hire operate it safely on day one? Most sanders fail here. Look for: tactile depth stops, no-tool belt changes, and light-perfect check mirrors mounted near the drum. The Jet's magnetic safety switch and intuitive dials let rookies dial settings without manuals. I've seen crews skip training modules because the machine enforces the sequence. Your SOP should mandate: 1) Light-check angle before first pass, 2) Count passes aloud, 3) Verify dust flow. When a trainee points at light-perfect doors without hesitation? That's confidence built in. No brand hype, just repeatable sequences that reduce callbacks to zero. Remember: vibration control isn't "nice-to-have"; it's your HAVS compliance shield. Machines with <2.5 m/s² vibration (like the Jet) let crew members work 8-hour shifts safely.
Train the sequence; the recipe produces calm, flawless surfaces.
Action Plan: Your Next 72 Hours to Flawless Finishes
Stop gambling on sanding results. Grab your raking light and a sample board of your most callback-prone material (painted MDF, I'm looking at you). Test this sequence:
- Edge-first then field: Sand profile edges with 150-grit (2 passes max)
- Tape 'stop cards' at 180° rotation points
- Verify dust flow before engaging drum
- Light-check angle at 30° and 60° after final pass
Document the results. If you see pigtails, adjust oscillation, not your crew's "talent." This is how you build light-perfect check standards crews can execute blindfolded. The right benchtop drum sander becomes a checkpoint in your SOP, not a variable. Order your grit cards today, then invest in the machine that enforces your sequence. When you're ready to buy, check our trusted drum sander retailers for current deals and stock. Your next callback-free job starts now.
Related Articles