Cabinet Sander Comparison: Materials & ROI
By Aisha Benyoussef • 28th Apr
You're standing in front of a cabinet refinishing job - painted MDF, walnut veneer, primed hardwood all in one room. Your crew has used three different sanders across past jobs, and callbacks still happen under raking light. Before you reach for the cheapest option, let's talk about what actually matters: a cabinet sanding comparison that puts total cost front and center, not sticker price.
Total cost lives in rework, consumables, and downtime. For a deeper look at durability economics, see our professional-grade sanders ROI breakdown. Miss that, and you'll buy the wrong tool twice.
FAQ: How Do I Choose Between Orbit Sizes and Pad Hardness for Different Cabinet Materials?
What's the real difference between a 2.5 mm, 3 mm, and 5 mm orbit?
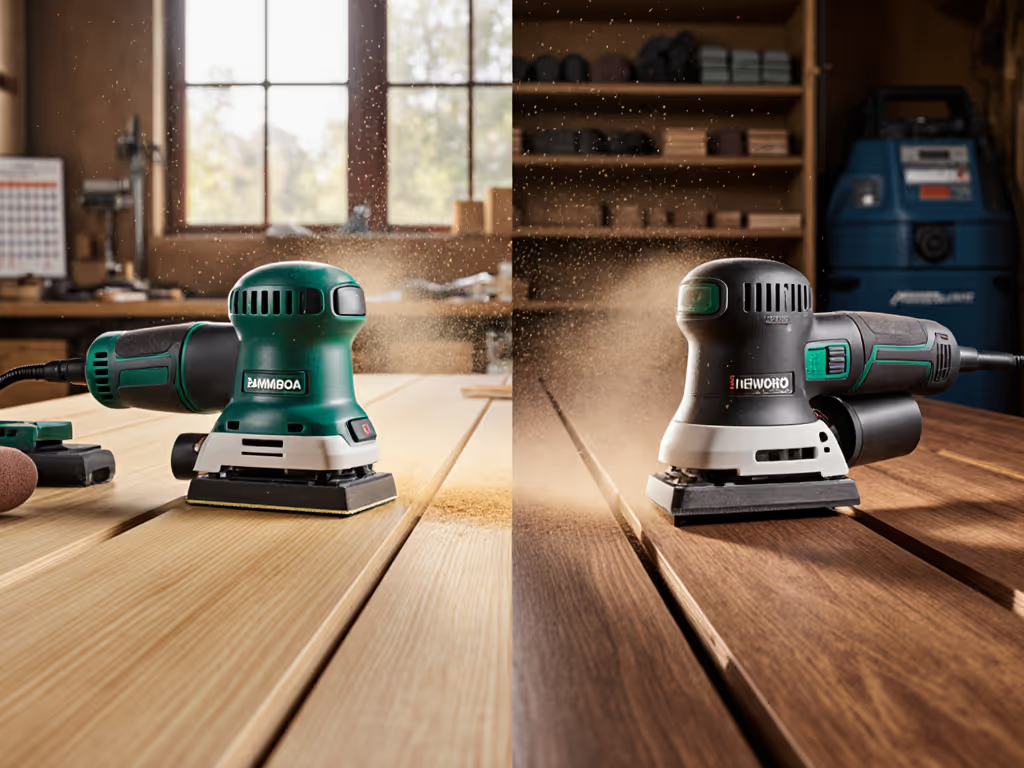
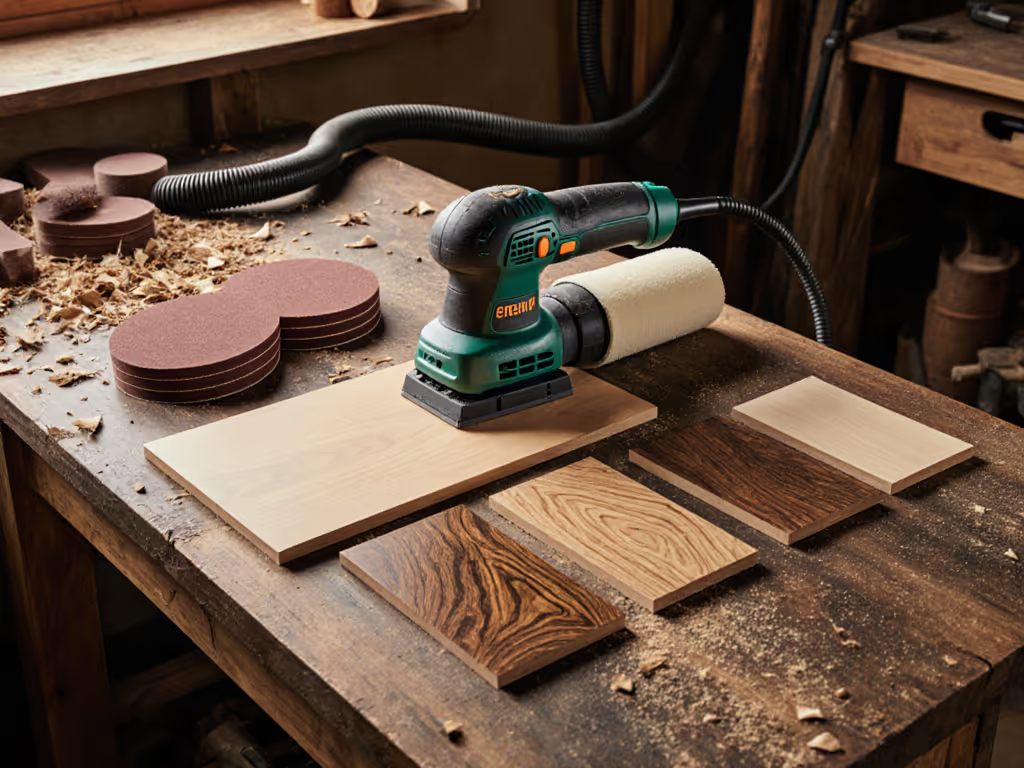
Orbit size determines scratch pattern density and final surface uniformity. A smaller orbit (2.5-3 mm) leaves finer, more densely packed scratch marks, ideal for stained hardwoods and veneers where swirl visibility is high under finish coats. A 5 mm or larger orbit removes material faster but leaves visibly coarser scratches, acceptable for paint-prep stages but risky as a final step before stain or clear coat.
The catch: not all materials tolerate aggressive orbits equally. MDF cabinet surface preparation with a 5 mm orbit can undercut soft composite fibers faster than hardwood, creating an uneven surface that telegraphs through primer. Your payback measured in weeks on a smaller-orbit, higher-quality finish comes from avoiding re-sand callbacks.
Pad hardness compounds the effect. A harder backing pad resists deflection, transmitting more force to the abrasive, which means a faster cut but greater risk of burn-through on veneers and edges. A softer pad conforms better to curves and painted surfaces, distributing pressure more evenly. If you're handling painted cabinet sanding over filler and lacquer, a soft pad at lower speed helps prevent chipping the existing film. On bare wood kitchen cabinet refinishing, a medium-hardness pad with a matched grit gives you control without sacrificing speed.
The tension is simple: faster removal feels productive until you're re-doing an edge on your own dime.
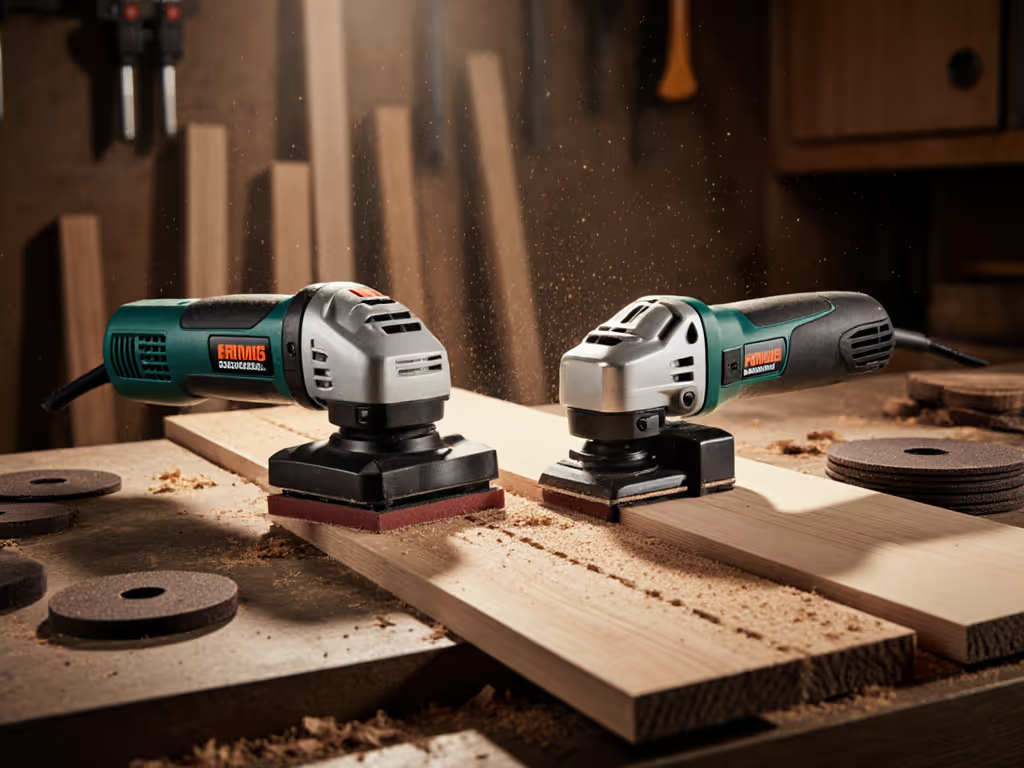
Which materials actually demand different sanders?
Melamine cabinet sanding techniques require a conservative approach. Melamine is a plastic-faced composite, and aggressive sanding tears the veneer. For plastic laminates and composites, follow our sanding plastics guide to avoid heat and adhesion failures. You need a finer grit progression (120→150→180 minimum) and lower speed to avoid heat buildup and adhesive failure. A random orbital sander operating at 8,000-10,000 RPM, never higher, with a fine dust-collection system prevents edge blowout.
MDF cabinet surface preparation sits between hardwood and melamine. MDF compresses under pressure and absorbs water from abrasive dust, swelling edges and delaminating faces if sanding is too aggressive or if wet dust pools. Mesh abrasives (which release dust faster) outperform paper here; the payback is two grit steps instead of four. A sander with strong suction, not just airflow, matters. Scheduled dust-collection checkups (filter inspection, hose integrity) reduce clogging.
Painted cabinet sanding on softwoods (pine, fir) and lacquered surfaces accelerates abrasive loading. Paint particles and binder residue stick to paper faster than bare wood dust. Mesh abrasives clog less, but paper abrasive life often drops 30-40%, inflating consumables cost per m² and downtime hours. Your choice: premium mesh at higher upfront cost, or budget paper and accept the labor cost of more frequent changes.
Wood kitchen cabinet refinishing on hardwoods and veneers (walnut, oak, cherry) is the control test case. These materials sand predictably if you match grit jumps (80→120→180 for rough-to-fine) and orbit size to final finish type. Stain work demands 180-grit or finer; paint prep tolerates 120. Variances here cascade. A crew member jumping grits or overspeeding introduces swirls that show under topcoat, forcing re-work.
FAQ: What Does Dust Extraction Actually Cost, and When Does It Justify Premium Hardware?
Why does dust capture matter beyond "keeping the site clean"?
Three costs hide in poor dust collection:
-
Health and compliance - HAVS exposure (Hand-Arm Vibration Syndrome) risk compounds when dust forces crews to work longer or in compromised body positions to see their work. Dust settling on skin and lungs adds occupational liability.
-
Finish contamination - Fine dust particles suspend in air during sanding. If extraction isn't running ahead of dust generation, particles settle on wet primer or polyurethane, creating nibs that require re-coat stripping. A single high-end kitchen that needs a re-do can wipe the margin on ten normal jobs. See our HEPA sanding guide for capture rates and extractor configurations that keep finishes clean.
-
Abrasive efficiency - Dust clogging the sander's pad and backing plate reduces cutting action; you press harder, overheat the abrasive, and burn the substrate. Consumables cost per m² climbs despite using "cheaper" paper.
A 1.2 amp orbital sander produces roughly 40-60 cubic feet per minute of dust. A typical shop vac rated 4-6 CFM capture falls short if the hose isn't sealed tightly or the vac filter clogs within an hour. Upgrading to an SLA 5 day response extraction system (sealed hoses, HEPA filtration, auto on/off relay) costs $1,200-$2,000 upfront but cuts filter maintenance frequency from weekly to monthly and eliminates site complaints. Payback window: usually 6-12 weeks on a crew doing three cabinet jobs per month.
Which extraction systems pair best with which sanders?
Not all sanders and extractors are compatible. Pad hole patterns differ; mismatched adapters leak suction. A sander with a 5-inch pad but extraction rated for 3-inch hose throughput will perform like it has no dust collection. Your expensive tool becomes a dust generator.
Orbital sanders optimized for dust capture (like random-orbit models with sealed pads and dedicated collection ports) pair with extraction systems offering:
- HEPA or equivalent filtration: Captures particles down to 0.5 microns; cheaper pleated filters fail around 5 microns, allowing ultra-fine dust back into the shop air.
- Anti-static hose and grounding: Prevents resin and lacquer dust from building static charge, a fire hazard in enclosed spaces.
- Hose diameter matched to sander port: 1.5-inch hose for orbital sanders is standard; 1-inch undersizes create bottleneck resistance.
- Flow rate sufficient for continuous duty: Check CFM spec against sander output. Undersizing forces pressure drop and abrasive clogging.
A practical setup: 3-inch random orbital sander (12,000 RPM, micro-filtration pad) + 1.5-inch hose + 6+ CFM shop vac with HEPA filter = a cost per m² advantage in fewer grit steps and less paper waste. Warranty coverage on extraction systems (typically 12-24 months, SLA 3-5 days) matters if the vac fails mid-project; downtime hours multiply fast.
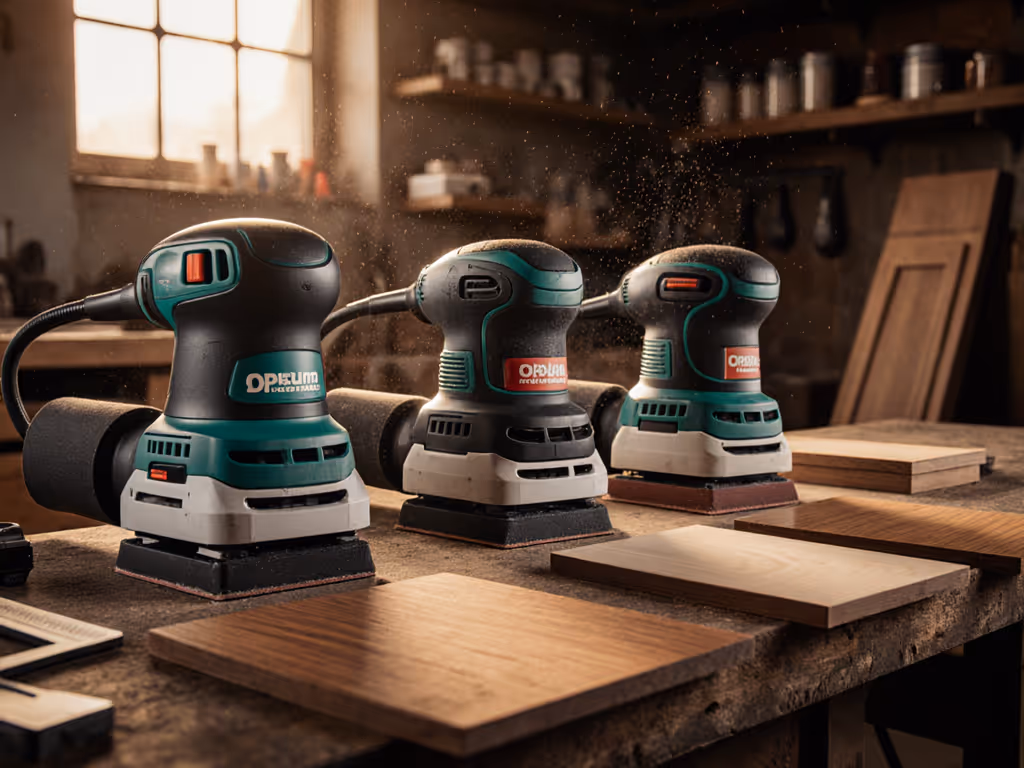
FAQ: Which Sander Reduces Vibration and Fatigue Without Sacrificing Speed?
What's the ROI on vibration-damped sanders?
High vibration causes two problems: short-term fatigue and long-term HAVS risk. A 13,500 RPM sander without dampening transmits micro-oscillations through your hands and forearms. Over a full day, crews experience numbness and grip-strength loss, slowing edge work and profile work, the very tasks that demand precision.
Low-vibration designs use damping pads and counterweight systems to reduce perceptible vibration by 20-40%. Ergonomic grip design (balanced weight, cushioned handles, minimal hose drag) lowers fatigue by a measurable margin. Studies in manual-tool industries show low-vibration tools reduce downtime hours from RSI claims and extend crew career length, a true total-cost-of-ownership win.
Cost comparison: a standard 1.2 amp orbital sander runs $150-$250. A low-vibration, sealed-dust-system equivalent costs $400-$600. Over five years of heavy use (500+ hours/year), the premium sander avoids one HAVS-related injury or early crew rotation, easily saving $15,000-$30,000 in replacement hiring and retraining.
Payback measured in weeks? No. Payback measured in kept crew and higher quality output.
FAQ: How Do I Compare Sanders Across Material Types Without Guessing?
What's a repeatable test for choosing the right orbit and pad?
Run a controlled side-by-side on a sample board that mirrors your typical job: bare MDF one section, primed hardwood another, painted softwood a third. Use the same abrasive grit, pad hardness, and extraction settings; only vary the orbit size or sander model. Measure three outcomes:
-
Surface uniformity - Use raking light at a 15-degree angle. Count visible swirl marks per square inch. Target: zero under topcoat for stain, less than 2 per sq in for paint prep.
-
Time to completion - Measure elapsed time from rough-sand to final grit, including dust cleaning and abrasive changes. Faster isn't always better if quality suffers; aim for speed at consistent quality.
-
Abrasive life - Weigh used paper or count mesh pad cycles to failure. Calculate consumables cost per m². The cheaper upfront abrasive that clogs in 30 minutes inflates your real hourly cost.
Document results on a one-page scorecard and share with your crew. This becomes your internal standard for tool selection and process control.
Related Articles