Veneer Sanding Comparison: Prevent Burn-Through
By Saanvi Iyer • 12th Apr
Sanding veneer demands more precision than solid wood. The margin between a flawless finish and a costly restart is measured in fractions of a millimeter, and the difference often comes down to your choice of sander, pad configuration, and technique. This veneer sanding comparison cuts through the confusion to show you which approaches deliver results on delicate veneer surface preparation, and which ones invite rework.
Whether you're refinishing cabinet doors, prepping trim panels, or tackling in-house mill samples, the stakes are real. A burn-through on a veneered surface isn't a quick feather-sand away. The underlying adhesive melts, the veneer lifts, and you're looking at replacement or a visible repair. I've watched crews lose half a day because they reached for a too-aggressive setup or didn't rotate their sander pad pressure. What I've also seen is how a deliberate, measured approach (matched to your material and extraction setup) turns that anxiety into confidence.
What Makes Veneer Sanding Different from Solid Wood?
Why can't I just use my standard orbital sander on veneer the same way I do on solid stock?
Veneer is a thin, glued layer. It's typically 1-3 mm thick, often backed by substrate or paper. The moment you apply too much pressure, too much speed, or the wrong pad configuration, heat and friction concentrate on a tiny surface. The adhesive layer softens, the veneer releases, and the surface bubbles or burns. Solid wood is forgiving; veneer is not.
Additionally, veneer comes in different forms: natural wood veneers, reconstituted veneer, and paper-backed veneers. Each has different tolerances for pressure and grit progression. A 120-grit mesh abrasive that works beautifully on MDF prep will scorch paper-backed veneer in seconds if you linger.
The core rule is this: gentler pressure, lower effective speed, and deliberate dwell time management. Protect hands, lungs, and tempo; the finish will follow.
What vibration and speed metrics should I be aware of?
Most random orbital sanders operate between 7,000 and 13,000 orbits per minute (OPM). Higher speeds remove material faster, but on veneer, faster is your enemy because it amplifies heat. A 2.6 m/s² A(8) vibration rating sits in the acceptable-but-not-class-leading range. If fatigue is a concern, compare options in our low vibration sanders guide. For veneer work, aim for machines with lower vibration and the ability to dial back speed without sacrificing pad stability.
Belt sanders typically run up to 380 m/min belt speed, which is far too aggressive for veneer alone. They're calibration tools, not finish tools for thin materials.
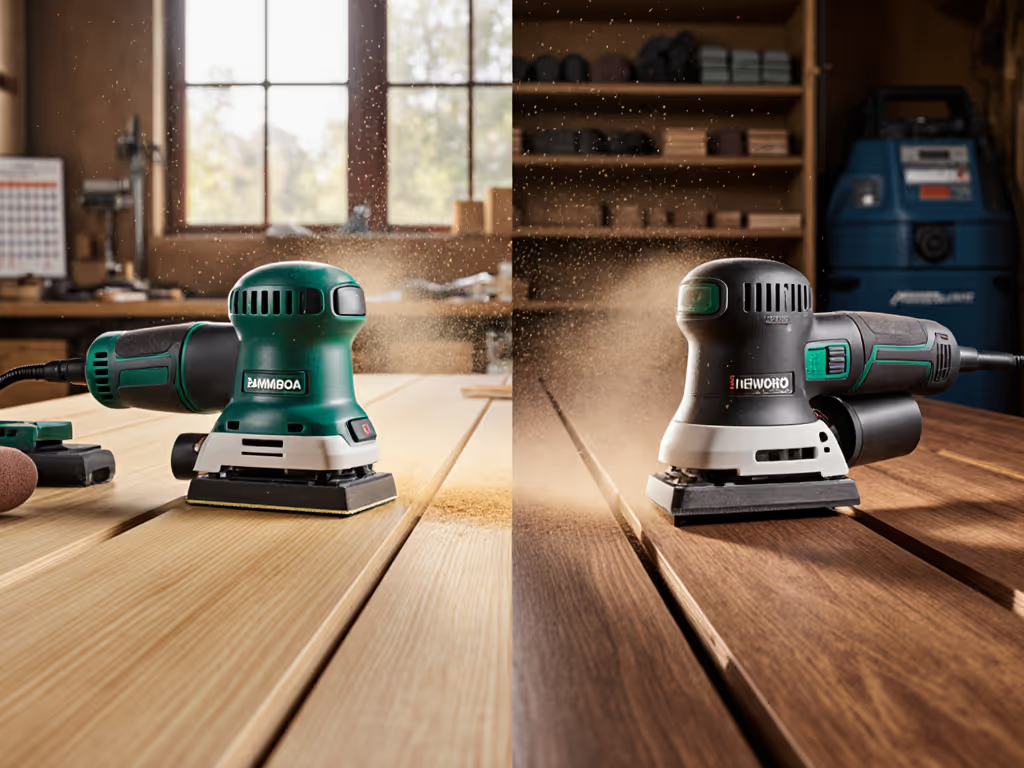
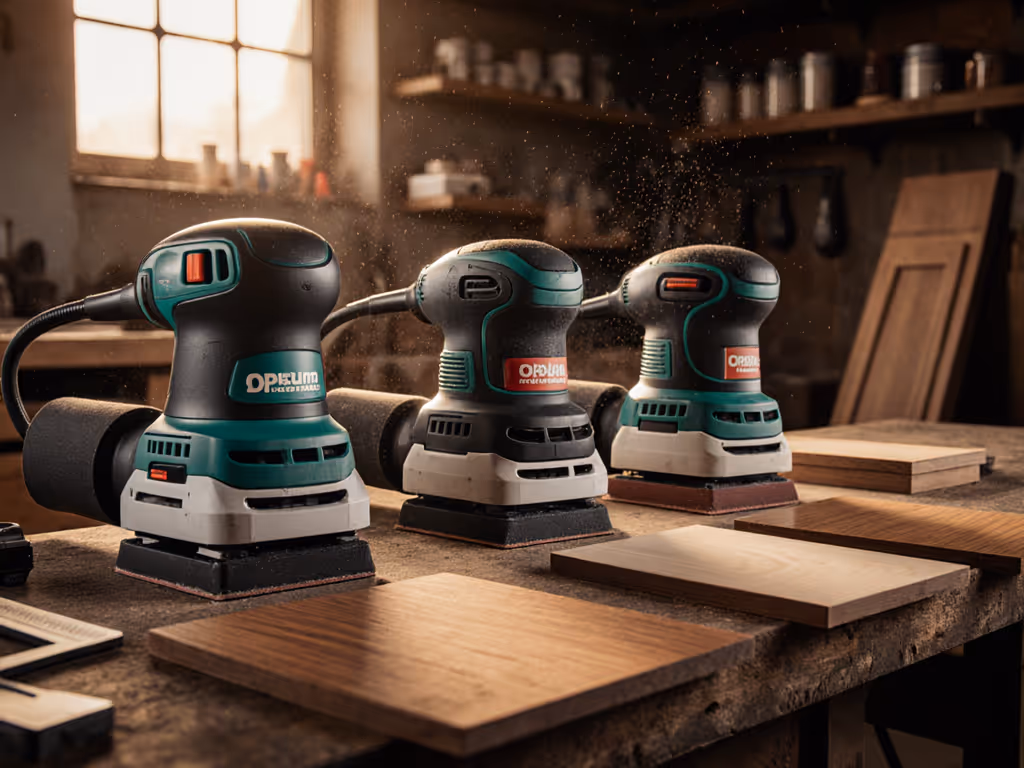
Which Sander Type Works Best for Veneer?
Should I use a random orbital sander or a wide-belt machine?
Random orbital sanders are the standard choice. Here's why: they combine material removal with a random scratch pattern that's harder to see than unidirectional belt marks. On veneer, that randomness is critical to hiding micro-scratches under raking light and after primer.
Wide-belt and drum sanders aren't precise enough for finish work on veneer. They excel at calibration and heavy stock removal, but the risk of uneven pressure and burn-through is high. If you're running high volumes of veneered panels and have a dedicated wide-belt line with electronic segmented pads and sophisticated feed pressure controls (like a Kundig Brilliant-2 or Premium-2), that's a different conversation. But for most cabinet shops and finish crews, a quality random orbital sander with the right pad and extraction is your workhorse.
What's the difference between electronic pads and segmented pads?
Electronic sanding pads allow even pressure distribution and fine control. They respond to the material and adjust contact in real time. Segmented pads are ideal for uneven panel edges or delicate materials, offering localized compliance without sacrificing consistency. Both are superior to rigid steel rollers, which are too aggressive for veneer work.
If you're sanding veneered surfaces, avoid machines with only hard steel rollers. Look for machines configured with electronic or segmented head options. That flexibility pays for itself in the first week of veneer work.
How Do I Prevent Burn-Through?
What specific techniques stop burn-through on paper veneer and plastic veneer finishing?
Burn-through happens when heat concentrates in one spot for too long. Prevention is three-part:
-
Keep the sander moving. Never hold the orbital in one place. Use light overlapping passes, and if you're feathering an edge, move continuously along the edge rather than dwelling on the corner.
-
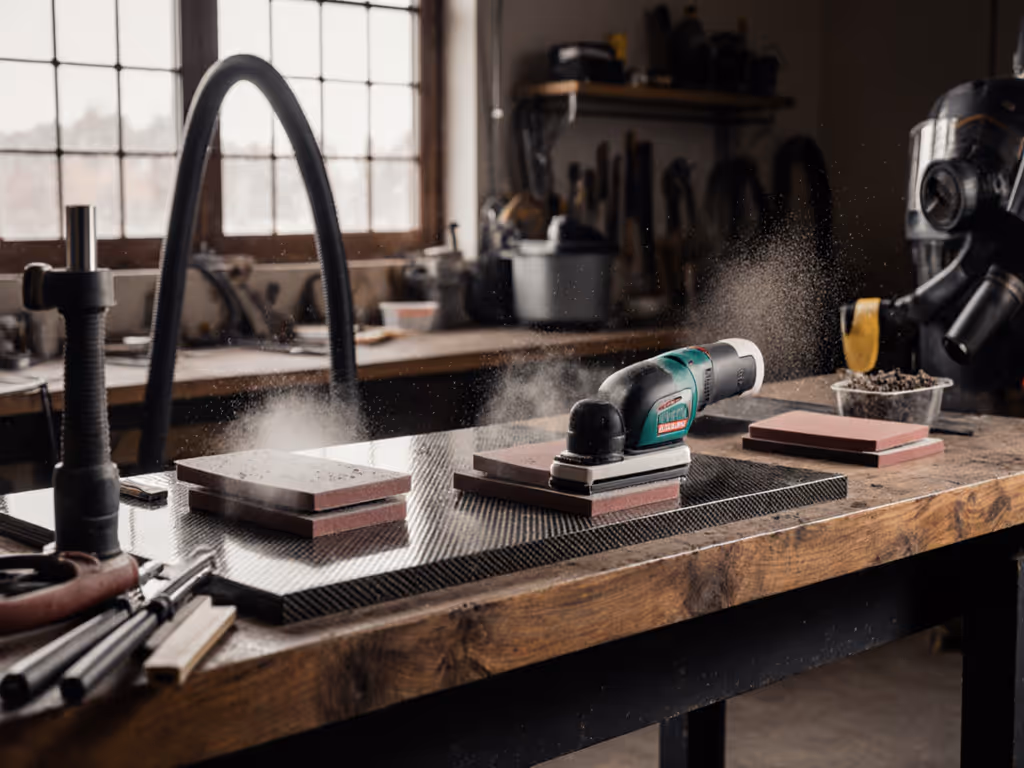
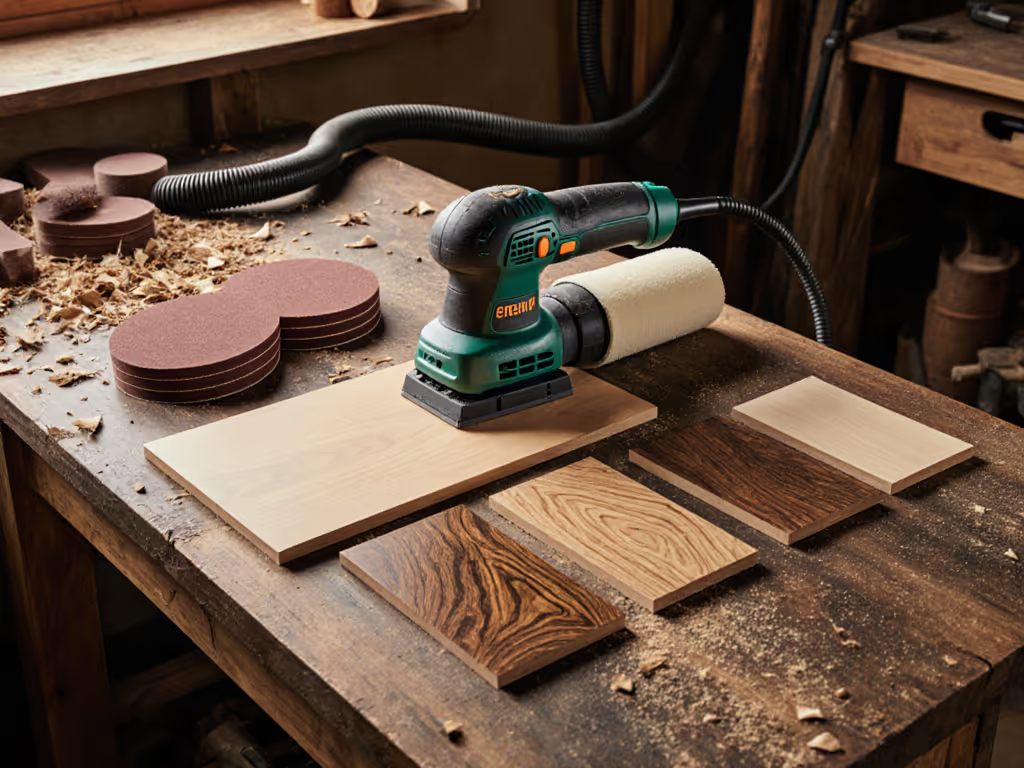
Use the right abrasive grit and surface. Paper veneer sanding benefits from progressive grit jumps: start at 120 mesh, move to 150 if needed, then finish at 180 or 220. For step-by-step sequences across materials, see our sandpaper grit progression guide. Plastic veneer (melamine, PVC) is more heat-sensitive. Use finer grits from the start (150-180) and plan for slower progress. Mesh abrasives load less than paper in the early grits and allow air flow, keeping the pad cooler.
-
Monitor pad pressure and extraction. A clogged filter or poor airflow forces you to apply more pressure to reach the same finish. Dial in cleaner air and steady suction with our HEPA sanding setup guide. That pressure = heat. A quiet, calm jobsite with steady extraction noise tells you the dust isn't backing up. If suction is dropping, stop and clean the filter. A blocked vacuum system is often the hidden cause of burn-through complaints.
What about thin veneer sanding techniques when I'm near an edge or profile?
Edges and profiles are burn-through hotspots because sanding surface area is reduced and pressure concentrates. On thin veneer sanding near profiles:
- Approach the edge at an angle rather than head-on. This distributes pressure across a larger contact area.
- Use a harder interface pad (if switching from soft to firm) only on open surfaces; revert to softer pads for profiles and edges.
- Take smaller passes and check frequently. A light sand every few passes, rather than one aggressive pass, keeps temperature down.
- If the pad is getting hot to the touch, you've lingered too long. Reset and move on.
Mesh abrasive loading percentage matters here too. High-loading mesh (70%+ abrasive coverage) cuts faster but generates more heat. Lower-loading mesh (50-60%) allows cooler cutting and is gentler on veneers. Choose based on your substrate condition, not just cutting speed.
How does extraction impact burn-through risk?
Execution of proper extraction is underestimated. A sander-extractor mismatch or hose weight imbalance throws off your pad pressure and introduces micro-stops where the pad hesitates, another burn-through trigger. Ensure your hose weight is balanced and the extractor vacuum matches the sander's CFM demand. A 5 hp compressor running a pneumatic D/A sander is standard practice, but if you're running corded electric orbital sanders, your extractor must pull steady, uninterrupted suction.
If you notice the pad jumping or the sander feeling "sticky," dust backup is likely. Clean the filter, check the hose for leaks or clogs, and verify your abrasive holes align with vacuum ports. A quiet, calm jobsite tells you extraction is working (not just because noise is lower, but because you're not fighting dust clouds that foul your vision and slow your work).
Material-Specific Strategies
How should I adjust my approach for plastic veneer versus paper veneer?
Plastic veneer (melamine, polyester overlays, PVC) is significantly more heat-prone than paper or natural wood veneer. Plastic veneer finishing requires:
- Lower effective speeds (dial back OPM if possible, or use a sander with inherently lower oscillation).
- Finer abrasives from the start (avoid jumping up from 100-grit on plastic; start at 120-150).
- Shorter dwell time (measured in single-pass overlaps, not circles or figure-eights).
- Higher extraction demand: plastic dust is fine and tends to cake on filters faster, so more frequent filter checks are essential.
Paper veneer sanding is more forgiving. You can use slightly higher grits progressively (120 -> 150 -> 180) and hold the sander a touch longer if you're feathering into solid wood.
Natural wood veneers sit in the middle: respect their thinness, but they're more heat-tolerant than plastic. The real risk on natural veneer is swirl marks from improper pad or grit sequencing, not burn-through, so your focus shifts to scratch pattern uniformity rather than temperature management alone.
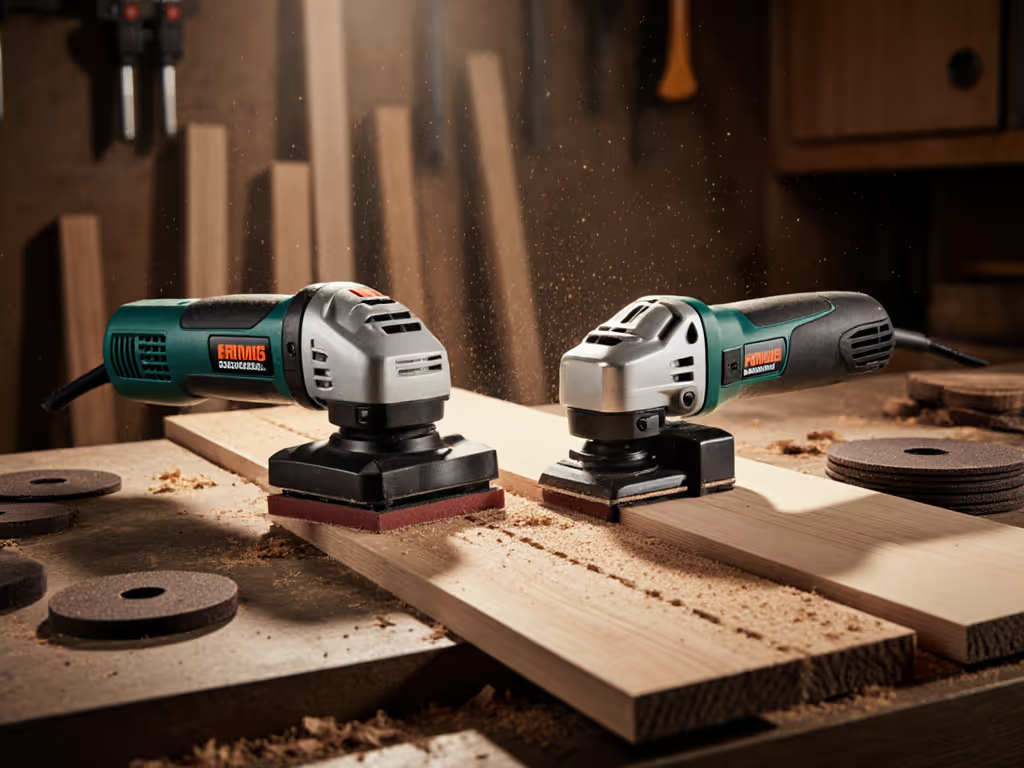
Comparing Setup Choices: Small Orbital vs. Large Orbital vs. Specialty Machines
Should I use a 2.5 or 3 inch random orbital versus a 5 inch?
- A 2.5 or 3 inch random orbital shines on edges, profiles, and tight spots. Its lower inertia can reduce heat risk, but it also makes it easier to dwell, so keep it moving.
- A 5 inch random orbital is the go-to for panels. Pair a soft or medium interface pad with lower speed and light pressure for veneer-safe results.
- Larger 6 inch or dual-mode/geared sanders remove faster but raise heat risk. For a size-specific breakdown of pad control and coverage, read 5 vs 6 inch random orbitals. If used at all on veneer, run low speed with very light pressure.
- Specialty 3x4 finish sanders with soft pads can help on profiles and edge break, but they're slower on flats.
Related Articles