CNC Sanding Workflow: Swirl-Free Machined Panel Finishes
By Saanvi Iyer • 11th Aug
What to do
A swirl-free CNC panel finish requires controlled inspection and documented refinement, not a universal sanding recipe. Identify the router marks, check the panel and abrasive for contamination, use a job-approved setup with dust collection, and inspect the result under defined lighting.
- Start with: Define the visual acceptance condition and record the panel’s machined state before sanding.
- Then: Run a documented trial on representative material, keeping the tool, pad, abrasive, and inspection result specific to that job rather than assuming one grit or setting suits every substrate.
- Important prerequisite: Connect compatible dust extraction where provided, ventilate the area, and follow appropriate respiratory-protection requirements.
Important: The available evidence does not establish a universal swirl-free method, grit progression, speed, pressure, or compatibility across tools, extractors, abrasives, and panel materials.
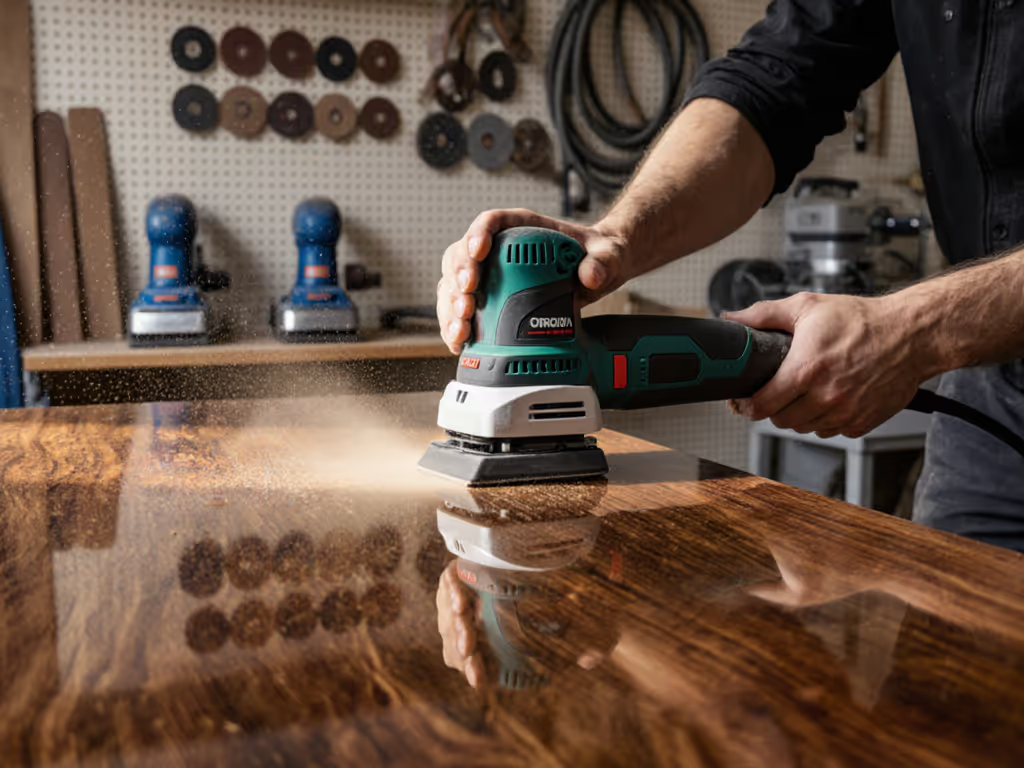
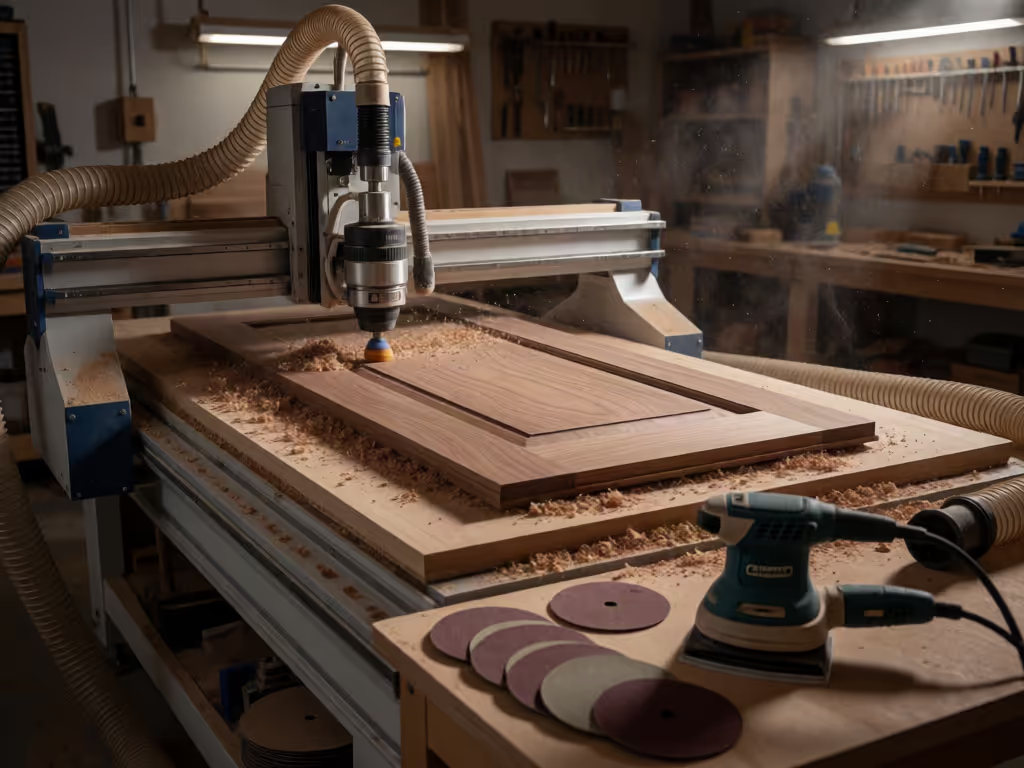
A disciplined CNC sanding workflow turns post-CNC surface sanding from a last-minute rescue into a controlled inspection-and-refinement stage. Sanding can be used after CNC wood machining to remove tool marks and smooth the surface, but it should not be treated as an automatic guarantee of a swirl-free finish. On machined panels, the practical objective is simple: identify what the router left behind, refine it without introducing a new visible pattern, and verify the panel under the same conditions that will expose defects later.
For crews working indoors, the workflow also has a second purpose: protect hands and lungs while maintaining a predictable finish standard. Protect hands, lungs, and tempo; the finish will follow.
FAQ: What does "swirl-free" actually mean after CNC machining?
In practical shop language, swirl-free means the panel passes the project's visual acceptance check without obvious circular or spiral sanding marks. It does not mean that sanding has erased every trace of machining through force alone.
A useful distinction is between two separate surface conditions:
- Router tool marks: marks associated with the machining operation.
- Sanding-disc marks: marks introduced during the refinement stage itself.
That distinction matters because substituting a sanding disc for a cutting tool does not inherently eliminate visible marks. In one community-reported CNC-mounted sanding experiment, disc marks replaced endmill marks; the same discussion also described spiral scratches after material apparently became trapped beneath the disc. These are anecdotal reports, not a universal rule, but they make the central operational point: inspect both the panel and the abrasive rather than assuming the next pass is corrective.
Establish the acceptance condition first
Before a panel reaches the sanding station, define what "accepted" means for that job. The definition can be modest and still useful:
- View the panel under the job's chosen inspection lighting.
- Identify visible tool marks, debris, or new scratches.
- Record whether the panel is accepted, requires another refinement attempt, or should be held for review.
Do not rely on touch alone as the only acceptance test. The workflow should use the project's specified visual inspection method, particularly where the final appearance standard is demanding.
FAQ: What should happen before the random orbital sander touches the panel?
Start with a panel handoff check, not a grit number. The available evidence does not establish a universal grit progression, speed, pressure, dwell time, or overlap pattern for CNC-machined panels. Those settings must therefore be treated as shop-specific process choices, validated against the actual material, machining result, and finish requirement, not as a recipe that can be safely copied across every substrate.
A short handoff card makes this manageable:
- Panel or job identifier
- Material description supplied for the job
- Machined face or profile to be refined
- Visible condition before sanding
- Abrasive and pad selected
- Dust collection connected: yes/no
- Inspection result after the pass
This is not bureaucracy. It gives a lead carpenter or finisher enough information to review why one panel passed and another did not. It also reduces the temptation to make several untracked changes at once when a defect appears.
Check cleanliness at the point of contact
Before each pass, inspect the work surface and the abrasive face for anything that could interfere with contact. The forum report of trapped material and spiral scratching is only a single account, but it is a sensible prompt for a basic stop-and-check step. If a new scratch pattern appears, pause the operation, examine the disc and panel, and document what was changed before restarting.
This preserves diagnostic clarity. It does not prove the cause of every mark, but it avoids treating unexplained defects as a reason to keep sanding blindly.
FAQ: How should a crew approach router tool mark removal without inventing a universal recipe?
Use a staged decision process rather than a fixed sequence. The evidence available here supports sanding as a post-machining surface-refinement activity; it does not support one universal abrasive progression for solid wood, MDF, veneered sheets, painted panels, or coated products.
Stage 1: Classify the mark
Ask three job-specific questions:
- Is the mark visible on the panel face, an edge, or a profile?
- Is it isolated or repeated across the machined area?
- Does the project require a review before further material is removed?
If the answer to the final question is yes, hold the panel. A sanding station should not become a place where uncertain material is aggressively worked until its geometry changes.
Stage 2: Run a documented trial on representative material
Where the job permits, use an offcut or approved sample area to establish a sanding method. Record the tool, pad, abrasive, collection arrangement, and inspection result. The purpose is not to claim that the combination is universally swirl-free; it is to create a repeatable starting point for that particular job.
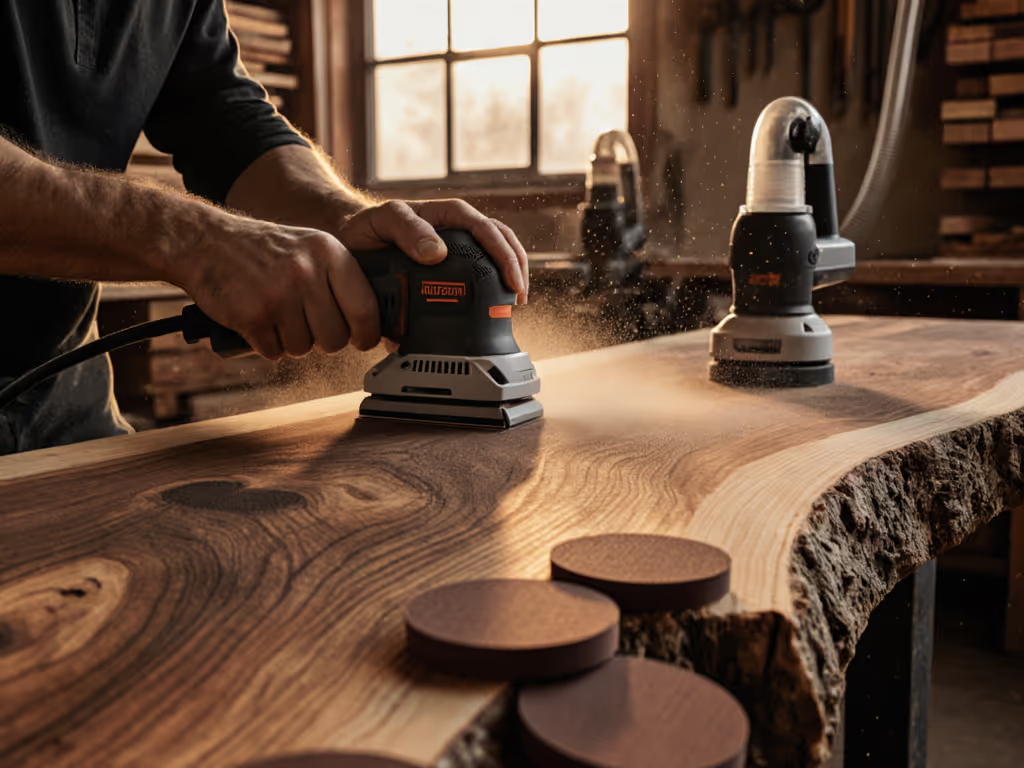
A random orbital sander may be part of this trial. For example, Mirka identifies its DEROS II 650X configuration as a 6-inch machine with a 5.0 mm orbit. That identifies a particular tool configuration, but it does not establish its performance on every machined panel, nor does it prove compatibility with every hose, extractor, abrasive, or panel shape.
Stage 3: Keep the production instruction narrow
Once a sample is accepted, issue a short work instruction for the run. Avoid claims such as "this grit always removes router marks" or "this orbit always finishes veneer safely." Instead, state what was accepted on that material and project, then require an inspection hold if the panel condition differs.
A controlled workflow is not a promise that every panel behaves alike; it is a way to see variation early enough to respond deliberately.
FAQ: What does dust extraction for CNC sanding require in an indoor workflow?
Dust extraction for CNC sanding should be treated as an active part of the work setup, not an optional convenience. For a deeper look at capture performance and cleaner shop air, see our HEPA sanding guide. The relevant sander manual instruction is clear: where dust-extraction and collection facilities are provided, connect and properly use them; dust collection can reduce dust-related hazards.
That statement is important but limited. It does not quantify capture efficiency, verify airflow, establish an occupational exposure limit in mg/m³, or demonstrate that one extractor, hose, cuff, abrasive, or filter arrangement will work with every tool and panel.
For an indoor crew, the practical checklist is:
- Connect the provided extraction facility correctly before sanding.
- Confirm that the work area is adequately ventilated.
- If the task may expose workers to hazardous dust, use appropriate respiratory protection as directed by the tool manual and site requirements.
- Stop if the connection becomes loose, the work area changes, or the control arrangement is no longer functioning as intended.
- Keep the sanding station and panel free of loose debris before restarting work.
Avoid the word "dustless." Collection can reduce dust-related hazards, but it does not by itself demonstrate that exposure is eliminated. Likewise, no responsible workflow should claim a particular mg/m³ result, respirator class such as P2/P3, or legal compliance outcome without the applicable assessment and local requirements.
Keep the setup under review
Tool-specific vibration values, m/s² A(8) calculations, exposure minutes, and dBA-at-ear dose percentages are not established for this CNC workflow by the available evidence, so do not fabricate a numeric limit sheet.
Build observable controls into the shift: keep hose weight balance from pulling the operator off the panel, schedule brief rotations where practical, and stop when a worker reports tingling or discomfort.
FAQ: How can a small crew standardize machined panel finishing?
Standardize the decision points, not unsupported numbers. A one-page SOP can be more effective than a wall chart full of grit claims that were never tested on your panels.
A compact CNC sanding SOP
- Receive: identify the panel and inspect the machined surface.
- Prepare: inspect the contact surfaces; connect the provided dust collection and confirm ventilation.
- Refine: use the job-approved tool, pad, and abrasive combination.
- Inspect: use the project's designated viewing condition.
- Record: pass, rework, or hold; note any abnormal scratch pattern or contamination observed.
- Escalate: do not improvise unsafe modifications or keep sanding an unresolved defect.
Include abrasive condition in the record if it is meaningful to your operation.
FAQ: What should the crew do next when the finish still fails inspection?
First, stop treating the panel as a speed problem. Reinspect the machined condition, the abrasive, and the panel surface; then decide whether another documented trial is appropriate or whether the piece needs review by the person responsible for machining and finish acceptance.
Further exploration should focus on building a job-specific sample library: material description, machining appearance, approved sanding setup, dust-control arrangement, and inspection outcome. Pair that process record with a routine sander maintenance guide to troubleshoot dust, vibration, and tool-condition issues before they affect another panel. Over time, that record becomes the crew's most useful reference, not because it promises identical results on every panel, but because it supports consistent decisions when the next difficult panel arrives.
Related Articles