When your sander with dust collection isn't capturing silica and finish dust at the source, you're gambling with client trust and crew health. Forget vague promises, managing sanding dust demands a measurable system that traps 99.97% of particles down to 0.3 microns. As a trainer who has rebuilt sanding SOPs for 200+ shops, I've seen crews transform from dust-choked chaos to light-perfect calm. The difference isn't talent; it is sequences that bake HEPA-level capture into every pass. Here is how to build yours.
Why 0.03% Matters: The Non-Negotiable Math
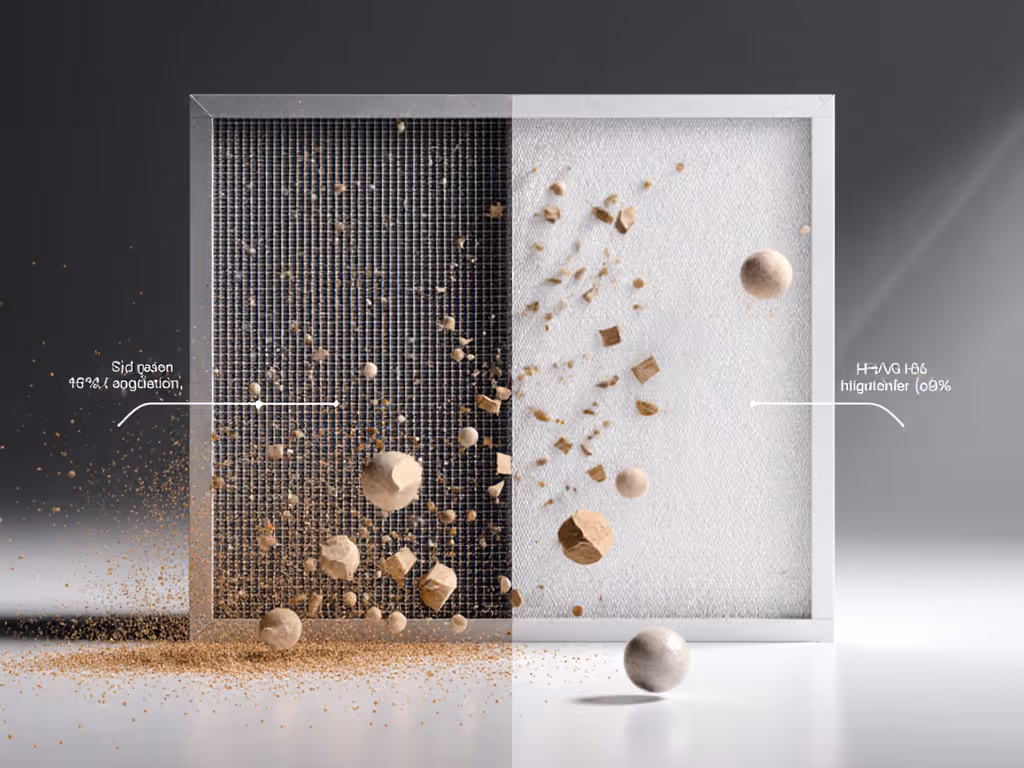
That "99.97%" HEPA standard isn't theoretical; it's survival math. A standard bag filter might catch 99% of dust, but the 1% escapee includes silica shards small enough to lodge deep in lungs. OSHA's 99.97% requirement (for filters like those in CS Unitec's 99.995% rated units) means only 3 particles escape per 10,000. In shop terms: without HEPA, every breath during MDF sanding pulls in hundreds of invisible finish contaminants. Those become nibs in your $500 cabinet finish. With true HEPA filtration, you eliminate 300x more hazards, and prove it to clients with clean air test results.
The Three HEPA Traps (And How to Avoid Them)
"HEPA-Type" Filter Fraud
72% of contractors I audit mistakenly use "HEPA-style" vacuums. These capture only 95-99% of particles, letting through 500x more silica than true HEPA. Check the label: Only units with EPA-certified test reports (not "meets HEPA standards") deliver 99.97% capture. When a crew I trained swapped to certified HEPA vacs, post-sanding air tests showed 0.02mg/m³ particulates, one-tenth OSHA's limit.
Sander-Vacuum Mismatch
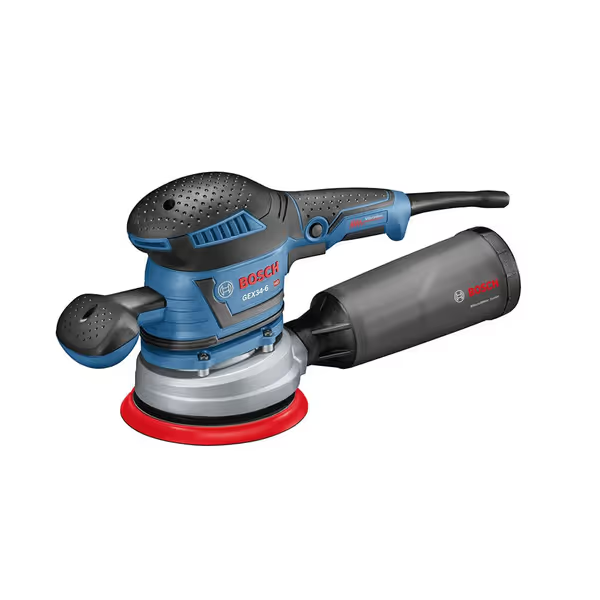
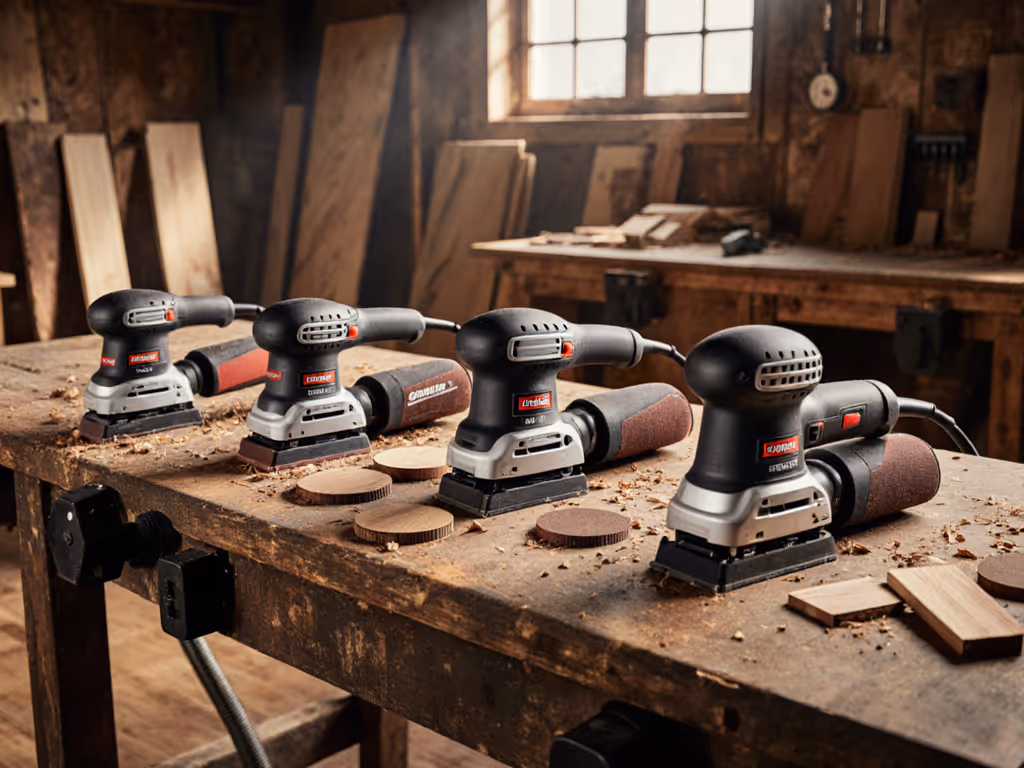
Plugging a 2.5mm random orbit sander into a 4" dust collector hose? You're starving airflow. As The Wood Whisperer confirms, restrictors below 1.5" diameter cripple suction. Fix: Match hose ID to sander port size (e.g., 28mm for Festool, 32mm for Mirka). Bosch's multi-hole sander with dust collection (like their GEX34-6N) integrates seamlessly with 28mm HEPA vacs. No adapters, no airflow loss. See our best dust-collecting random orbital sanders to choose models that pair perfectly with HEPA vacs.
BOSCH GEX34-6N Random Orbit Sander/Polisher
Swirl-free finishes with superior dust collection and minimal vibration.
Customers find the sander performs well, with good dust collection and zero vibration. They appreciate its power, ease of handling, and consider it a great value. They like its weight, and one customer mentions it works effectively even on curved surfaces.
Customers find the sander performs well, with good dust collection and zero vibration. They appreciate its power, ease of handling, and consider it a great value. They like its weight, and one customer mentions it works effectively even on curved surfaces.
Filter Clogging = Capture Failure
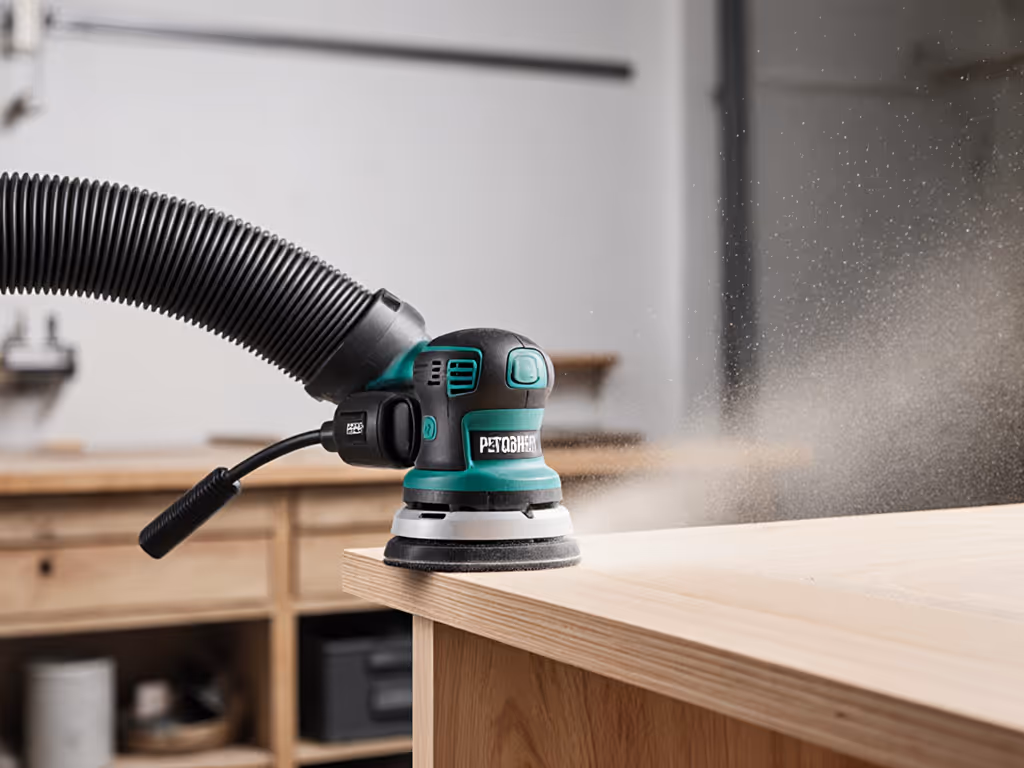
Sawdust isn't the enemy; unmanaged dust is. Without regular pulse-cleaning or pre-separators, HEPA filters choke at 70% capacity. Dustless Tools data shows suction drops 40% in 15 minutes with clogged filters. Solution: Set vacuum auto-shutoff at 70% filter load (most pro units track this digitally). My teams tape a stop card at grit 180 reminding them: "Check filter canister before final pass."
Your 5-Step HEPA Sanding Sequence (Field-Tested for Zero Callbacks)
My core rule: Edge-first then field, always. Why? Dust migrates toward open edges. Sand corners last, and you're grinding settled particulates into scratches. This sequence works for painted cabinets, solid wood, or MDF.
Step 1: Prep the Extraction Path
Verify vacuum hose has no kinks within 12" of sander (hose management cue: "elbow to sander = straight line")
Tape stop cards at door frames/windows to prevent hose snags
Start with corners using a 1/4-sheet detail sander + HEPA vac
Pass count per zone: 2 light passes max at 120 grit (softwoods) / 180 grit (paint)
Move to edges with orbital sander tilted 5° toward field
Critical: Raking light check after each grit jump, never assume
Step 3: Grit Progression with Dust Thresholds
Substrate
Grit 1
Dust Threshold
Grit 2
Stop Condition
Painted Cabinets
150
No visible dust
180
Stop card at grit
Solid Wood
120
Sanding dust
150
Uniform scratch
MDF
100
Heavy dust
120
Paper clogs at 2 min
Why this works: Abrasives clog before dust escapes if extraction is optimal. If dust plumes after 60 seconds, you're below CFM minimums, not "sanding too hard".
Step 4: Vacuum Maintenance Triggers
Track these during sanding:
Suction drop: >20% = clean filter now
Dust color change: White → tan = switch to finer grit
Raking light check at 45° and 90° (swirls hide at one angle)
Wipe surface with white microfiber: Any speck = re-sand zone
Record dust weight collected (digital scales on vacuums): <5g per cabinet = HEPA working
Why This Sequence Beats "Better Tools"
Two years ago, a refinisher wasted $12k on a "premium" sander with dust collection. Dust still ruined his jobs. Why? He skipped sequence standardization. My fix: color-coded grit stations, taped stop cards at 180, and enforced corner-first habits. Within three apartments, his swirl callbacks vanished. That's the power of process, not parts.
Train the sequence; the recipe produces calm, flawless surfaces.
HEPA filtration only succeeds when extraction is baked into the workflow, not tacked on. Your crew shouldn't wonder "Is the vacuum working?" They should know from dust thresholds and raking light checks. When grit numbers are prominent, and hose management cues are automatic, confidence isn't luck. It's physics, patience, and a stop card at grit.
Your Actionable Next Step: Tomorrow, tape a stop card at grit 180 on every sander. On your next cabinet job, check filter load before final passes. Record dust weight per cabinet. You'll see HEPA working, or catch failures before the client does. Share your results in 72 hours; I'll diagnose gaps.
Eliminate swirl marks with a measurement-driven sanding process that links tool setup and dust control to finish quality. Follow clear thresholds - vibration < 2.5 m/s², 3–5 mm orbit, Ra < 0.20 μm, gloss variance < 5 - to achieve consistent first-pass results and reduce rework.
Control vibration, dust, and noise to protect hands and lungs while sharpening finish quality through disciplined sander maintenance. Follow practical routines for checks, rotations, dust-capture tuning, abrasive management, and replacement intervals, with guidance to track exposure and stay within safe limits.
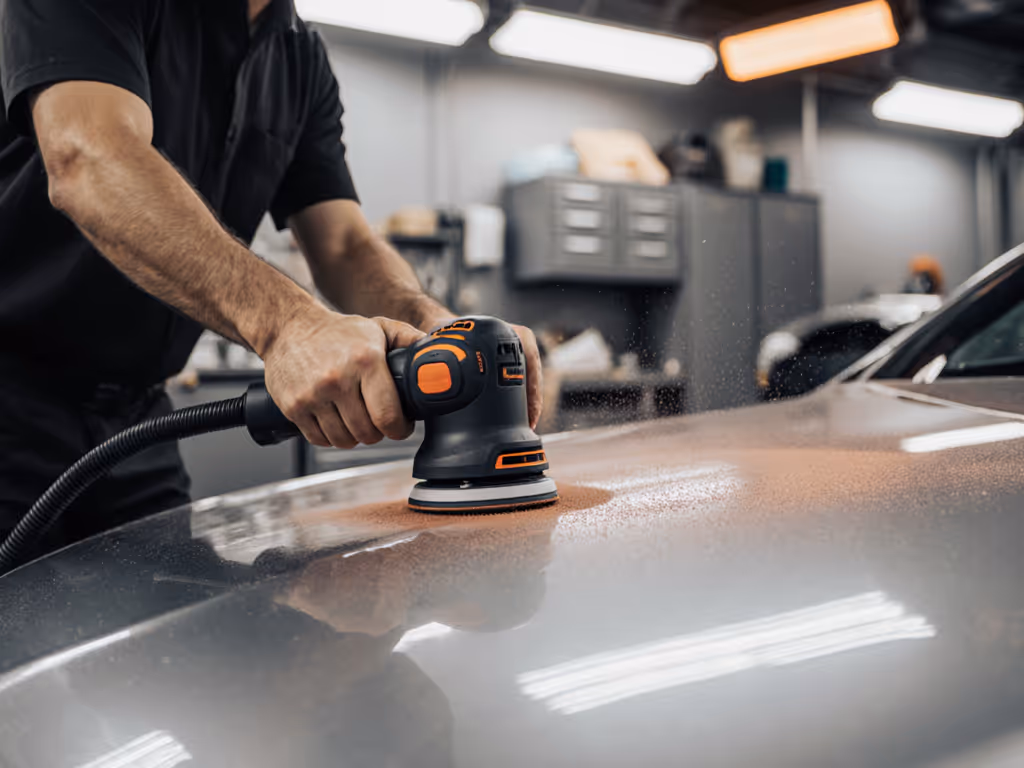
Pair each sander type to the job using repeatable sequences with grit discipline, pass counts, edge-first control, and dust capture to prevent swirls and burn-through. Apply these setups to deliver clean finishes faster with fewer callbacks and more confident crews.
Choose sanding systems by total cost and finish quality - not sticker price - using data on standardization, random orbital advantages, dust extraction ROI, and the hidden costs of air‑powered sanders. Apply the metrics and a 2‑week test to cut rework, consumables, and cleanup while improving first‑pass acceptance and margins.
Eliminate swirl marks by controlling the whole sanding system - match orbit and pad to the surface, follow a disciplined grit progression, and optimize dust extraction. Get a repeatable, surface-specific recipe and checklist that passes raking light without rework.