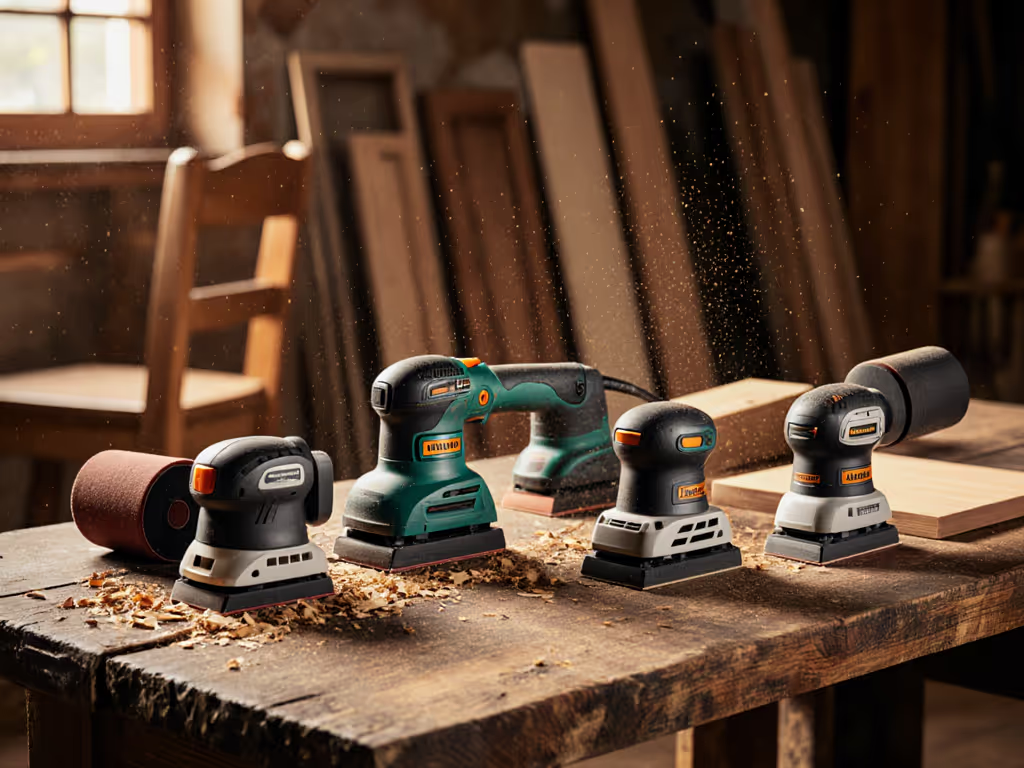
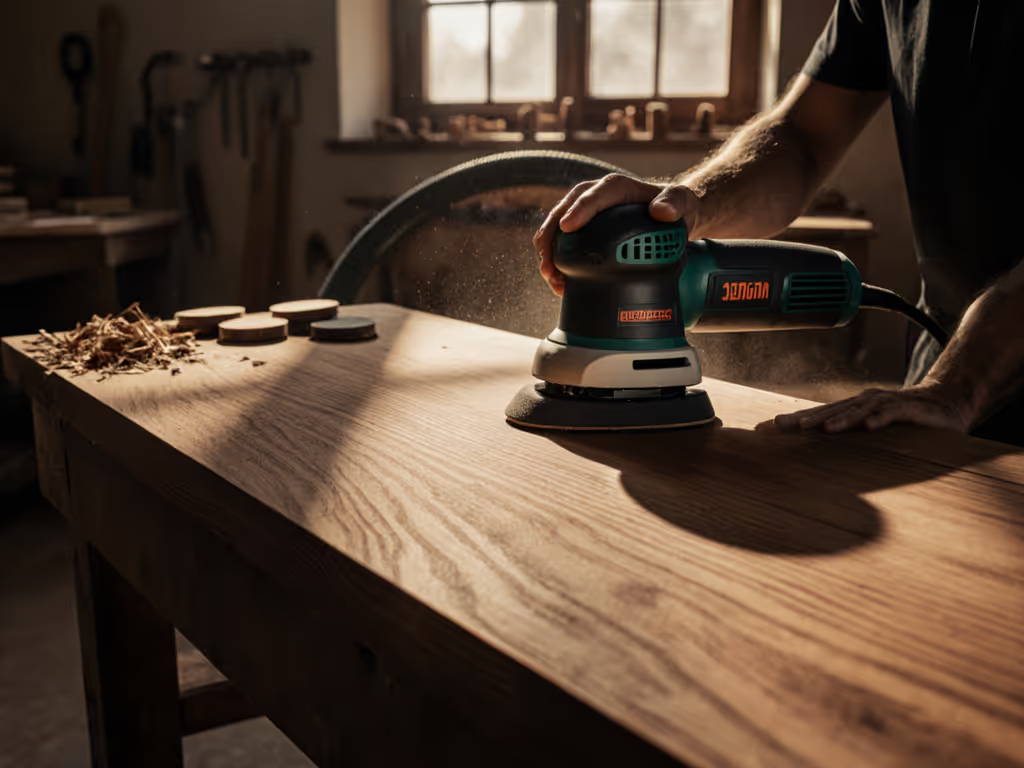
Professional finish carpenters and cabinet refinishers face a critical question daily: what sander do I need for this specific surface? The wrong choice means swirl marks under raking light, edge burn-through on veneers, or dust complaints from clients in occupied spaces. Understanding power sander types isn't about collecting tools, it's about creating a repeatable sequence that delivers light-perfect surfaces every time. In my fifteen years training crews for high-end shops, I've found the right sander match changes everything from workflow efficiency to junior technician confidence. Let's break down the sander selection guide that solves your actual pain points (not just the sales hype).
1. Belt Sanders: Precision Power for Heavy Prep on Large Surfaces
Best for: Flat field work on doors, tabletops, or stair treads where rapid material removal is required without compromising flatness.
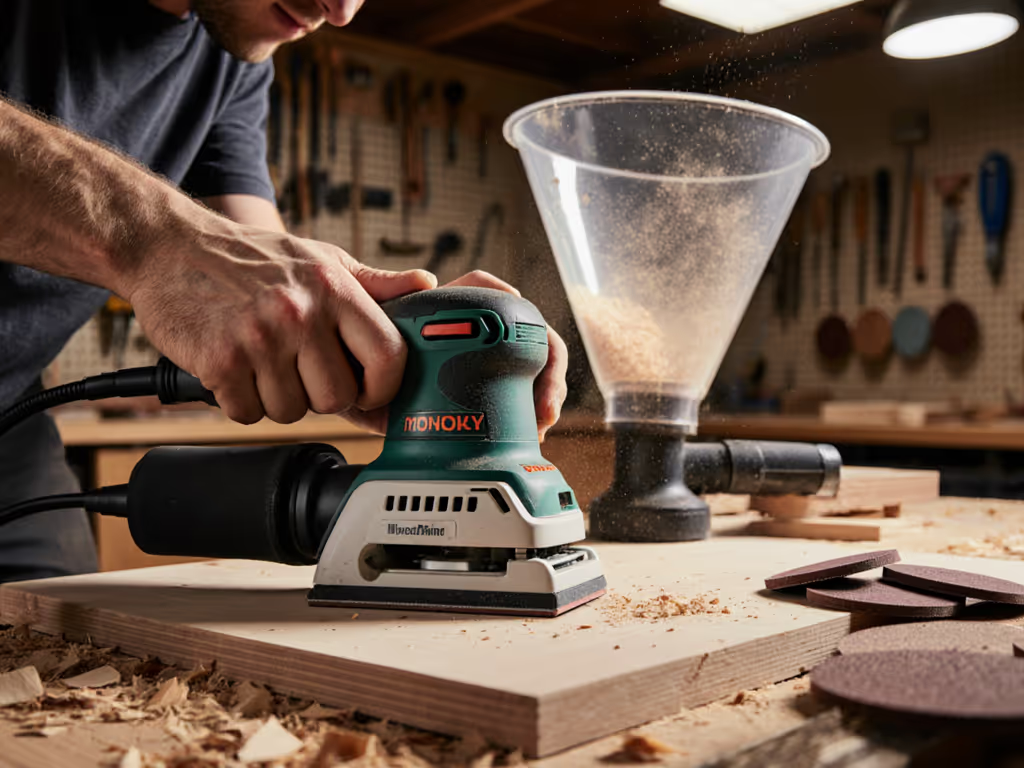
Most professionals reach for belt sanders during initial prep phases, but mishandling causes immediate problems: uneven surfaces from inconsistent pressure, heat burn on paint films, and dust plumes that trigger client complaints. The key isn't just owning a belt sander, it's implementing a substrate-specific sequence.
I recommend a 3-inch to 6-inch model with variable speed control (8,000-12,000 SFPM) for predictable results. Start with 80-grit on MDF or softwoods, then move to 120-grit with a 15-degree downward angle. Crucially, edge-first then field: always approach within 1/2 inch of edges with the sander already running, never starting directly on the edge. Tape 'stop cards' at 180-degree turns to prevent over-sanding. For finish carpenters working in occupied homes, couple with a 1-1/4" vacuum hose to capture 90%+ of dust at the source. This sequence prevents the swirl marks that only appear after primer application, the kind that cause expensive callbacks.
2. Random Orbital Sanders: Your Daily Driver for Finish-First Work
Best for: 90% of interior finishing tasks, cabinet repaint prep, trim sanding, and any surface requiring swirl-free results under raking light.
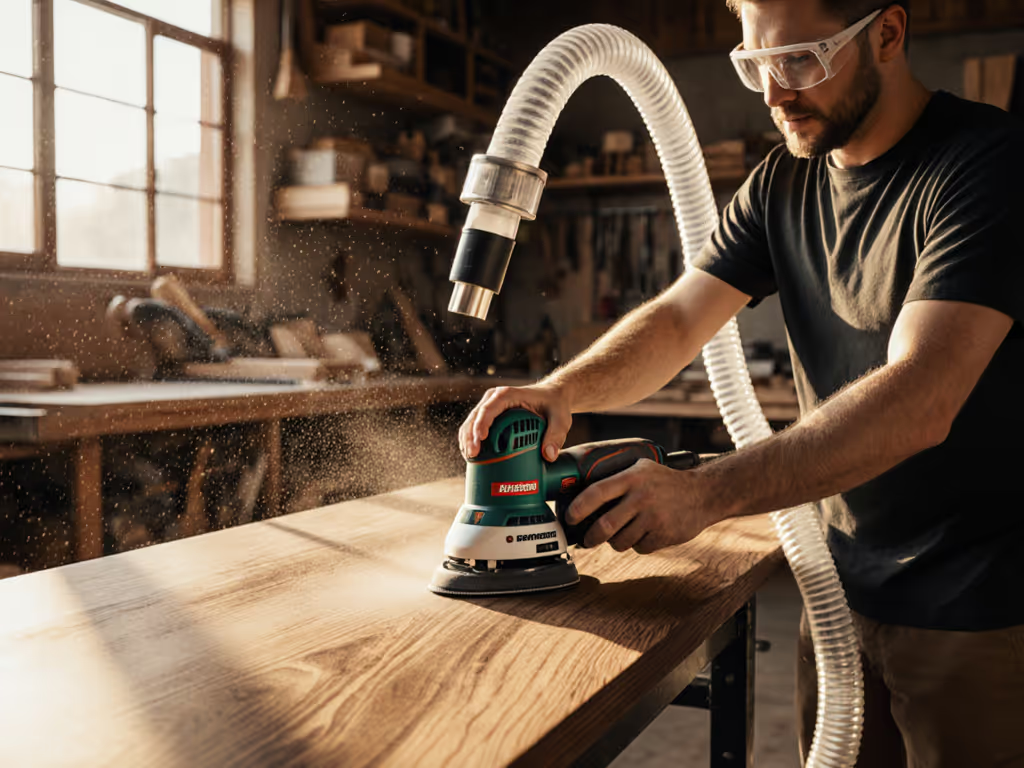
When I ask crews what's their most overused (and most misused) tool, random orbitals always top the list. The vibration issues, inconsistent scratch patterns, and dust leakage stem from incorrect orbit selection, not the tool itself. For high-end finish work, the data is clear: 5mm orbit with medium-hard foam backing delivers optimal cut rate with minimal swirl risk across woods, veneers, and painted surfaces.
Train your sequence with grit discipline: 120-grit for initial paint removal, 180-grit for final smoothing, never skipping more than one grit number. Establish pass count per zone, typically 3-4 passes with 30% overlap. For edge control, tilt the sander 15 degrees with the leading edge 1/4 inch from the corner. Pair with mesh abrasives and a well-maintained dust collection system to solve clogging issues on paint resins. A model with variable speed (8,000-12,000 OPM) lets you dial down to 8,000 for film builds where aggressive cutting causes burn-through. Remember: train the sequence; the recipe produces calm, flawless surfaces.
When I inherited a crew terrified of edges, we built a corner-to-field sequence with color-coded grits. After three apartments, swirl callbacks disappeared. The quiet pride on a trainee's face, pointing at light-perfect doors, reminded me: confidence is a process you can teach.
3. Detail Sanders (Mouse/Corners): The Precision Tool for Tight Spaces
Best for: Intricate millwork, window frames, and cabinet corners where standard sanders can't reach without rounding profiles.
Most professionals undervalue detail sanders until they're sanding a dentil molding or window stool return. Standard sanders force awkward angles that cause vibration fatigue and unintentional profile rounding. A triangular detail sander with 3mm orbit solves this by delivering edge-first control you can't achieve with larger tools.
My shop standard starts with 120-grit wrapped around the tip, always moving toward the edge (never away). The critical SOP element: limit passes to 2 per zone to prevent heat buildup on veneers. For vertical work, position your hose first (hose management cues prevent tripping and ensure consistent dust capture). When working near finished surfaces, tape 'stop cards' at transition points to avoid accidental contact. This approach eliminates the "poor control in corners" pain point that causes more rework than any other single issue I've tracked.
4. Palm Sanders (Quarter-Sheet): For Curves and Final Passes
Best for: Contoured surfaces, curved cabinet doors, and final smoothing before topcoat where orbital patterns must blend perfectly.
Despite newer technologies, palm sanders remain indispensable for finish carpenters working on curved elements. Their rectangular pad conforms better to compound curves than round orbital pads, but improper use creates direction-specific scratch patterns that telegraph through clear finishes.
The solution is a structured sequence: load with 180-grit paper and make two perpendicular passes at different angles (0° followed by 45°), not circular motions. Keep the pad flat (no rocking) and maintain light pressure. For high-end furniture, implement a 220-grit final pass at 6,000 FPM with 20% overlap. Crucially, inspect at 30-degree light-check angle (raking) immediately after to catch any directional scratches before they become finish failures. Pair with a low-vibration model (under 5 m/s²) to prevent the numbness/tingling that leads to inconsistent pressure.
5. Dual-Action Sanders: For Automotive and Specialty Finishes
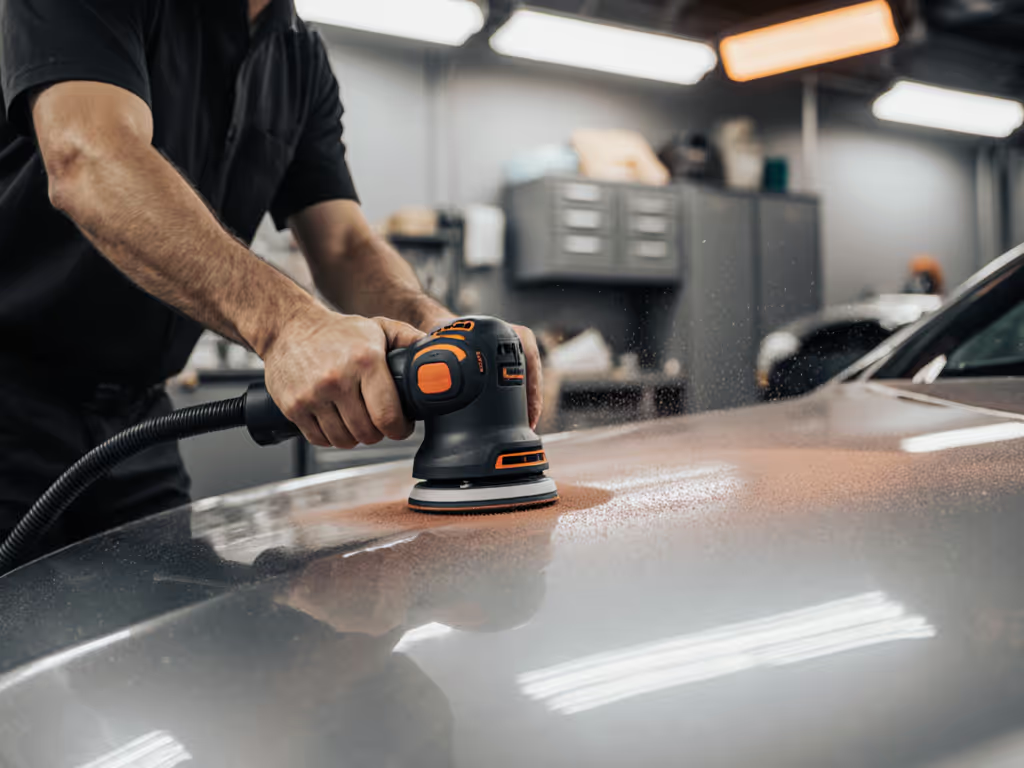
Best for: High-gloss automotive finishes, solid-surface countertops, and any application requiring absolute swirl elimination.
While less common in traditional woodworking, dual-action (DA) sanders solve critical problems for pros handling high-gloss finishes or solid surfaces. Their unique orbital then rotation motion creates a random scratch pattern that becomes virtually invisible under intense lighting, perfect for epoxy-coated bar tops or kitchen islands where raking light reveals every imperfection.
DA sanders require specific training sequences: begin with 120-grit at 6,000 RPM for aggressive cutting, then progress to 220-grit at 4,000 RPM for final smoothing. The key differentiator is maintaining consistent pad pressure: too light causes chatter, too heavy creates heat swirls. Implement a three-zone inspection protocol: first under normal light, then 30-degree raking light, finally after a damp wipe to reveal hidden defects. This systematic approach eliminates the "swirls that only appear after topcoat" problem that plagues so many high-end jobs.
Next Step: Implement Your Project-Specific Sander Sequence
Understanding power sander types is just the beginning. The real value comes from matching each tool to your specific materials, substrates, and finish requirements within a documented sequence.
Take this actionable step today: grab your current project (a cabinet door, staircase tread, or trim piece) and implement a simple 3-step sequence: edge work first, then field, then detail. Use color-coded grits (120 blue, 180 yellow, 220 red), establish pass counts per zone, and implement 'stop cards' at critical transitions. Document your results under raking light and compare to previous work.
Teach the sequence deliberately, and you'll find that confidence isn't about talent, it's about having a repeatable process that works every time, even for your newest crew member. When you solve the fundamental question of what sander do I need with precision, you transform sanding from a gamble into a predictable step toward flawless finishes.
