Acrylic Sanding Techniques: Heat, Grit, Clarity
By Aisha Benyoussef • 6th May
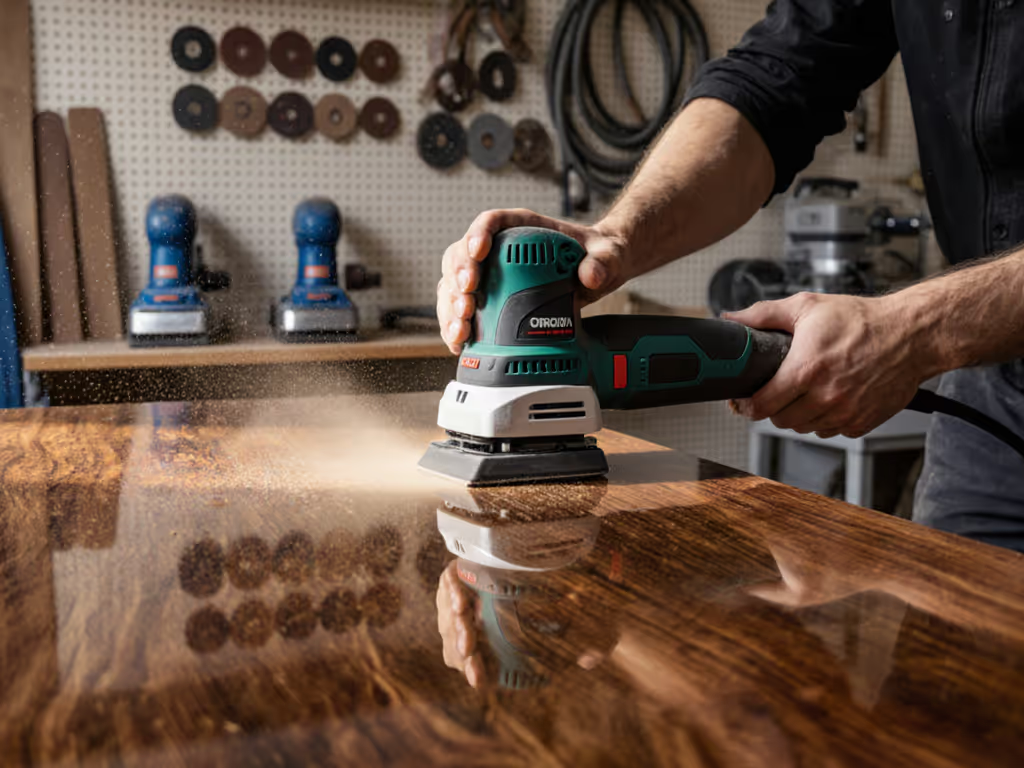
Why Acrylic Sanding Demands a Different Playbook
Acrylic sanding techniques and plexiglass surface sanding are not simple extensions of wood finishing. The material itself (thermoplastic, prone to heat distortion, and unforgiving under raking light) rewrites the rules. A misaligned grit jump, a dull abrasive, or excessive friction doesn't just slow you down; it clouds the surface, triggers rework cycles, and turns a one-day job into two. I've watched finishers spend twice as long re-sanding and polishing acrylic sheet as they did on the first pass, simply because their workflow didn't account for heat generation and cumulative scratching. The difference between a professional result and a clouded, swirled finish often comes down to whether you're measuring outcomes (scratch pattern consistency, surface temperature, consumables burn rate) or just hoping.
Total cost lives in rework, consumables, and downtime. For acrylic, that cost multiplies if you're guessing at grit sequences or running abrasives until they glaze over. For a broader overview of plastics-specific pitfalls and workflows, see our sanding plastics guide.
The Heat Problem: Why Your Acrylic Is Clouding
Acrylic clouds when friction heats the material to around 70-80°C, softening the polymer and creating a frosted appearance. This isn't cosmetic: once clouded, the surface must be sanded down further to clear, and each pass tightens the risk window. Standard wood-sanding pacing doesn't apply.
Key factors that drive heat buildup:
- Pad pressure and grit coarseness: Aggressive pressure + coarse grit = rapid heat generation. Lightweight, flowing pressure works better.
- Orbit size and speed: Smaller orbits (2.5-3 mm) at moderate RPM (8,000-10,000) reduce heat versus larger orbits that push material faster. Pad softness and interface foam choice also matter; see our sander pad types guide.
- Abrasive dullness: Glazed or clogged paper multiplies friction. Mesh abrasives resist clogging better, extending life and keeping surface temperature lower.
- Dwell time: Holding the sander in one spot for more than 1-2 seconds spikes local heat. Continuous, light motion is non-negotiable.
Many finishers don't measure temperature; they rely on feel or visual cues. Installing a non-contact infrared thermometer (cost: £15-30) on your kit lets you document cloud-risk thresholds and prove to crew that technique (not just grade) drives results. Payback is measured in weeks when one avoided rework pays for the tool.
Grit Progression: The Clarity-to-Finish Ladder
Acrylic sanding workflow must balance material removal speed with surface fidelity. Jumping too many grits or overshooting coarse paper leaves scratches that polish won't hide.
Starting Rough: 80-120 Grit
Use this range only for heavy prep: removing old lacquer, paint drips, or deep scuffs. A 120-grit mesh abrasive, paired with light-to-medium pressure and a 3 mm orbit, removes material without excessive heat. Downtime hours and failure rate % drop sharply when you resist the temptation to be aggressive.
Mid-Range Conditioning: 150-180 Grit
This is your workhorse. A single pass at 150 or 180 grit with steady pressure and continuous motion prepares raw acrylic or removes marks from prior grit jumps. Mesh abrasives outperform paper here: they resist glazing, capture dust more effectively (critical for acrylic, which generates fine, static-prone particles), and extend consumable life by 20-40% compared to traditional paper.
Pre-Polish Refinement: 220-320 Grit
Use 220 grit to uniform the surface and 320 to feather any visible scratches. At this stage, every stroke should feel like maintenance, not cutting. If heat or clogging remains an issue, adapt your setup with our power wet sanding guide. Temperature should stay below 50°C.
How to Execute Acrylic Scratch Removal Without Rework Loops
Swirl marks and pigtails are the signature failure mode. They appear under raking light or after primer, demanding re-sand cycles that compound cost.
The removal sequence:
- Identify the scratch depth with a fingernail or optical comparison to a known standard (photograph under raking light to document before/after).
- Select entry grit: If the scratch is from 80-grit work, start at 120; if from 180, start at 220. Jumping too coarse re-opens the substrate.
- Work in overlapping, directional passes (never random orbits). A 3 mm orbit sander with consistent direction leaves uniform scratch patterns, measurable, repeatable, trainable to junior staff.
- Verify under raking light after each grit pass before moving up. This is not optional; it's the quality gate that prevents rework.
Many shops skip the raking-light check, then discover swirl marks after primer. That's a full re-sand and re-prime cycle: cost per m² and labor lost to downtime hours spike. Standardizing a "verify then progress" checkpoint across your crew eliminates this failure rate %.
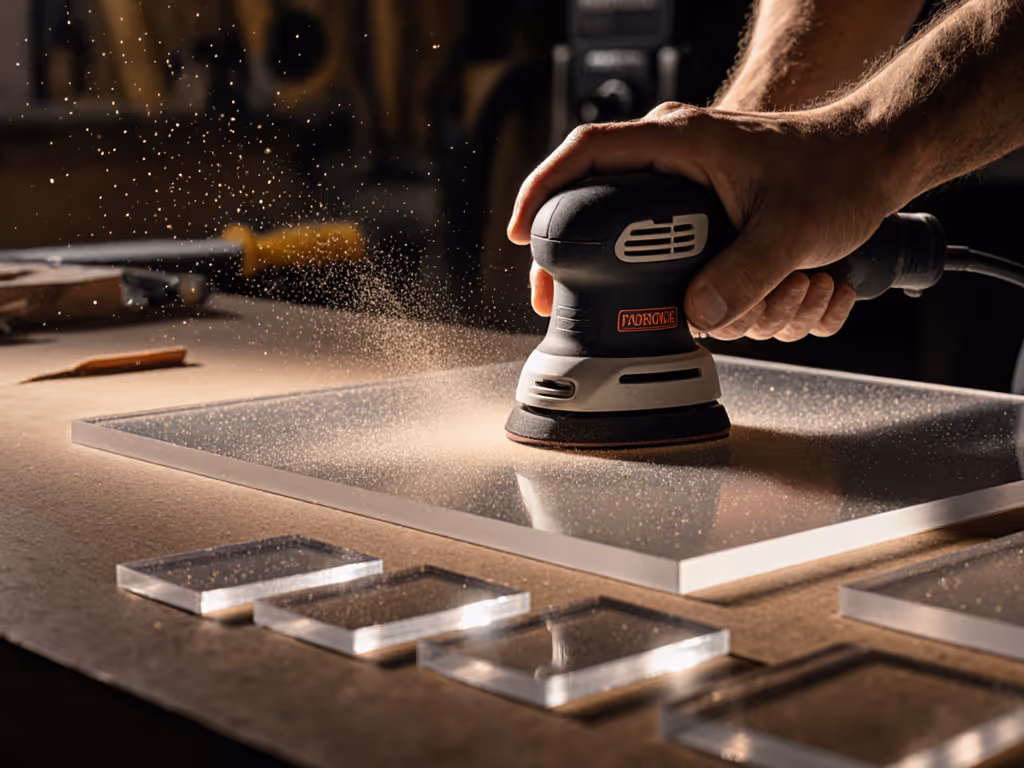
Clear Plastic Sanding Workflow: From Raw to Polish-Ready
A proven acrylic polishing process follows this standardized recipe:
Step 1: Surface Prep - Vacuum and tack with anti-static cloth to remove loose debris. Static buildup on acrylic attracts dust, creating nibs in final coats.
Step 2: Primary Sand (150 Grit) - Mesh abrasive, 3 mm orbit, light pressure, continuous motion. Goal: uniform matte finish, no visible scratches, surface temperature under 60°C.
Step 3: Intermediate Sand (220 Grit) - Same technique, reduced pressure. Feather any marks from Step 2.
Step 4: Fine Polish (320 Grit) - Final conditioning. This grit should feel like stroking silk; if you're digging, you're still fighting earlier scratches.
Step 5: Chemical Polish (Optional but Recommended) - A mild acrylic polish or rubbing compound clarifies any fine scratches and restores optical clarity. This is insurance: cost per application is minimal, rework cost is catastrophic.
Documenting this workflow (poster on site, checklist in the kit) ensures consistency. One finisher's "200 grit + wipe" shouldn't contradict another's "220 grit + polish." I worked with a multi-site cabinet shop that was seeing 8-12% rework callbacks on acrylic inserts. They standardized the recipe above, trained crews with pass/fail photo references, and rework dropped to <2% within six weeks. Standardization plus measured outcomes beats bargain-chasing every time.
Preventing Acrylic Clouding: Systems Over Shortcuts
Dust control is critical. For capture efficiency benchmarks and filter options, see our HEPA sanding guide. Acrylic dust is fine and static-prone; inadequate extraction causes:
- Nibs and contamination in topcoats, forcing re-sand.
- Filter clogging, dropping suction and increasing downtime hours.
- Health/compliance risks for crews in confined spaces (HAVS concern increases if sander vibration spikes due to clogged pad or glazed abrasive).
Extraction checklist:
- Use anti-static hose rated for acrylic dust.
- Match vacuum CFM to sander (minimum 50-80 CFM for orbital sanders; higher for aggressive grits).
- Replace or clean filters regularly (monthly, or more if heavy prep work); clogged filters drop suction by 30-50%.
- Position the pickup to capture dust before it disperses (pad design, sealed shroud).
A 4-person crew working acrylic cabinet faces and door panels can burn through consumables (pads, abrasives, filters) at rates that surprise cost accountants. Mesh abrasives last longer, extraction systems that actually seal reduce filter changes and SLA days for downtime. Payback is measured in weeks when proper systems cut consumables burn by 25-30% and eliminate one re-sand per project.
ROI Calculation: Standardized Sanding Workflow
Assume a 2-person crew, 5 acrylic cabinet faces per week, baseline workflow:
- Current cost: No standardization, variable grit jumps, 12% rework = 1.2 cabinet re-sands per week × 4 hours = 4.8 rework hours.
- Consumables: Glazed abrasives, frequent pad replacement, inadequate extraction = £120/week in wasted materials.
- Total weekly loss: ~100-120 labor hours + material cost in rework loop.
After standardization:
- Rework drops to 2% (0.1 cabinet re-sands/week = 0.4 hours).
- Mesh abrasives + proper extraction reduce consumables waste to £40/week.
- Training time (2 days initial) pays back in week 2.
Payback: 1 week. Thereafter, ~£400/month in reclaimed labor + savings.
Actionable Next Step: Audit Your Acrylic Process
- Document your current workflow. Grit sequence, contact time per pass, surface temperature, rework rate (even rough estimate), consumables spend.
- Photograph 3-5 finished acrylic pieces under raking light. Note any swirl marks, clouding, or edge burn-through.
- Trial the standardized recipe above on one small project. Measure temperature, time, and rework rate.
- Compare cost per m² (labor + consumables) before and after. If rework drops and cycle time stays flat or improves, standardize across your crews.
- Invest in consistency tools: infrared thermometer, anti-static hose, mesh abrasive stock, crew training photos. Budget ~£200-300 per site; expect payback in 2-4 weeks via reduced rework and faster material removal.
Clarity isn't an accident. It's a system. Build one.
Related Articles