Child-Safe Wooden Toy Sanding Techniques That Prevent Splinters
By Saanvi Iyer • 2nd Sep
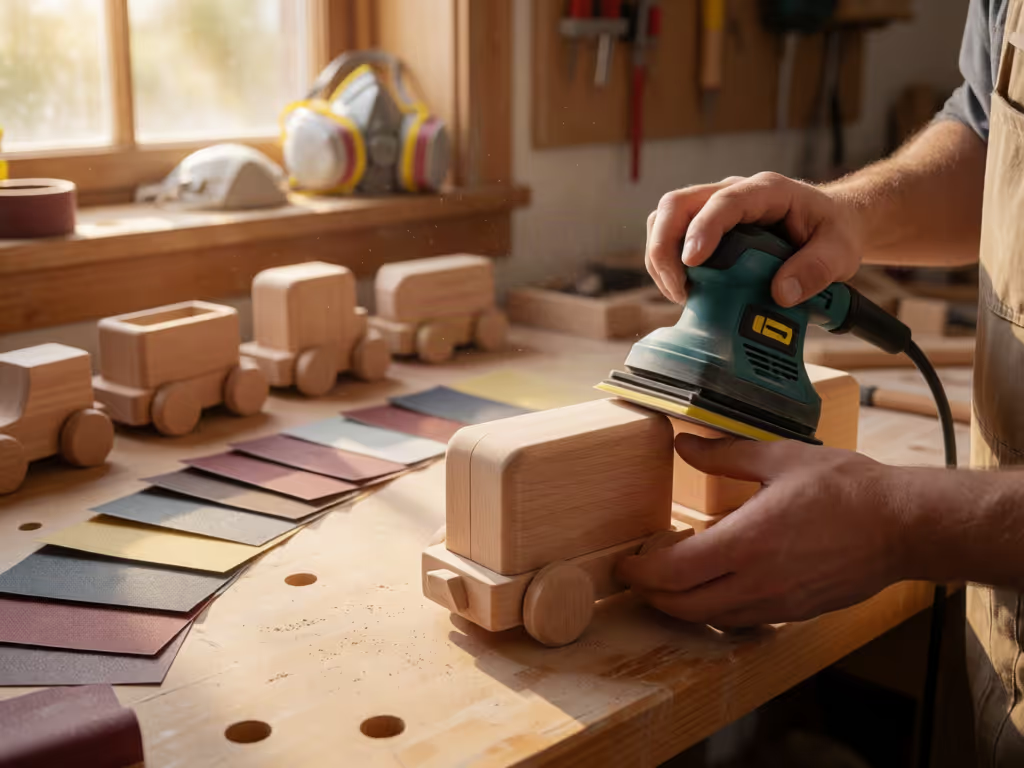
Quick answer
The safest approach is a repeatable process: inspect the toy, sand rough or sharp areas with the grain using progressively finer abrasives, remove dust, and inspect again before returning it to play. Sanding improves surface condition but does not certify the toy or its finish.
- Short answer: For raw wood before staining, 120–150 grit progressing toward 220 grit is useful finish-preparation guidance, not a universal child-safety rule.
- Key distinction: Soften harsh corners deliberately, but do not rely on an arbitrary grit or edge radius as proof of safety. Capture dust at its source, and retire toys with damage that sanding cannot safely correct.
- Important caveat: Sanding cannot establish that paint, stain, oil, wax, or another coating is safe for mouthing. Verify the finish separately from reliable product documentation.
Wooden toy sanding is a maintenance and finish-preparation task with a simple priority: remove roughness and sharp edges before a child encounters them. The most dependable child-safe sanding techniques are methodical rather than aggressive (inspect first, sand only as much as needed, progress through grits without large jumps, remove dust, then inspect again). That process supports a smoother surface, but it is not a certification method or a guarantee that a handmade toy is safe for every child or use.
For crews and makers used to chasing flawless finish work, it helps to reset the success metric. This is not just about a polished appearance. It is about a repeatable surface-preparation routine that catches damaged areas before they become a splinter problem. Protect hands, lungs, and tempo; the finish will follow. For broader guidance on protective equipment and safe operating practices, review this power sander safety guide.
FAQ: What should I inspect before sanding a wooden toy?
Start with a deliberate condition check. Wooden toys already in use should be inspected for splinters and sharp edges. Toys can become dangerous when broken or misused, so sanding should never be treated as an automatic repair for every defect.
Look closely at:
- Rough patches and raised fibres
- Visible splinters
- Sharp or harsh corners
- Edges that feel damaged or chipped
- Cracks, breaks, or other damage that sanding cannot meaningfully correct
If the issue is a rough or sharp wooden area, sanding it when needed is sensible maintenance. If the toy is broken or has a defect you cannot confidently correct through surface preparation, remove it from play rather than trying to sand past the problem.
The target is a carefully assessed, smoothly prepared surface, not a claim of "splinter-free" certainty from a grit number alone.
There is no universal edge-radius measurement, a tactile test, or a final grit that guarantees safety for every toy shape and age group. Formal toy evaluations can include sharp-edge and sharp-point considerations, but surface sanding alone is not a substitute for broader product-safety assessment.
FAQ: What sanding sequence works for raw wooden toys?
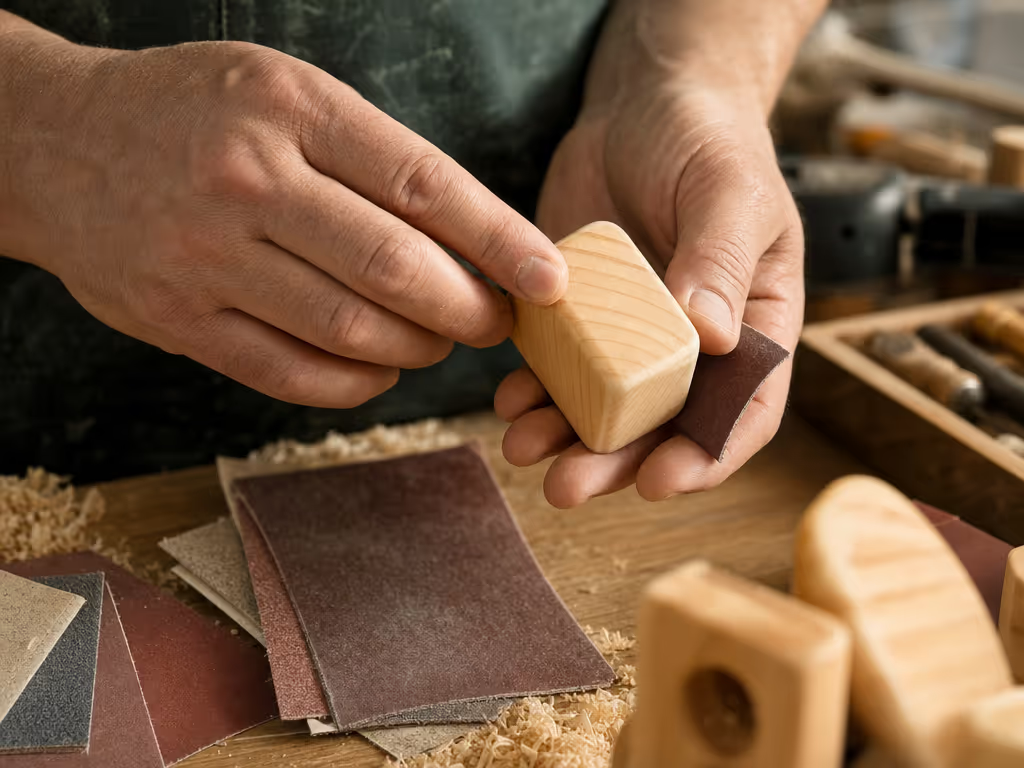
For raw wood being prepared before staining, General Finishes recommends beginning with the grain using 120-150 grit paper on most raw woods, then working through a careful sandpaper grit progression toward 220 grit. That is useful finish-preparation guidance, not a universal child-toy safety requirement.
The principle behind it is more valuable than treating any one grit as magic: use progressively finer abrasives rather than skipping too far ahead. Skipping grits can leave deep valleys that later grits are difficult to remove.
A practical sequence is:
- Assess the defect. Start only coarse enough to remove the roughness, damage, or harsh corner you found.
- Sand evenly with the grain. Keep the work focused on the affected area while avoiding an uneven, overworked patch.
- Move progressively finer. Avoid large grit jumps, since later grits can struggle with deep valleys left by skipped grits.
- Stop at the finish system's preparation requirement. For most raw woods before staining, General Finishes' guidance works from 120-150 grit up to 220 grit; species and finish systems can call for different endpoints.
- Clean and reassess. Remove sanding dust from the wood before finishing, then reassess the surface.
This approach gives junior makers a teachable recipe: inspect, correct, refine, clean, verify. It also prevents a common quality failure: trying to solve every surface issue with very fine paper. Later grits can be difficult to use on deep valleys left by skipped grits.
What about corners and end grain?
Harsh wooden corners can be rounded using coarser abrasives as part of general wood finishing. The important limitation is that there is no validated toy-safe radius or a universal amount of rounding. So soften an identified harsh corner deliberately, then reassess the result; do not assign safety meaning to an arbitrary dimension.
End grain deserves separate visual attention if you plan to stain. It tends to absorb more stain than other surfaces, and additional sanding may help control that absorption. That is an appearance and finish-uniformity issue, not evidence of added child safety.
FAQ: Can I use an oscillating edge sander for sanding wooden toys?
The available finish-preparation and dust-control guidance does not compare craft sanders or identify a best tool category for wooden toys. It also does not provide a machine-specific workflow for child-contact surfaces.
For that reason, choose the sanding method within the limits of your own documented process and the toy's accessible surfaces. What matters most is the finish-preparation outcome: thorough, even sanding with the grain and a progressive grit sequence. If a method cannot deliver that result without damaging the piece, it is not the right method for that task.
Avoid modifying tools, pads, guards, or extraction arrangements to force a process. Repeatability matters more than nominal removal speed. In one school renovation, an apprentice's hand tingling prompted a change to lower-vibration sanding, better hose-weight balance, and short rotations; the job became calmer and the punch list shortened. That same discipline applies here: protect the operator's working tempo while preserving the workpiece.
FAQ: How do I control wood dust while sanding indoors?
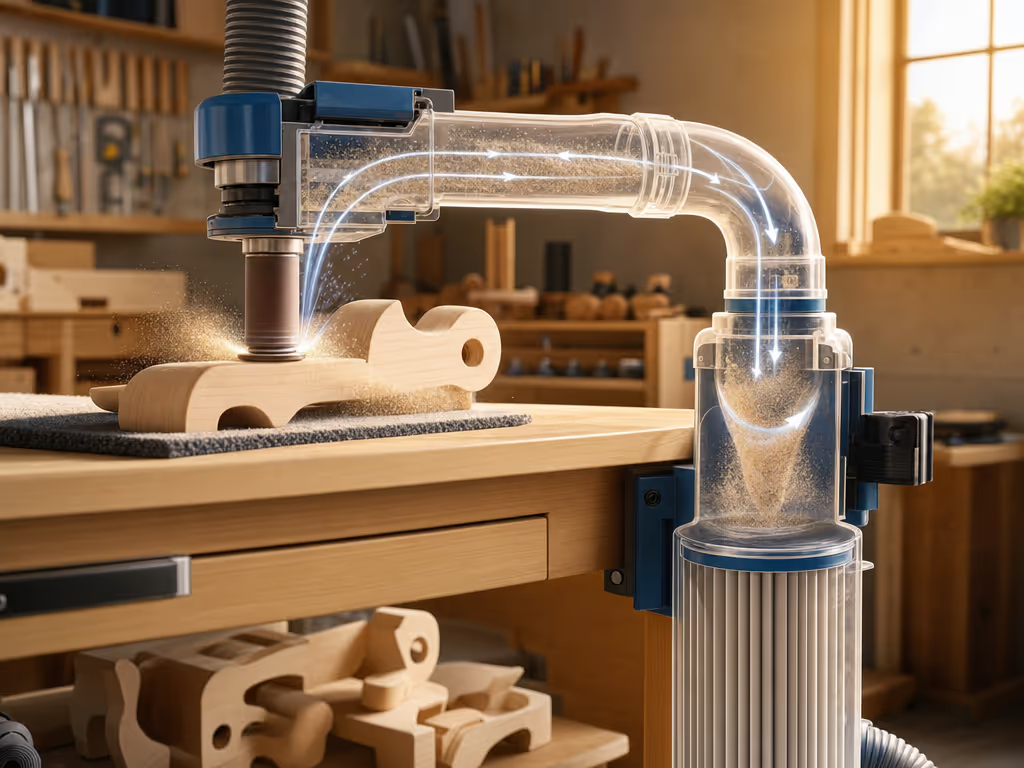
For wood-dust exposure control during sanding, OSHA identifies engineering controls as the preferred approach, including exhaust ventilation with collection placed where dust is produced. In a shop, prioritize dust capture at the sanding point over relying on cleanup after dust has already spread.
A straightforward indoor workflow is:
- Arrange collection so it is operating at the point where sanding dust is produced.
- Remove sanding dust from the wood before finishing. Finish-preparation guidance lists an air hose, damp cloth, or oil-free tack cloth as options.
- If using a water-based finish, avoid tack cloths containing linseed oil, as the finish manufacturer cautions against that combination.
- Recheck the work after dust removal.
Use collection as part of a dust-control setup, with the practical aim of better source capture and an orderly work area. Where respirators are considered for wood dust, selection depends on the workplace contaminants and their concentrations and requires an appropriate respiratory-protection program.
FAQ: Does sanding make a finish non-toxic or safe for mouthing?
No. Non-toxic toy finish sanding describes surface preparation before a finish; sanding itself does not establish that an unspecified paint, stain, oil, wax, or coating is suitable for a child to mouth. Terms such as "natural", "water-based", "lead-free", or "fully cured" are not, by themselves, proof of that suitability.
Before finishing, the wood should be clean and free of dirt and oils. If repainting an existing toy, use new paint rather than old paint, because old paint may contain lead. Beyond that, verify the intended coating from its own reliable product documentation and use it exactly as directed. Do not convert a smooth sanding result into a safety claim about the finish.
FAQ: What is the easiest way to sand wood without a machine?
There is no single easiest method. A no-machine approach based on sandpaper, sanding with the grain, and progressively finer grits is well supported. For sanding wooden toys, that is enough to create a disciplined maintenance routine without making unsupported claims about the "best" tool.
For finish preparation, use progressively finer grits and sand thoroughly, evenly, and with the grain. Use that approach alongside damage checks, source dust capture, and a clear stop-work decision for toys that cannot be safely repaired through sanding.
Take the process further
If you keep a one-page sanding record for each toy design or repair type, limit it to the starting condition, grit sequence, finish-prep endpoint, dust-control setup, and final inspection result. That record is not a toy certification.
The best next step is to test your sequence on offcuts from the same wood, inspect under strong light after cleaning, and adjust only one variable at a time. A clean surface, a calm sanding rhythm, and a conservative decision to retire damaged toys will do more for reliable toy preparation than chasing a universal "safe" grit ever will.
Related Articles