Live Edge Sanding Techniques: Preserve Shape, Get Smooth
By Luis Tanaka • 23rd Feb
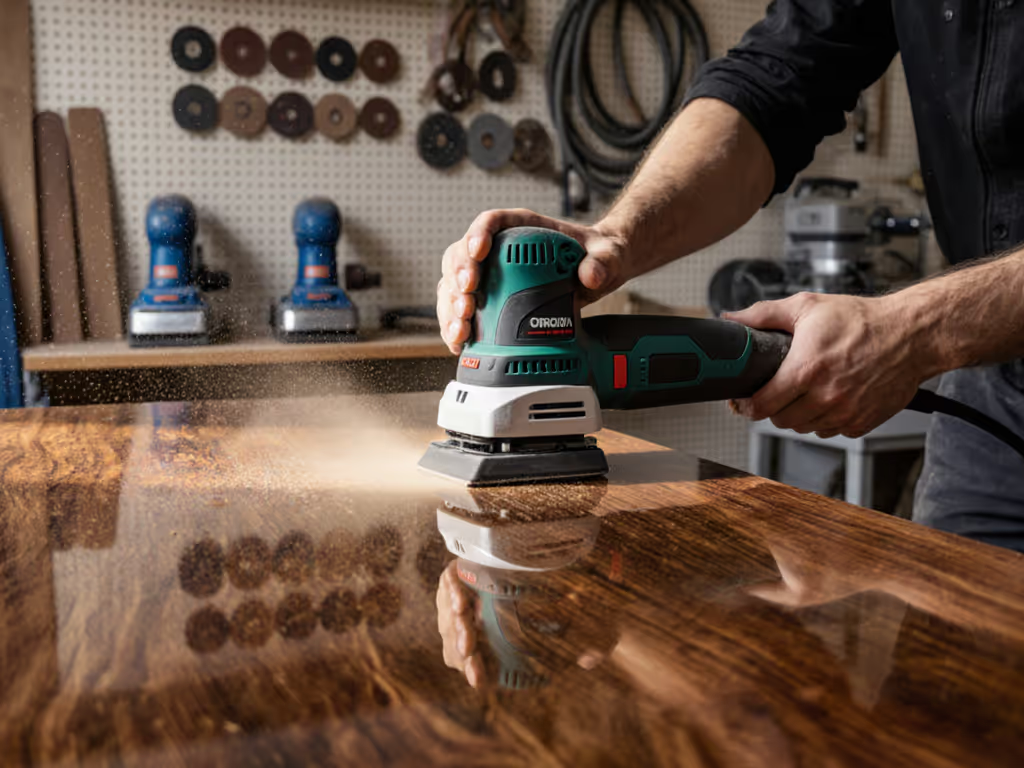
Live edge sanding techniques require a fundamentally different approach than flat-surface prep. The goal isn't perfection, it's balance: enough smoothness for finish application and safe handling, while maintaining the natural wood edge character that makes live edge material valuable. Most crews default to their standard random orbit sander and then wonder why the edges look over-sanded or why the bark starts separating mid-project. The real issue isn't technique alone; it's tool misalignment. You need a system that matches sander type, pad behavior, and grit progression to the specific demands of edge work.
Why Standard Flat-Sanding Tools Fail on Live Edges
A random orbit sander is designed to flatten and uniform a plane surface. That's its strength and its limitation. When you apply that same sander to a bark-laden, contoured edge, the pad conforms too aggressively, sanding away the very features you're trying to preserve. The result: edges that look generic and pre-milled rather than authentically live. For more techniques on preserving complex contours, see our curved surfaces sanding guide.
The secondary problem is dust control. Live edge work generates two distinct dust streams (fine dust from the wood body and coarser bark particles from the edge itself). Standard extraction setups designed for flat work underestimate the airflow needed to capture both, especially when working vertically or at angles. This isn't just a comfort issue; it's a finish contamination risk. We've seen it happen: dust settles into bare wood, gets sealed under topcoat, and the client sees defects after stain or polyurethane.
The Right Sander for Edge Contours
For live edge work, you need a flutter sander (also called a mop sander or sanding mop). This tool uses layers of abrasive material arranged at alternating angles on a rotating mandrel. As it operates, the sander naturally softens and conforms to irregular shapes (bark texture, slight hollows, varying grain direction) without flattening them. Think of it like a mop head; the individual strands flex and follow the surface rather than forcing the surface to conform to a rigid plate.
Flutter sanders come in various grits, from coarse (P60-P80) through fine (P220+). The key is that they apply consistent, lightweight contact pressure across variable topography. A random orbit sander, by contrast, relies on the flat pad pushing evenly across the work, which works on a tabletop but creates divots and over-sanding on an uneven edge.
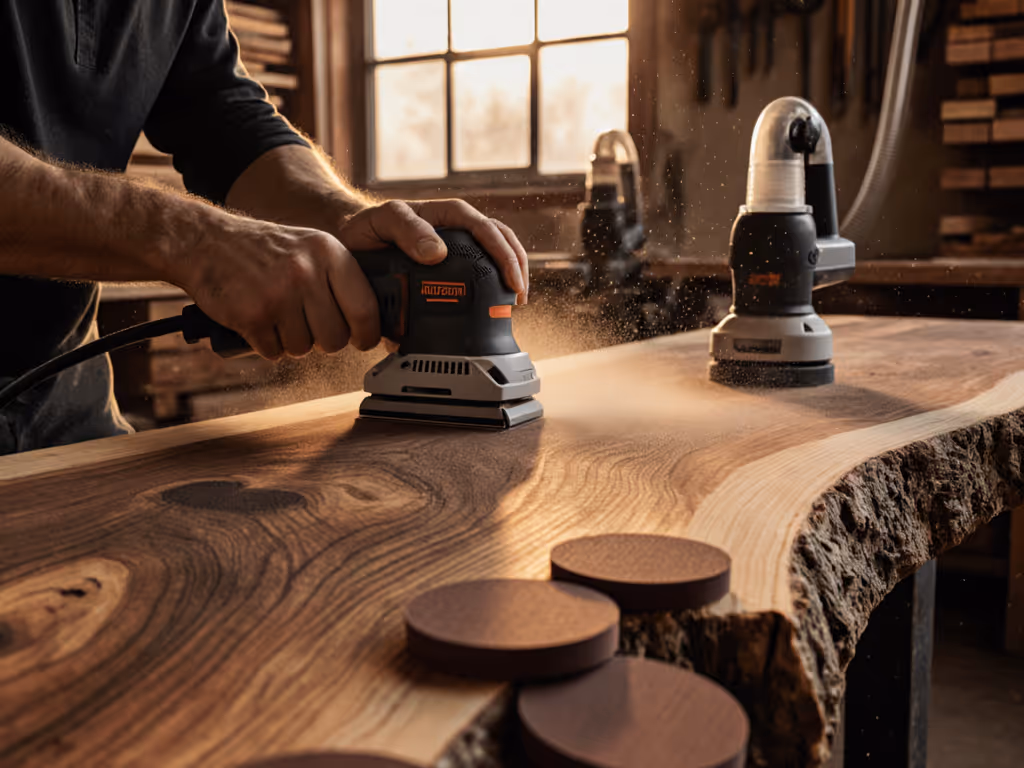
When to Use a Belt Sander or Festool RO
For the main slab surface (the large flat plane) you may still want an aggressive tool early in the sequence. A belt sander or large random orbit (like a Festool Rotex) can handle material removal and flattening of the body quickly. But the moment you transition to the edge itself, switch tools. That's your recipe card: aggressive flat-sander for the field, flutter sander for the perimeter, hand detail work for final edge break.
Grit Progression for Live Edge Preservation
The sequence isn't as steep as traditional flat-sanding progressions. For a deeper dive into choosing and sequencing abrasives, read our grit progression guide. You're not chasing a mirror finish; you're targeting smooth to the touch with no splinters or ragged bark, while keeping the edge's visual and textural character intact.
Typical progression for live edges:
- P60 (coarse pass): Remove splinters, rough bark, and sand-through glue lines if the slab has been epoxied. Use your flutter sander or, for the flat body, a belt sander if needed.
- P80-P100 (intermediate): Soften the edge further; check that the bark is securely adhered. This is the point where hand sanding becomes viable if you want to slow down and control pressure.
- P120-P150 (fine finish): The final pass, usually by hand or flutter sander on low speed. At this stage, you're not removing material; you're breaking sharp edges and polishing the bark slightly.
Do not skip to ultra-fine (P220+) on the edge itself unless the design demands it. Over-sanding the bark (even with a flutter tool) can dull the natural contrast and lose the character you're preserving. Your goal is the bark and wood to feel smooth and safe, not to blur the boundary between them.
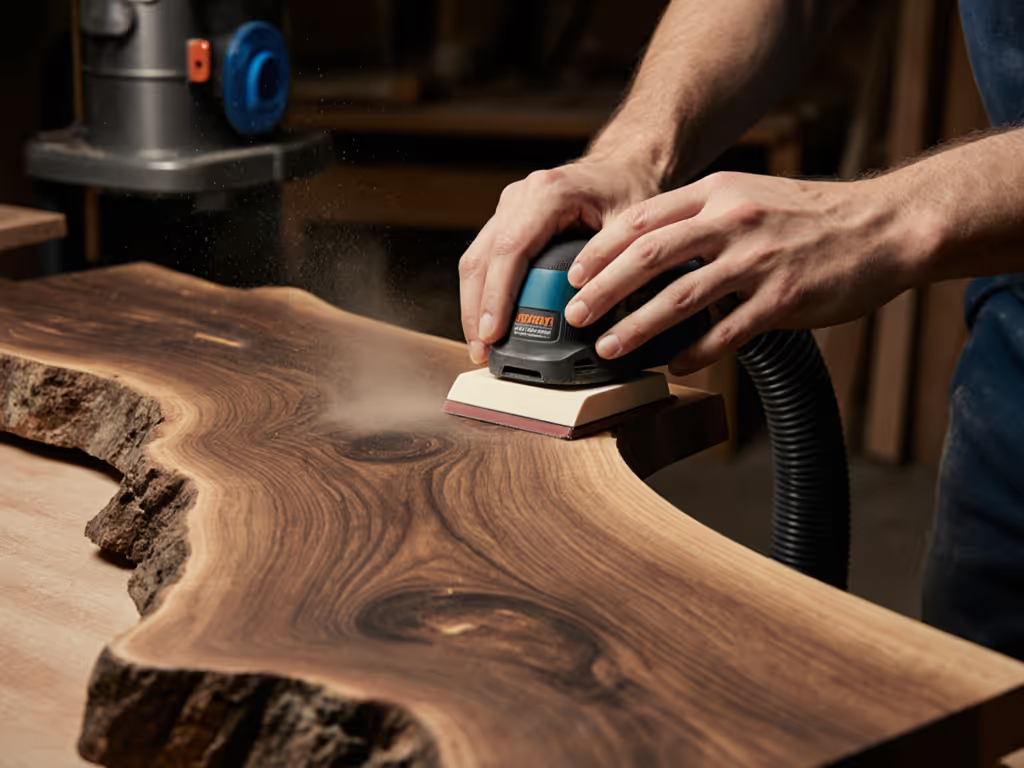
Technique: Hand Finishing and Edge Break
After the flutter sander work, a hand-sanding pass with P120 grit is non-negotiable. This accomplishes two things: it lets you feel the edge, detect any remaining splinters or loose bark, and it gives you control. No power tool can match the feedback of your palm on an edge; you'll know instantly where more work is needed.
Use light pressure and work at roughly 45 degrees along the edge (not with the grain, which can tear bark, or directly across it), but at an angle that feathers the transition. This "break" (slightly rounded edge) is what makes a live edge feel substantial and finished rather than fragile.
For any residual rough spots or splinters, use a sanding sponge or block in the P120-P150 range. Sponges conform well to bark and are gentler than a sander on delicate areas.
Dust Control and Capture During Edge Sanding
Live edge work, especially with a flutter tool or belt sander, throws fine dust. If you're working indoors (in a shop or client space) extraction is not optional. For shop-wide dust strategy and extractor optimization, read our HEPA sanding guide. Here's the system:
For flutter sander work:
- Use a dedicated dust hood on the sander (most flutter sanders have an integral shroud).
- Connect to a portable dust extractor with at least 100-150 CFM capacity to maintain static pressure and air velocity through the hose.
- Use 1.5" or larger hose (diameter matters; undersized hose creates suction loss).
- Ensure anti-static hose and a bonding strap to the work to prevent charge buildup, especially with coated slabs.
For hand sanding:
- A shop vacuum nearby is standard practice. Bark particles won't clog a filter as fast as fine dust from flat work, but don't underestimate the load.
- If working in a finished interior (a recent client scenario: a weekend office install with zero dust tolerance), you'll need a sander with a closed extraction loop and a secondary air-scrubber or filter cart running in the space.
Dust capture on live edge sanding isn't glamorous, but it's the difference between a clean Monday-morning return and an angry call about contamination in the stain or topcoat.
Bringing It Together: A Repeatable Recipe
System overview for a single live edge slab:
- Flatten the body with P60 belt sander (if needed), then step to P80-P100 with your flutter sander. Connect extraction throughout.
- Hand-finish the edge with P120 grit sanding block or sponge. Final pass: break the edge at 45 degrees with P120.
- Inspect under raking light (a critical step) for splinters, clogged pores, or unsanded spots. Tag any areas for re-work.
- Vacuum and tack-cloth the entire surface, especially the edge.
- Finish application proceeds immediately; don't let the surface sit exposed.
This isn't an eight-step process or a list of "pro tips." It's a documented, repeatable system. Junior crew members can follow it, and the output is predictable. You know the time per square meter, the abrasive cost, the risk factors, and the finish quality going into topcoat. That certainty is what separates guesswork from a sustainable operation.
Your Next Step
Map your current live edge workflow: Which sander are you using on the edges? What grit progression are you following? How are you capturing dust? If you're using a flat random orbit on edges, or if you're skipping hand-finishing, that's where rework risk lives. Start with one slab as a test: spec a flutter sander rental if you don't own one, follow the P60-P80-P120 progression, add the hand break, and measure your time, dust output, and finish quality. Document it. That's your starting recipe card. Once it's proven on one surface, scale it across your upcoming jobs.
Related Articles