Sanding Ceramic 3D Prints: Complete Guide
By Saanvi Iyer • 4th Apr
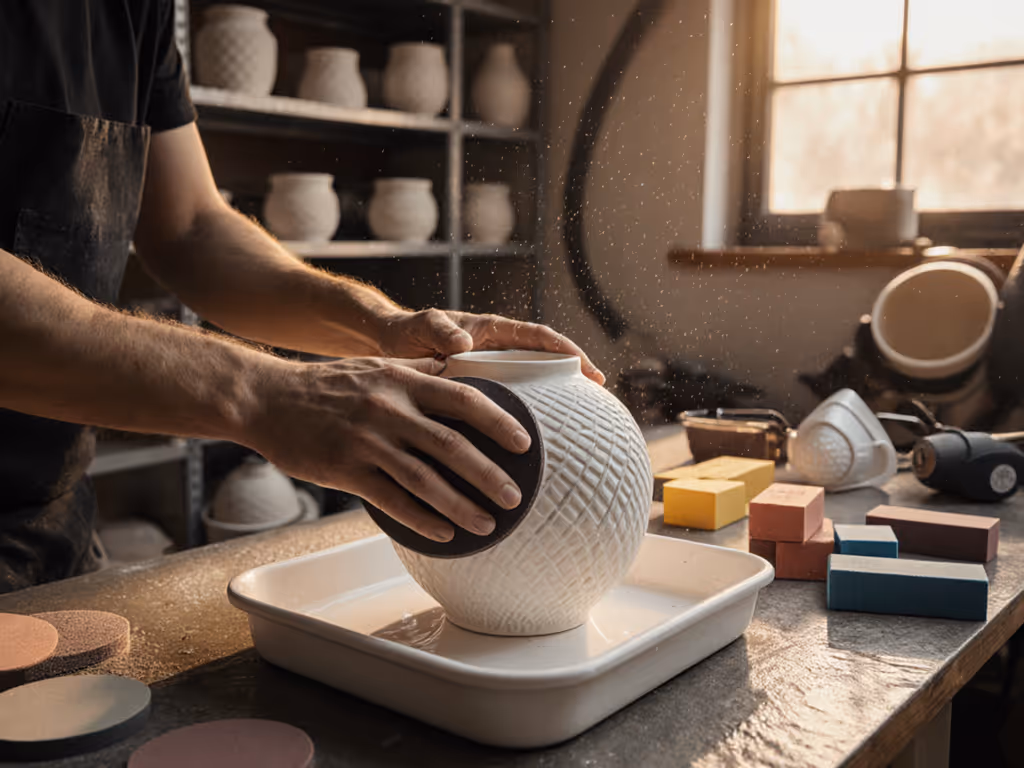
Understanding Ceramic 3D Print Finishing
3D-printed ceramic sanding requires a fundamentally different mindset from polymer post-processing, yet the core principle remains unchanged: progressive abrasive work removes surface imperfections systematically while controlling dust and thermal stress. Ceramic hybrid materials (blends of ceramic particles and binding resin) introduce distinct challenges: they are brittle, prone to chipping, sensitive to moisture, and generate fine particulate that demands robust dust capture. Protect your hands, lungs, and tempo; the finish will follow, but only if you treat ceramic finishing as a controlled, documented workflow rather than a quick pass with whatever abrasive is nearby.
Unlike FDM plastics (PLA, ABS, PETG) or SLA resins covered extensively in post-processing guides, ceramic and ceramic hybrid 3D prints come off the build platform with visible layer lines and rough support contact zones that demand careful removal. The surface preparation strategy differs because ceramic is hard but fracturable, and airborne ceramic dust (especially fine particles below 5 microns) carries well-known respiratory risk when accumulated indoors. Your dust capture system and personal respiratory protection are not optional. Learn how to design sealed capture that actually meets HEPA standards in our HEPA sanding guide.
FAQ: Ceramic 3D Print Sanding Essentials
Q1: What Grit Progression Works for Ceramic Hybrid Materials?
Begin with coarse sandpaper (120-150 grit) to remove prominent layer lines and support marks, then progress through intermediate grits (220, 320, 400) for layer removal, and finish with fine grits (600-1000+) for a pre-paint or pre-glaze surface. The key difference from polymer sanding: ceramic does not soften or melt under friction, so you can work faster, but the brittleness means aggressive pressure causes chipping rather than deformation.
A proven progression for ceramic hybrid parts is:
- 120-150 grit: Rough layer removal, support mark flattening
- 220-320 grit: Layer line refinement, dimensional consistency
- 400-600 grit: Surface smoothing, paint prep
- 800-1000+ grit (optional): High-gloss or polished ceramic finishes
Skipping grit levels is one of the most frequent errors in 3D print sanding. Jumping from 150 grit straight to 400 leaves deep scratches that become glaring under raking light or after topcoat. Instead, gradually work through intermediate grits to maintain consistent scratch pattern and surface uniformity across the part. For a material-agnostic overview of grit selection, see our sandpaper grit progression guide.
Q2: Hand Sanding vs. Power Tool Sanding for Ceramics: Which is Safer?
Hand sanding with a sanding block or foam pad remains the safest entry point for ceramic 3D prints, particularly on simple or flat geometry. It eliminates vibration-related hand-arm stress (HAVS), gives you tactile feedback to prevent over-aggressive removal, and allows precise dust containment when done over a collection box or when wet-sanded.
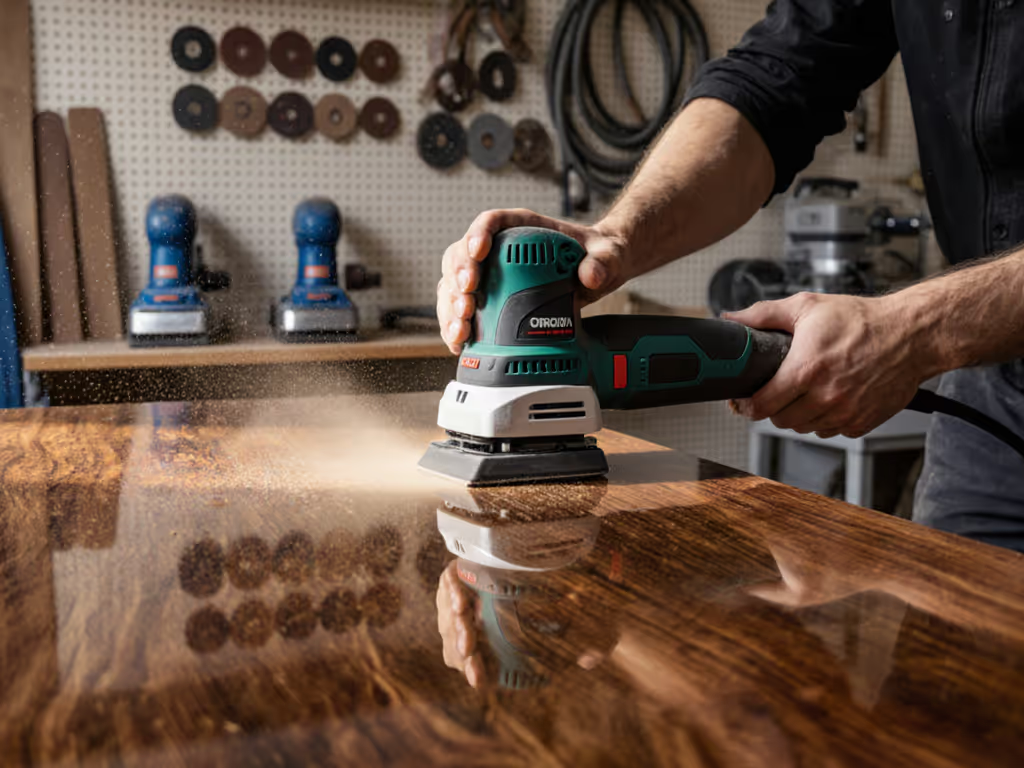
Power tools (orbital sanders, Dremel-style rotary tools) accelerate material removal and are acceptable only with low-speed operation (< 5,000 RPM for Dremel attachments), soft-bristle or sanding-drum accessories, and proper dust extraction. The risk is clear: high-speed rotary tools on brittle ceramic can cause chipping, micro-fractures, and generate very fine, respirable dust clouds. If you move to power tooling, ensure your extraction system can handle the dust volume and maintain at least 85+ dBA SPL control with closed-loop capture.
Q3: Should I Wet-Sand Ceramic 3D Prints?
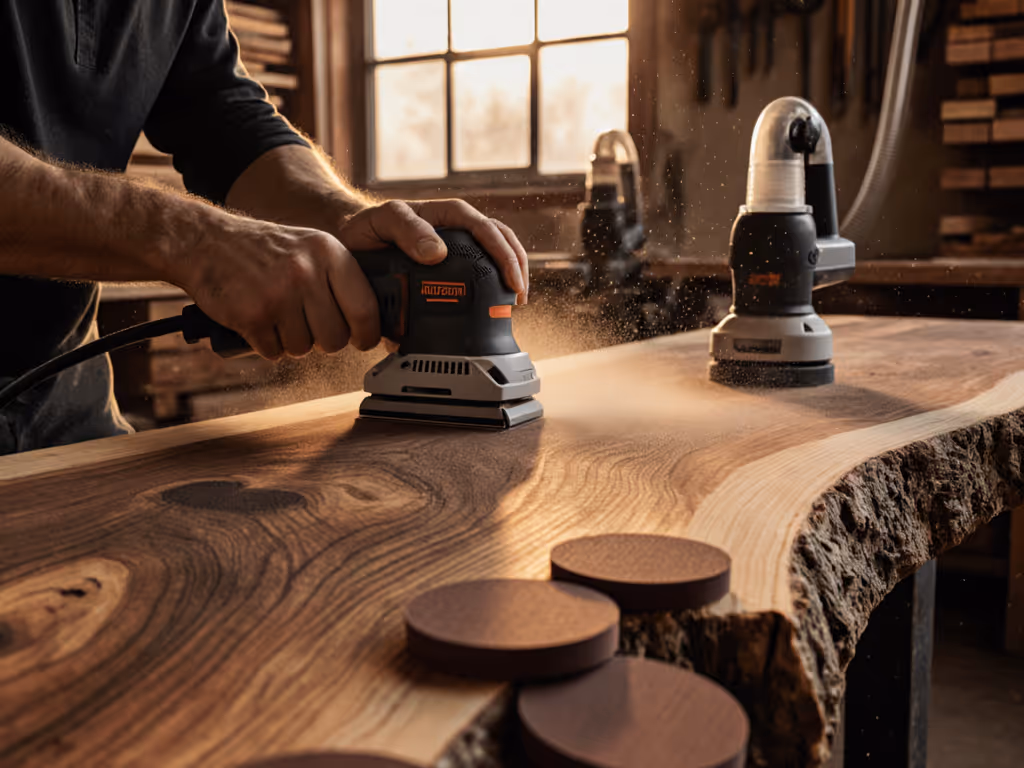
Yes. Wet sanding is highly recommended for ceramic hybrid materials. Water acts as both a lubricant and a dust suppressant: it reduces friction, minimizes heat buildup (preventing any resin binder degradation), and traps fine ceramic particles before they become airborne. For deeper technique tips and tool setup, read our power wet sanding guide. This is critical if your 3D-printed ceramic part includes any thermosetting resin component, because water keeps the surface cool while sanding.
Wet-sand with fine grits (400+) by dipping sandpaper in a bucket of clean water or using a spray bottle to keep the surface damp. Work in small circular motions, rinsing your sanding block or foam pad every 2-3 passes to prevent clogging. The residue from wet sanding is easily wiped away and can be captured or disposed of safely if it contains ceramic particles.
Q4: How Do I Prevent Chipping and Edge Burn-Through on Delicate Ceramic Parts?
Ceramic brittleness demands light, controlled pressure and consistent technique. Apply only enough force to let the abrasive do the work; excessive pressure will cause spalling (flaking) on edges and sharp features. Use a foam sanding pad rather than a rigid block for curved or detailed parts, since foam conforms to geometry and distributes pressure more evenly.
For edges prone to chipping:
- Chamfer or round edges with a file or fine (220-320 grit) abrasive before committing to the full sanding sequence.
- Sand in small circular motions across the edge, never along the edge grain or face boundary.
- Avoid aggressive pressure near thin walls or sharp corners; use your fingertips to guide the sanding block rather than letting body weight drive the tool.
- Inspect frequently under oblique light to catch micro-chipping early.
On support contact zones, hand-sand first with 150-220 grit using very light strokes, then assess whether the mark requires finer work or a different approach (for example, polishing compound or ceramic glaze to hide residual texture).
Q5: What Dust Capture System Do I Need for Ceramic Sanding Indoors?
Ceramic dust, particularly fine particles (< 5 µm), persists in air and settles on work surfaces, clients' belongings, and your respiratory system. A robust dust extraction setup is non-negotiable if you are sanding ceramic 3D prints in occupied homes or studios.
Minimum requirements:
- HEPA filtration or equivalent to capture particles down to 0.3 µm.
- Sealed hose connection to your sander or collection box; no leaks at couplers or adapters.
- Dedicated shop vacuum with anti-static hose (ceramic dust can generate static; anti-static reduces fire risk) and adequate CFM for your tool (typically 100+ CFM for hand-sanding setups).
- Airborne dust monitoring or visual inspection. If you see a dust plume or smell fine particles, your capture is insufficient; stop and improve the seal or hose run.
- Respiratory protection (P2 or P3 mask) if capture is incomplete or during coarse grit work where dust generation peaks.
A common pitfall: cheap, loose-fitting hoses and cracked vacuum ports allow dust to escape, reducing capture to near zero. Inspect your extraction system weekly, test hose connections, and ensure the filter is clean (clogged filters collapse suction and let dust bypass). If you need tools with stronger onboard extraction, see our HEPA dust-collecting sanders.
Q6: How Do I Avoid Swirl Marks and Ensure Consistent Surface Quality?
Swirl marks (visible scratches under raking light) are the hallmark of inconsistent sanding and are particularly visible on ceramic surfaces if primer or glaze is applied. To prevent them:
- Use consistent, even strokes across the entire surface; avoid sanding in one direction only, especially not parallel to layer lines.
- Keep your sanding block flat and level; tilting or rocking creates micro-ridges.
- Sand in small circular or figure-8 motions to distribute wear evenly and avoid directional patterns.
- Never jump grit levels (for example, 150 to 600); intermediate grits (220, 320, 400) erase previous scratches before finer work begins.
- Wet-sand the final two grits (600-1000+) to flush residual particles and reveal true surface uniformity before topcoat.
- Inspect under oblique light between each grit step; if you see deep scratches remaining, repeat the current grit or drop back one step.
Dust Exposure Within Limits: A Systems Approach
Ceramic dust exposure in indoor settings carries cumulative risk. A fact confirmed by occupational hygiene data: airborne ceramic particles settle into respiratory passages and accumulate over years of uncontrolled sanding. Exposure within limits requires both engineering control (capture at the source) and administrative practice (time-limited work, rotations, respiratory PPE).
If your crew is rotating between ceramic sanding and other finishing tasks, keep ceramic work to morning blocks when extraction performance is optimal and dust plumes are manageable. A 10-minute rest, a walkabout in fresh air, or a switch to a different task allows settled dust to clear and gives your respiratory system a break. On one school renovation job, an apprentice mentioned hand tingling after a long afternoon on the sanders; we had been pushing through without rotation or break. We shifted to a 10-minute-on, 10-minute-off rotation, added anti-fatigue mats, and dropped orbit size to lower vibration. For options that reduce fatigue on long sessions, see our low vibration sanders comparison. Within a week, no one reported numbness, and our punch list actually shrunk because the team was fresher and more precise. The lesson: systematic breaks and lower-vibration, lower-noise setups are not productivity killers, they are enablers of better work and fewer callbacks.
Ceramic Filament Finishing: Material-Specific Considerations
Ceramic 3D-printed parts are often composites: ceramic particles suspended in a resin binder. This hybrid nature matters:
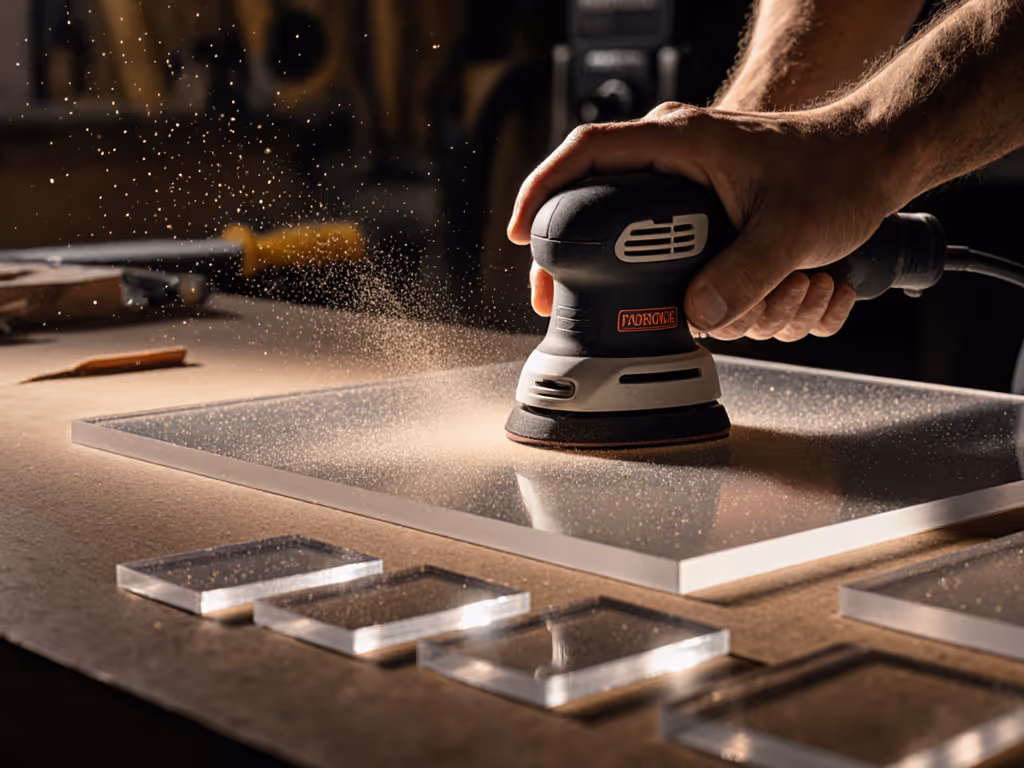
- Resin component: Softer than ceramics. Under high pressure or speed, resin smears rather than cuts cleanly, causing a glazed or streaky appearance. Use light pressure, low speeds, and intermediate grit steps to avoid resin buildup.
- Ceramic particle exposure: As sanding progresses and resin surface erodes, ceramic particles emerge. Fine grits then polish these particles to a smooth, uniform finish.
- Moisture sensitivity: Some ceramic-resin composites absorb water; prolonged wet sanding can swell or weaken the part. Limit wet-sanding duration to 20-30 minutes per session, then allow the part to air-dry fully before final assembly or coating.
- Post-sanding sealing: Consider a thin epoxy or polyester sealer after 1000-grit sanding to lock in dust, stabilize the surface, and prepare for paint or glaze.
Key Takeaways for Ceramic 3D Print Surface Preparation
Progressive sanding (120 grit -> 220 -> 400 -> 600+) removes layer lines without chipping, controlled pressure and circular motions eliminate swirl marks, and wet-sanding on fine grits captures dust and delivers a uniform, paint-ready surface. Pair this with sealed dust extraction, respiratory protection during coarse work, and systematic breaks to keep crews healthy and finishes flawless. Document your process (grit sequence, sanding time per stage, dust capture CFM, moisture check before topcoat) so that any team member can replicate it on the next ceramic print.
The investment in a robust extraction system and disciplined hand-sanding or low-speed rotary technique will reduce rework, cut ceramic dust complaints from clients, and protect your crew's long-term respiratory and neurological health. Ceramic 3D-printed parts are increasingly common in architectural, jewelry, and industrial applications; mastering their finishing is a competitive edge that pays for itself in reputation and callback-free jobs.
Related Articles