
Sanding Tools and Techniques for Swirl-Free Molding Profiles
By Saanvi Iyer • 6th Sep
What to do
To sand molding without unnecessarily damaging its profile, match the abrasive support to the geometry: use rigid blocks for recessed flats, shaped supports for curves, and power sanding only on suitable raised flats.
- Start with: Assess the defect and profile before choosing grit or equipment. Scraping may precede hand sanding on difficult detail, but it is optional rather than universal.
- Then: Use a radius-matched cylinder for concave curves, a shaped block for convex curves, and a wooden block where crisp inside corners must remain sharp.
- Important prerequisite: Plan dust extraction at the sanding point before work begins. Severe machining chatter may require correction upstream rather than repeated sanding that changes the molding’s shape.
Important: The evidence does not establish one universally best tool or guarantee a swirl-free result; most technique recommendations come from practitioner and publisher guidance rather than controlled comparisons.
Choosing the right tool for sanding molding is less about finding one universal machine and more about keeping each surface true to its geometry. Practitioner guidance supports pairing the abrasive support with the profile: rigid support for recessed flats, shaped support for curves, and carefully limited power sanding on raised flats. The available evidence does not independently establish a swirl-free result across different woods or coatings, but it supports matching the sanding support to the molding geometry to avoid profile damage.
For finish carpenters and millwork teams, the objective is not merely a smooth feel. It is a consistent surface that retains crisp beads, coves, edges, and flats from the first length to the last. Power sander safety practices protect hands, lungs, and tempo; the finish will follow.
FAQ: What is the best tool for sanding molding?
There is no evidence-supported single "best" sanding tool for every molding. The useful decision is based on where the surface sits within the profile.
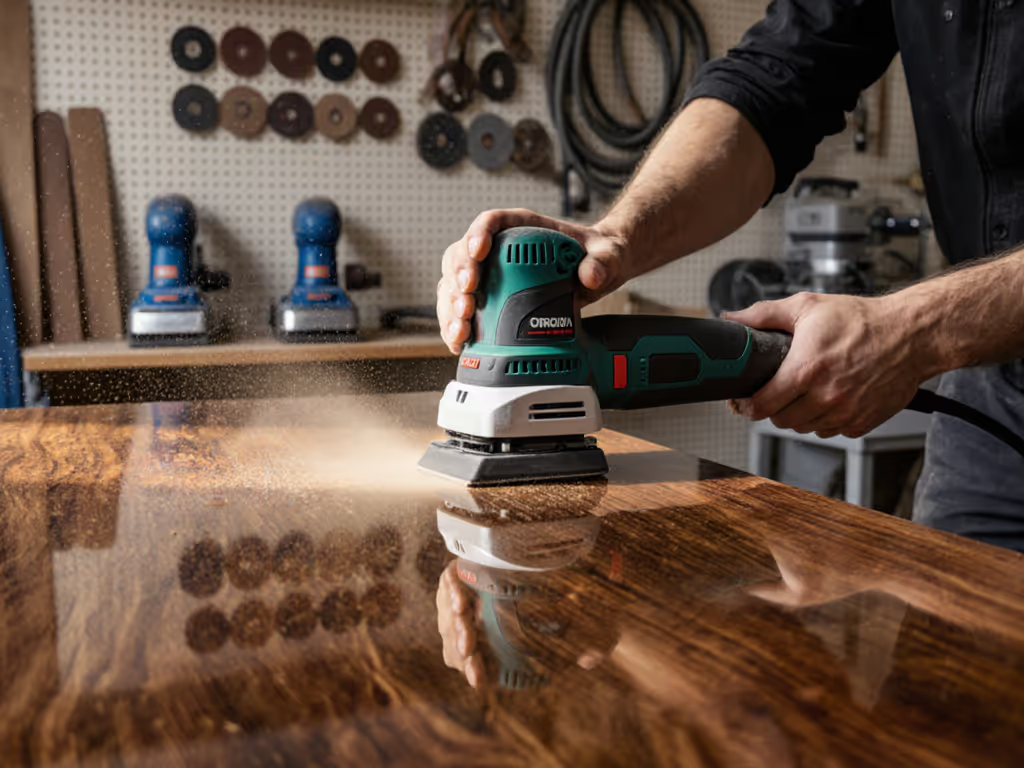
Use a power sander only on raised flat areas
A practitioner guide recommends power sanding when a flat is the highest point of the molding, using light pressure. This is the limited zone where a powered sanding tool can work without immediately crossing into adjacent detail.
That distinction matters in picture frame sanding and broader trim work. A flat rail or broad raised field may be suitable for controlled power sanding. For recessed flats, use a wooden block; for concave and convex curves, use shaped support that matches the profile. In one woodworker's experience, using a random-orbit sander on a round-over tended to dig in and damage the profile. That is not a universal ban on random-orbit tools, but it is a strong reason to keep the pad away from vulnerable curved detail.
Use a wooden block for recessed flats
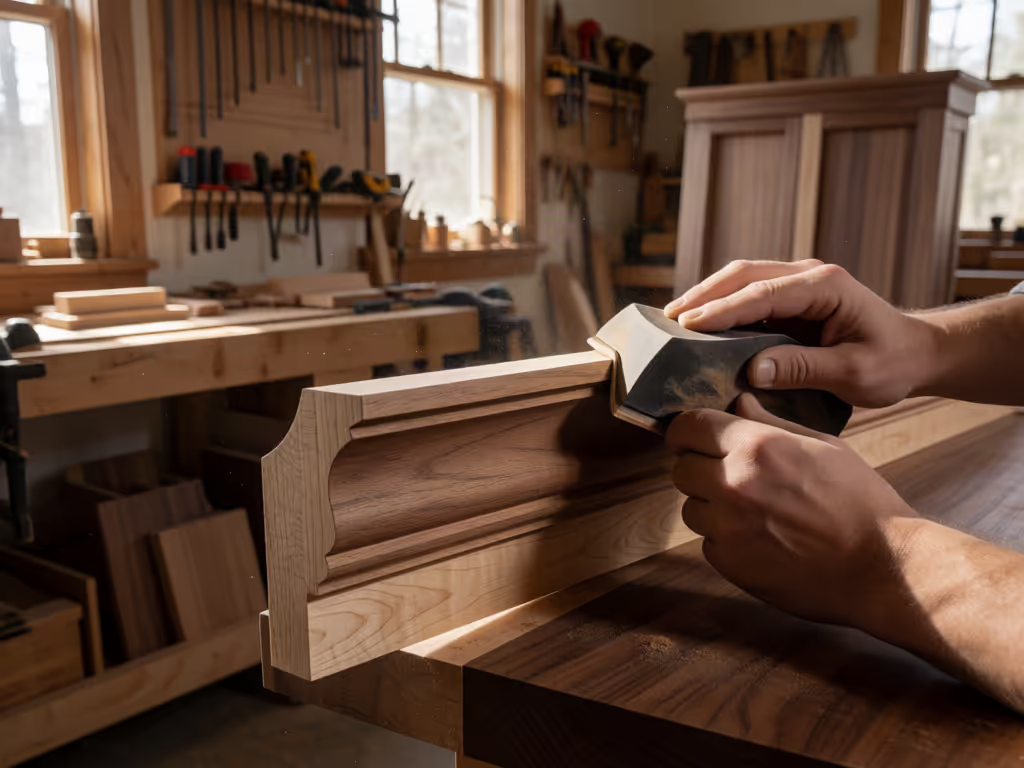
For a recessed flat, a wooden sanding block is the more geometry-conscious choice. It can maintain a sharp inside corner, whereas a softer rubber block may bend over an edge and disturb the surrounding shape. This is especially important where crown molding sanding involves narrow flats bounded by beads or coves.
Use shaped support for curves
For concave curves, wrap the abrasive around a cylinder with a radius that matches the curve. For more detailed guidance on maintaining shape and pressure control, see this guide to sanding curved surfaces. A dowel, stacked washers, or another suitably sized cylindrical support can serve that purpose. For convex curves, use a custom block with the corresponding inside curve; quarter-round PVC sections are also cited as an example of shaped support.
The operative word is match. A support should follow the intended molding geometry rather than relying on fingers to create the shape while sanding.
FAQ: Why do crisp profile edges become rounded during sanding?
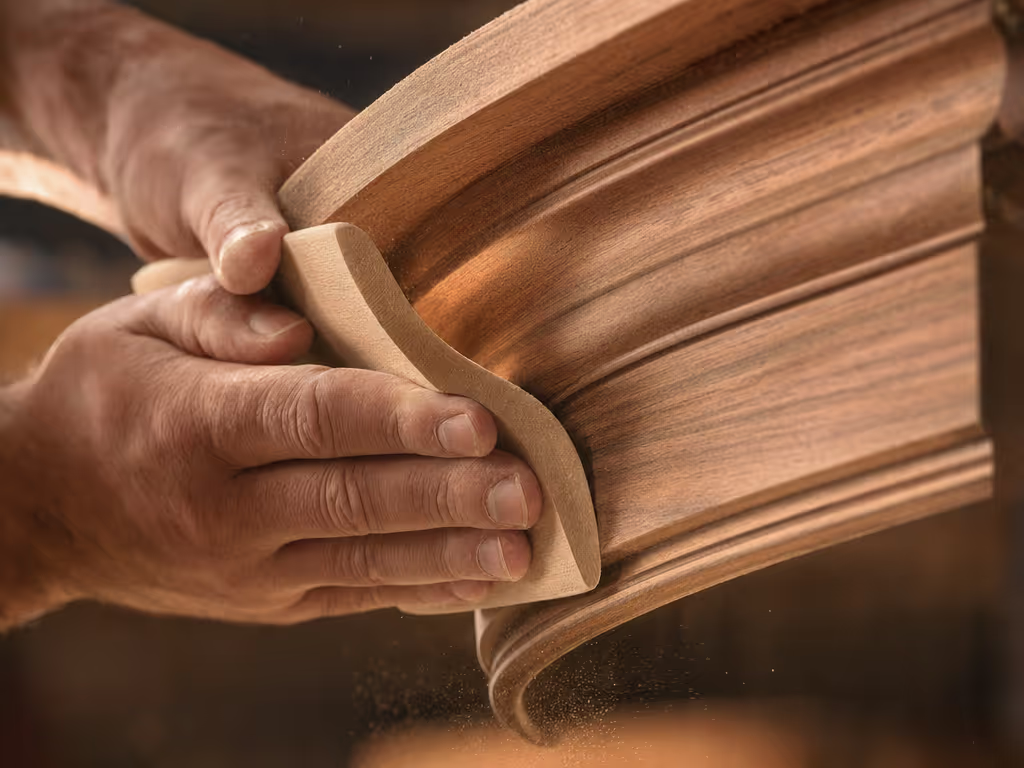
Finger-backed paper is often the cause. As fingers roll the abrasive over a sharp edge, they can soften the arris and erase the crisp transition that makes a profile read cleanly. The remedy is straightforward: place a backing block between the hand and the abrasive wherever the profile requires a definite plane or corner.
This does not mean every surface needs a hard, square block. It means the backing should suit the surface:
- Recessed flat: rigid wooden block.
- Concave curve: abrasive wrapped around a radius-matched cylinder.
- Convex curve: shaped block with the corresponding inside curve.
- Raised flat: controlled power sanding may be appropriate, with light pressure.
- Fine edge or transition: hand sand with supported abrasive rather than allowing fingers to roll over it.
A profile-matched commercial accessory is another possible route. One manufacturer states that its molding accessory is CNC-cut from the same DXF code used for its associated cutter and wraps around the molding. The manufacturer also claims profile preservation, but the available material does not independently verify that performance claim. For most crews, the broader lesson is more useful than the accessory itself: the closer the support corresponds to the profile, the more deliberately you can work.
FAQ: What is a practical profile sanding workflow?
A repeatable profile sanding workflow separates surface correction from finish sanding. It also prevents a crew from trying to solve a milling problem with endless abrasive passes.
1. Judge the defect before selecting grit
Lower grit numbers are coarser and remove material faster, but they may leave larger scratches. A complete sandpaper grit progression guide can help refine the sequence for different materials and finish conditions. Start with a grit coarse enough for the actual surface condition, then progress to finer abrasives. No single grit schedule is established here for trim species and coatings.
Where a primer, paint, stain, or clearcoat manufacturer specifies preparation grit, follow that finish-system direction. General wood-sanding guidance describes 100 to 120 grit for light finish removal, preparation before paint or stain, and light sanding between finish coats. Another practitioner uses a 150-grit hand pass after scraping in a particular molding workflow. Those examples are starting points, not a universal recipe.
2. Consider scraping before sanding difficult detail
For hard-to-reach curves and inset flats, scraping can be an effective preliminary step. One practitioner recommends scraping first, then hand sanding with a block; the reported benefit is quick, consistent removal while maintaining difficult profile areas.
Treat scraping as an optional correction stage, not an automatic step. It is most relevant when the objective is to remove material while preserving a detailed shape before the final abrasive pass.
3. Sand every visible surface consistently, with the grain
For visible molding surfaces, hand sanding with the grain is the supported direction. Make the pass sequence explicit for the crew: raised flat, recessed flat, concave feature, convex feature, then narrow transitions. This avoids leaving one portion of a profile at a coarser stage than its neighbors.
For picture frame sanding, run the same sequence on each rail before assembly where practical, then address the joint-area work with the support that matches the local profile. For crown molding sanding, break the long profile into its component surfaces rather than treating the entire face as one broad sanding zone.
4. Stop before sanding changes the architecture
Severe machining chatter is not necessarily a sanding problem. In a trade discussion, one contributor characterized removing chatter at the sanding stage as nearly hopeless and traced it back to molder setup. Whether or not a specific defect can be reduced, sanding should not become an attempt to erase deep machine marks at the expense of beads, coves, and edges. Escalate the piece for machining or replacement when profile retention is no longer realistic.
A clean finish process begins by preserving the intended profile, not by sanding every defect until it disappears.
FAQ: Can I use something other than a power sander?
Yes. For profiled work, hand-supported abrasive is often the appropriate alternative rather than a fallback.
A useful minimum kit is simple:
- A scraper for suitable preliminary correction.
- A rigid wooden block for recessed flats and inside corners.
- Several radius-matched cylindrical supports for concave details.
- Shaped blocks for recurring convex profiles.
- Abrasive in a condition-appropriate coarse-to-fine progression.
A Woodweb contributor also described a shop-made method: pressing Bondo over a rough-shaped wood block against the molding, with abrasive and release film between the materials, to form a matched sanding block. Consider that a reported shop technique, not a validated universal procedure. It may be worth exploring when one profile repeats across substantial footage and hand support needs to be consistent across technicians.
FAQ: Should molding be sanded in circles or straight lines?
For hand finishing visible molding, sand with the grain. The available guidance supports that direction; it does not establish a broad circular-versus-straight-line comparison across every power-sanding method.
The practical distinction is to avoid letting a tool's motion override the profile. A powered pad may have a place on an isolated raised flat. On curves, corners, and detailed transitions, use a shaped or rigid support and make deliberate with-the-grain passes where the grain direction is visible.
FAQ: How should dust control fit into molding sanding techniques?
Dust control for sanding belongs in the sanding plan from the beginning, particularly indoors. OSHA identifies engineering controls as the preferred approach for wood dust, typically using exhaust ventilation with collection at the point where dust is produced. OSHA also links hazard-control resources specifically for orbital and random-orbital hand sanders.
That makes local extraction the first control to evaluate (not an afterthought once the room is visibly dusty). Check the practical system elements before starting:
- Is collection positioned at the sanding point?
- Is the hose connection secure and intact?
- Does suction remain available throughout the pass?
- Can the work sequence keep sanding debris contained to the active area?
Respiratory protection may have a role as a short-term control measure, but it is not a substitute for extraction. OSHA notes that respirator selection depends on the workplace, contaminants, and their concentrations, and workplace use requires a respiratory-protection program. This article does not prescribe a respiratory class because that selection must fit the actual exposure assessment and work arrangement.
A controlled extraction setup puts collection at the sanding point, consistent with OSHA’s preferred engineering-control approach.
Further exploration: turn the method into a crew standard
For the next molding package, create a one-page profile map rather than issuing a generic instruction to "sand smooth." Identify each raised flat, recessed flat, concave curve, convex curve, and critical edge. Beside each, specify the backing support, starting abrasive condition, final hand-sanding direction, and dust-control arrangement.
Then test the workflow on an offcut or short sample before committing to installed footage. The goal is not to chase a mythical all-purpose sanding tool. It is to build a controlled method that preserves the profile, gives every technician the same sequence, and keeps finishing work moving without trading crew health for speed.
Related Articles