Workshop Power Planning: Sander Power Requirements & Duty Cycles
By Aisha Benyoussef • 29th Sep
What to do
Plan the sanding cell, not just the sander: match each tool’s documented supply requirement, map simultaneous loads, and size air, extraction, hoses, and maintenance around the real duty cycle.
- Start with: List every sander, extractor, operator, task, and expected run time. Use the exact tool manual and nameplate; there is no universal amp or CFM requirement.
- Then: Check sustained and concurrent use, verify delivered compressor performance, and account for air treatment, hose routing, moisture control, and extraction as part of the system.
- Important prerequisite: Have fixed electrical changes assessed appropriately, and keep dust collection within its stated material limits. Record a representative sanding job before standardizing the station.
Important: Model-specific figures do not transfer universally: one Dynabrade family lists 16 SCFM at 90 PSIG, while a generic chart lists lower ranges using different, unverified rating bases.
Sander power requirements and sander duty cycle are easy to underestimate because the sander is only one part of the work cell. In a finish-first shop, the real load is the tool, the air or electrical supply behind it, dust extraction, hose management, and the sustained operating pattern of the crew. Plan around the whole sanding session (not the few seconds when a tool is switched on), and you avoid pressure drops, nuisance interruptions, weak extraction, and inconsistent finish quality.
The objective is not the lowest initial equipment cost. It is a repeatable sanding workflow that holds up through long prep sessions. Total cost lives in rework, consumables, and downtime.
FAQ: What does "duty cycle" mean for sanding?
For workshop power planning, duty cycle is simply the proportion of time a system is actually working during a defined period.
A carpenter feathering a patch for a few moments, stopping to inspect, then moving to another task creates an intermittent demand. A refinishing crew leveling primer across a bank of cabinet doors creates a sustained demand. Those are different operating cases even if the same sander is in hand.
This distinction matters most with pneumatic equipment, but it also changes how you evaluate electrical supply and extraction:
- Intermittent sanding gives the supporting system time to recover between tool-on periods.
- Continuous sanding workflow means the tool and support equipment must perform steadily for the actual duration of the prep pass.
- Multiple operators compound demand. Two technicians sanding at once are not one technician with a larger tank or a longer extension lead; they are two simultaneous loads that must be mapped individually.
- Dust collection is part of the duty cycle. If sanding runs continuously, account for extraction runtime in the load map.
Do not use a vague "shop use" label for planning. Track a representative job: minutes of actual trigger time, number of active sanders, extractor runtime, and the tasks occurring at the same time. That log is more useful than a bargain-priced machine's headline specification.
FAQ: How should I map sander power requirements before buying or reorganizing a shop?
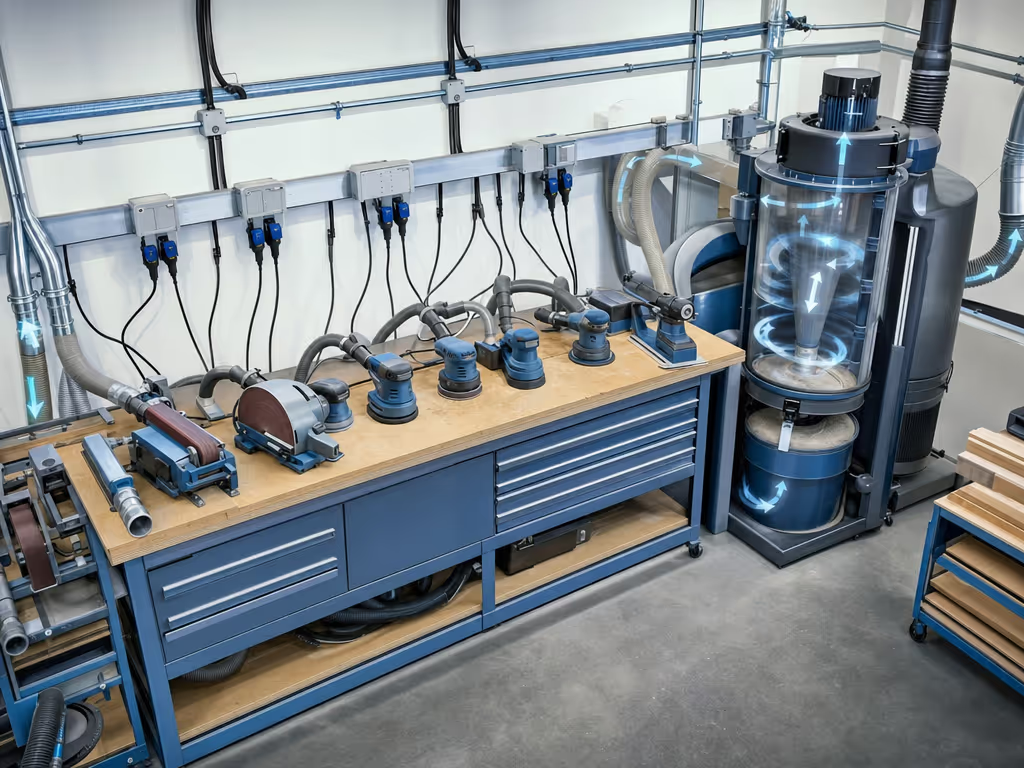
Start with a one-page load map. It is deliberately simple, and it exposes where the workflow will fail before the job does.
1. List every device in the sanding cell
For each station, record:
- Sander model and its nameplate supply requirement or pneumatic air requirement
- Dust extractor or fixed collector assigned to that station
- Air-treatment components where pneumatic tools are used
- Number of operators who can use the station concurrently
- Typical task: spot repair, final finish sanding, paint prep, production prep, or another defined operation
- Expected trigger-on or run time per hour
For a corded random-orbit sander, use the voltage and supply information on that tool's nameplate and manual. There is no universal amp figure for "a sander." One manufacturer's BO5030/BO5031 manual, for example, says the tool must match the voltage on its nameplate and operate on single-phase AC, but that does not establish an amp requirement for every handheld sander.
2. Mark the simultaneous-load moments
The important line on the map is not "tools owned." It is equipment operating at the same time. A typical sanding cell might include one operator sanding while an extractor is running; a larger shop might have several active sanders plus fixed collection.
A stationary collector can be a meaningful separate electrical load. As one illustration only, the Shop Fox W1816 cyclone dust collector is specified at 220V single-phase, 22A full-load current, with a 30A minimum circuit size. Those figures belong to that specific 3 HP collector (not to handheld sanders, and not to floor machines). The planning lesson is that extraction has its own supply requirements and cannot be treated as free capacity.
3. Check the documentation, then the installation
Compare the map with each equipment manual and nameplate, then have the actual installation assessed and completed as appropriate by a qualified electrical professional. This is especially important when changing fixed equipment or adding stations. The data you need comes from the specific tools and collector (not a generic internet rule).
FAQ: How do I approach pneumatic sander compressor sizing?
Pneumatic sander compressor sizing begins at the tool inlet, not at tank size, motor horsepower, or a compressor's maximum pressure number.
Use the exact pneumatic sander manual as your first reference. One Dynabrade random-orbital family, for instance, lists 16 SCFM at 90 PSIG. That is a specification for that covered tool family; it should not be substituted for every dual-action or random-orbit air sander.
You may also see generic charts quoting lower figures. One retailer-published guide lists 5-6 inch orbital sanders at 6-9 CFM at 90 PSI for a stated 25% duty cycle and 8-12 CFM at 90 PSI for stated 100% duty. Treat those figures as preliminary conversation starters only. They do not share an established test basis with the 16 SCFM manufacturer specification above, so they are not interchangeable.
A sound sequence is:
- Identify the required air flow and pressure from each exact tool manual.
- Define the real duty cycle for the operation, particularly long paint-prep or production-sanding sessions.
- Count concurrent tools, not just the largest single tool.
- Verify compressor delivered-air performance at the relevant pressure, rather than guessing from tank capacity or peak pressure.
- Include the air path: distribution, hose, filtration, regulation, lubrication where required, moisture control, and drains.
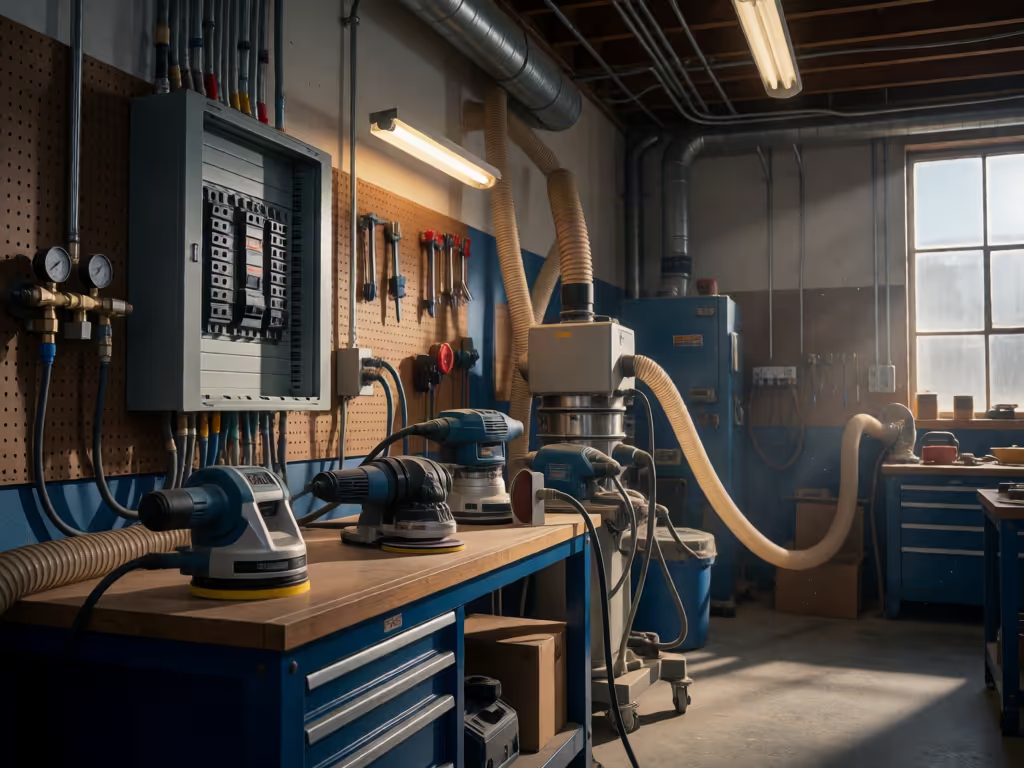
The infrastructure is not optional background equipment. Dynabrade recommends a closed-loop air system with a filter-regulator-lubricator, a dedicated hose for each tool, a refrigerated dryer after the compressor, and drain valves at tool stations. If your sander is technically specified correctly but receives poorly conditioned or inconsistent air, the system has not been planned correctly.
In pneumatic sanding, compressor output is only one line item; air quality and delivery are part of the production system.
FAQ: Is portable versus stationary sander mainly a power question?
Not entirely. The useful portable versus stationary sander distinction for planning is the shape of the supporting infrastructure.
A portable handheld sander moves with the operator, so the planning focus is the workstation: accessible approved supply, cord or hose routing, dust connection, and a repeatable setup that a crew member can reproduce. A stationary system concentrates demand in one place, but it may add significant fixed extraction and electrical requirements.
Neither arrangement is automatically cheaper or more productive on the evidence available here. What matters is whether your selected system matches the work pattern:
- Occupied interiors: prioritize a tidy, consistent tool-and-extraction setup that reduces dust escape opportunities.
- Dedicated production areas: map fixed extraction separately from sanding tools and confirm the equipment is used only within its stated material scope.
- Mixed crews: standardize hose connections, air-treatment procedures, and the sanding sequence so a change in operator does not become a change in result.
Be particularly careful with collector material limits. The W1816 manual, for example, says it is intended for wood dust and chips and warns against use with materials including metal dust/chips, asbestos products, lead paint, and silica. Do not assume a collector suited to one material is suitable for every sanding contaminant.
FAQ: Does pushing harder improve sanding speed?
Usually, pressure is a poor substitute for a properly planned process. The BO5030/BO5031 manual directs the operator to use slight pressure with the pad flush to the workpiece and warns that excessive pressure can reduce efficiency, damage the abrasive disc, and shorten tool life.
That has a direct cost implication. If an operator leans on the machine because removal feels slow, you may see higher abrasive burn, less consistent scratch patterns, more heat at sensitive edges, and more time correcting defects later. Diagnose the system before blaming the operator:
- Is the abrasive still cutting?
- Is extraction connected and used properly?
- Is the tool being used within its documented setup and maintenance needs?
- Is the task genuinely sustained enough to expose an undersupplied air or extraction system?
For the covered pneumatic tool guidance, daily inspection and recommended motor lubrication are called for every eight hours. Tool speed should be checked every 20 hours or weekly, whichever comes first, under the manual's stated test conditions. For a broader preventive-care schedule, follow this sander maintenance guide alongside the manufacturer's checks. Put those checks into the SOP; otherwise, a declining tool can quietly turn into higher cost per m².
FAQ: What speed should I use on an orbital sander?
Use your model's manual as the starting point, not a universal speed chart. The BO5031 is specified with an adjustable 4,000-12,000 OPM range; its manufacturer associates lower settings with polishing, intermediate settings with finish sanding, and higher settings with regular sanding as standard applications.
That is model-specific guidance, not a recipe for every surface or every orbital sander. Build your own controlled shop recipe through documented trials: substrate, coating condition, abrasive, pad arrangement, extraction setup, speed setting, inspection lighting, and result. Keep the combination that passes your finish standard, then train it consistently.
FAQ: What are the practical downsides to plan around?
The documented downsides are manageable when they are budgeted into the system:
- Excess pressure can waste abrasives and shorten tool life.
- Sanding dust creates hazards. For the BO5030/BO5031, the manual directs users to connect and properly use provided dust-extraction facilities.
- Pneumatic sanding adds air-conditioning, hose, moisture-management, and scheduled-maintenance requirements.
- Fixed dust collection may require its own dedicated electrical planning and may have strict material limitations.
These are not reasons to chase a different brand for every task. They are reasons to make the approved setup clear, measured, and repeatable.
Turn the plan into a controlled sanding cell
This week, time one representative sanding job from first abrasive contact through cleanup. Record actual sanding minutes, concurrent tools, extraction runtime, air-pressure behavior if applicable, abrasive changes, and any rework. Then build a one-page station card from the result. Use that station card as the basis for an optimized sander workflow, especially when a project moves between multiple tools or operators.
That is the foundation of fleet standardization: one documented tool-and-support recipe that crews can repeat. I have seen a higher-cost kit win approval once consumables burn, cleanup hours, and repeat visits were put next to the purchase price. The same logic applies here. A planned sanding cell protects finish quality, reduces downtime hours, and gives you a defensible basis for the next equipment decision.
Related Articles
![Jet Oscillating Sander and Delta Pad Setup for Flush Repairs[9][13][14]](/images/article/thumbnail/82e66934-8ae6-41b0-8c0b-8934d18e76de.avif)