![Jet Oscillating Sander and Delta Pad Setup for Flush Repairs[9][13][14]](/images/article/thumbnail/82e66934-8ae6-41b0-8c0b-8934d18e76de.avif)
Sheet Sanders for Flat Panels With Swirl Free Finishes
By Saanvi Iyer • 25th Sep
Quick answer
Yes—but only as part of a controlled finishing process. Sheet sanders suit fine finishing, detail work, tight spaces, and light-duty flat-panel sanding, and their motion may reduce swirl risk. They cannot guarantee a swirl-free result.
- Choose by task: Use a sheet sander for controlled finishing and between-coat work; choose a random-orbit sander when larger areas or faster material removal matter more.
- Control the process: Use compatible paper and dust collection, progress through grits without large jumps, keep pressure light, and follow the tool manual. Worn abrasive, poor technique, and model-specific paper systems can still cause defects.
Important: Evidence does not establish a universally best 1/4- or 1/3-sheet format, attachment system, or powered edge-sanding method. Test the workflow on the actual material and finish.
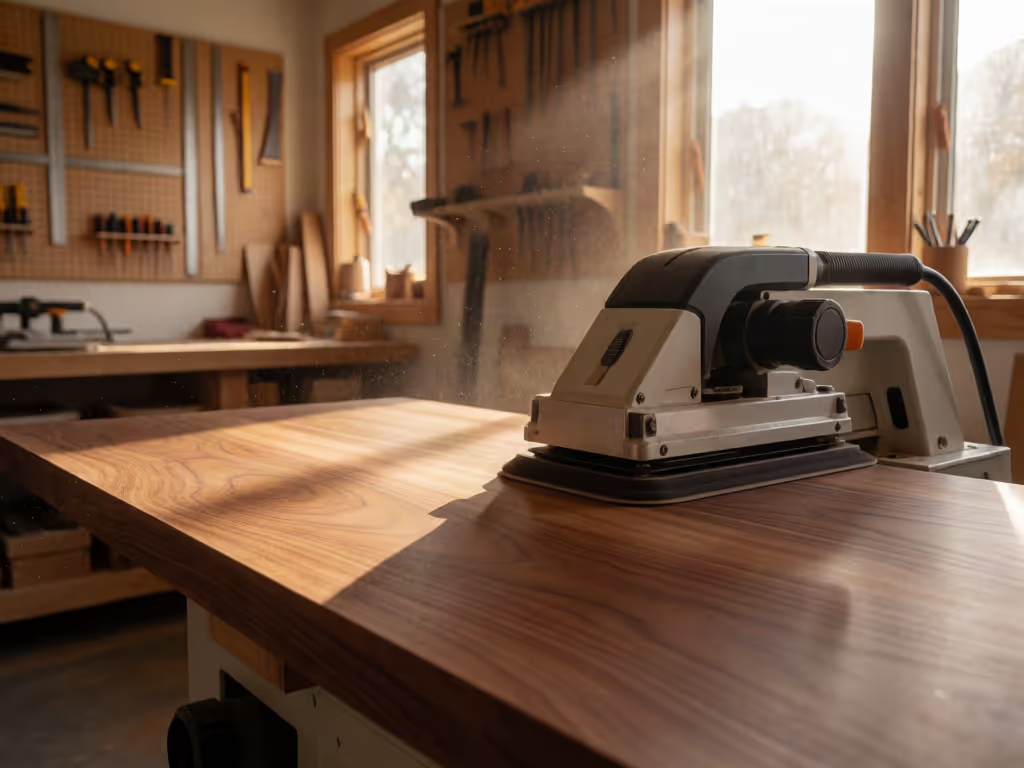
A sheet sander (often called a finish or palm sander) can be a useful finishing tool when flat panels need controlled, light-duty refinement. A 1/4 sheet sander is especially relevant for detail work, tight spaces, and between-coat sanding. But "swirl free" is an outcome to work toward, not a promise a tool format can make. Kreg's category guidance says sheet sanders generally avoid swirl marks through their motion, while also noting that poor technique or worn abrasive can still leave imperfections.
For crews working in occupied interiors, that distinction matters. The goal is not merely a smooth-looking panel before the painter arrives; it is a disciplined process that protects the finish, controls dust where possible, and keeps the job moving at a quiet, calm jobsite. Protect hands, lungs, and tempo; the finish will follow.
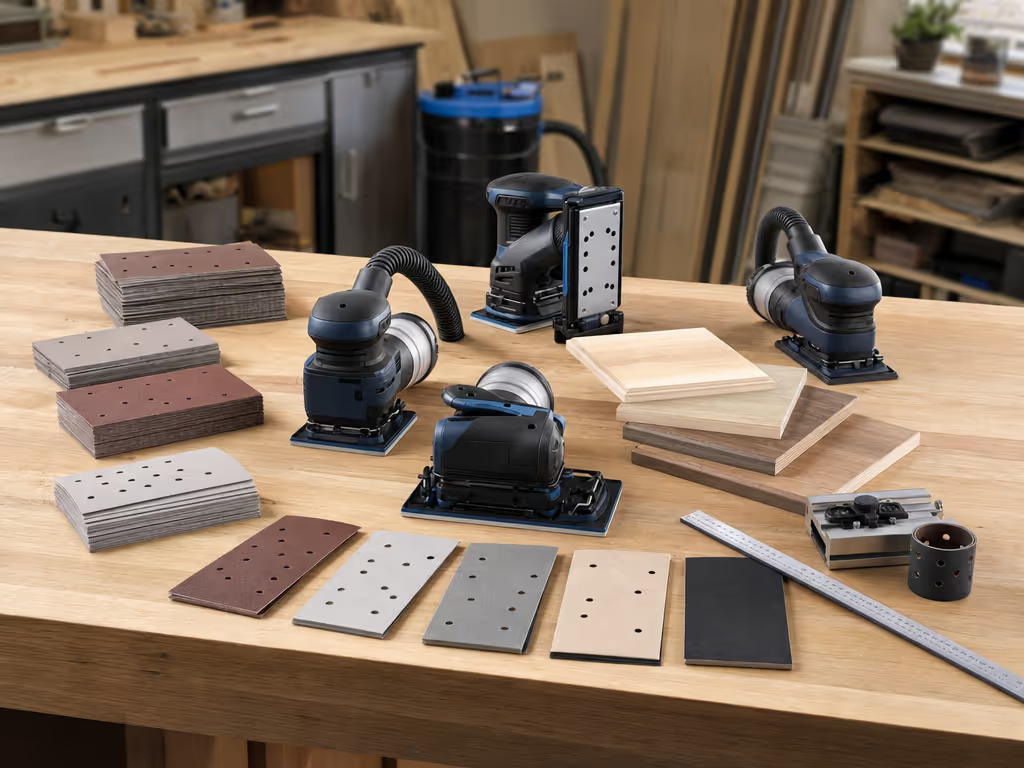
What is a sheet sander used for?
Fine finishing rather than heavy removal
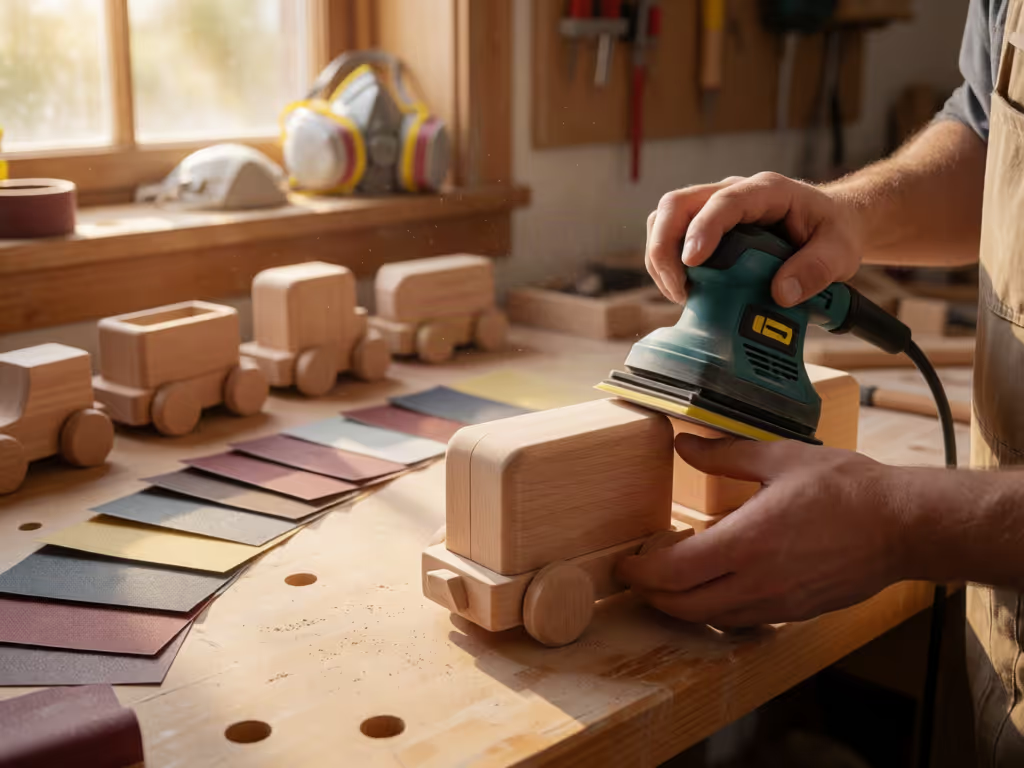
A sheet sander is commonly used for fine finishing, detail work, tight spaces, and between-coat sanding. It uses a square or rectangular pad and a portion of a standard abrasive sheet, typically a quarter sheet or one-third sheet.
That makes it a sensible option when the task is light-duty flat-surface work and controlled finishing passes. It is not automatically the fastest choice for a broad panel that still needs substantial material removed. Kreg positions random-orbit sanders (the round-pad category) as better suited to larger areas and more aggressive removal.
The practical choice is therefore task-based:
- Choose a sheet sander when the work is fine finishing, detail sanding, tight-space access, or between-coat work.
- Choose a random-orbit sander when larger-area sanding and faster material removal are the priority.
- Do not treat either category as a guarantee against visible scratches or finish defects.
A sheet sander can be very good at its assigned role. It becomes a poor production choice when asked to do the removal work better suited to a random-orbit tool.
Can a sheet sander deliver a swirl-free finish on flat panels?
It can support the result, but it cannot guarantee it
Sheet sanders use a consistent back-and-forth or small-orbital motion, unlike the spinning, offset circular motion of a random-orbit sander. Kreg states that sheet sanders generally do not leave swirl marks because of this motion. The same guidance is appropriately cautious: improper technique and worn sandpaper can still create imperfections.
That is the useful working standard: a sheet sander is a finishing tool, not a substitute for process control.
For a flat panel, keep the objective narrow and measurable within the work itself: remove the prior scratch pattern with the next abrasive step, avoid forcing the tool, and retain the panel's flat character. The available guidance for flat sanding also favors a rigid backer and light pressure; that advice comes from hand block sanding, so it is best treated as a supplemental principle rather than proof of powered sheet-sander behavior.
A flat panel does not need an aggressive sanding story. It needs a consistent one. For techniques that reduce visible scratch patterns, see this guide to sanding with the wood grain.
One detail from an indoor school renovation stays with me: an apprentice mentioned hand tingling, and we stopped to reassess the setup rather than asking them to push through. That is the right instinct for finish work. A surface standard that depends on discomfort, rushing, or brute force is not a stable standard.
How should you choose between a 1/4-sheet and 1/3-sheet format?
Start with paper format and the actual task
There are two common formats: 1/4-sheet and 1/3-sheet sanders. It is not established that one format is universally faster, more balanced, or better for larger panels than the other. Do not choose by fraction alone.
Instead, check three practical points before standardizing a crew kit:
- The job category. Is the work fine finishing, detail work, between-coat sanding, or larger-area removal?
- The sander's specified paper system. Attachment type, pad shape, and dust-hole pattern are model-specific.
- The abrasive supply you can maintain consistently. A standard that technicians can follow matters more than an assumed advantage from sheet size.
A quarter sheet sander uses one quarter of a standard 9 x 11-inch abrasive sheet. One operator manual for a 1/4-sheet model specifies a prepared sheet of 4-1/2 x 5-1/2 inches. That dimension should not be generalized to every model; always follow the sizing and installation directions for the tool in hand.
Does clamp paper or hook-and-loop produce a better finish?
Neither system earns a universal verdict
Sheet sanders can use different abrasive attachment systems. Lever or spring-loaded clamps are a recognized sheet-sander feature, and hook-and-loop rectangular systems also exist. There is no universal claim that either system is superior.
What is supported is more useful on site: match the abrasive to the actual pad and dust-hole pattern. A paper that does not suit the sander's attachment arrangement is not a workflow shortcut.
For example, the GPS2303 manual specifies front and rear clamps and directs the user to center the sheet, align it parallel with the pad, and keep it taut while securing the rear clamp. Separately, one V6000 1/3-sheet sander manual says to fold both paper ends over the backing-pad ends before clamping. Those are tool-specific procedures, not interchangeable instructions for every sheet sander.
What grit sequence helps avoid visible leftover scratches?
Let each grit remove the scratches from the last one
Uneeda's stated "golden rule" is to skip no more than one grit. Its reasoning is simple: the next abrasive must fully remove the scratch pattern left by the previous one. Its example warns that moving directly from P80 to P180 will not completely remove the P80 scratches.
That does not create a universal grit recipe for every wood species, coating, filler, or finish system. It does give a reliable grit progression decision rule:
- Start with the least aggressive abrasive that can do the required work.
- Use a progression in which the next step can remove the prior scratch pattern.
- Do not make large grit jumps simply to save a pass.
- Test the sequence for the specific application and abrasive in use, as Uneeda advises.
For a finish sander for flat panels, this is the discipline that keeps sanding from becoming a cycle of hidden coarse scratches and corrective rework.
How should dust control fit into sheet-sander work?
Treat collection as a system matched to the tool
Some sheet sanders have through-pad dust collection. The GPS2303 manual, for example, specifies through-pad collection and includes a dust-collection bag and paper-punch plate. That is a feature of that model, not a claim about all 1/4-sheet sanders.
Dust-hole patterns and collection compatibility vary by sander, so the practical control is to use the abrasive and collection arrangement specified for your tool. Follow the tool manual for its collection setup, and do not improvise pad, hose, or paper modifications.
The same manual directs users to wear eye and hearing protection, use respiratory protection appropriate to dusty work, ventilate the work area, and use dust collection where possible. In interior work, those are baseline decisions, not optional add-ons. For a deeper look at workshop air quality, see these HEPA dust-collection practices. Follow the manual and safety requirements for your tool, material, and coating.
Secure the workpiece on a stable platform and do not force the tool. Those two instructions protect both the operator and the panel from a bad sanding pass.
FAQ
What is a 1/4 sheet sander used for?
A 1/4 sheet sander is used for fine finishing, detail work, tight spaces, and between-coat sanding. It can also handle light-duty flat-surface work. A standard quarter-sheet format is one quarter of a 9 x 11-inch abrasive sheet, though the exact prepared size and attachment procedure depend on the model.
What sandpaper does a 1/4 sheet sander use?
Many use a quarter of a standard 9 x 11-inch sheet. One cited 1/4-sheet manual specifies a 4-1/2 x 5-1/2-inch prepared sheet. Check your own sander's instructions for sheet size, clamp or hook-and-loop attachment, and dust-hole pattern before buying abrasives.
Is a 1/4 sheet sander better than a random-orbit sander?
Neither is simply "better." A 1/4 sheet sander suits fine finishing, detail work, and tight spaces. A random-orbit sander is generally the more suitable category when faster removal or larger-area sanding is the priority. Match the tool to the stage of the panel-prep process.
What is the golden rule of sanding?
Uneeda calls it the rule of skipping no more than one grit. The purpose is to give each successive abrasive a realistic chance to remove the previous scratch pattern. Treat it as tested abrasive-maker guidance, then validate the sequence for your actual surface and finish process.
Further exploration: build the process before buying more tools
Before adding another sheet sander to the rack, map your panel workflow: the task stage, the paper attachment system, the grit progression, and the dust-collection arrangement specified for that tool. Put those decisions into a short crew checklist, then use the same sequence consistently.
A sheet sander earns its place when it is assigned to the work it does well (fine finishing, details, tight areas, and controlled light-duty sanding). The professional advantage is not a slogan about being swirl free. It is a calm, repeatable process that gives every panel the same careful chance to finish cleanly.
Related Articles